Maple Pumpkin Scones
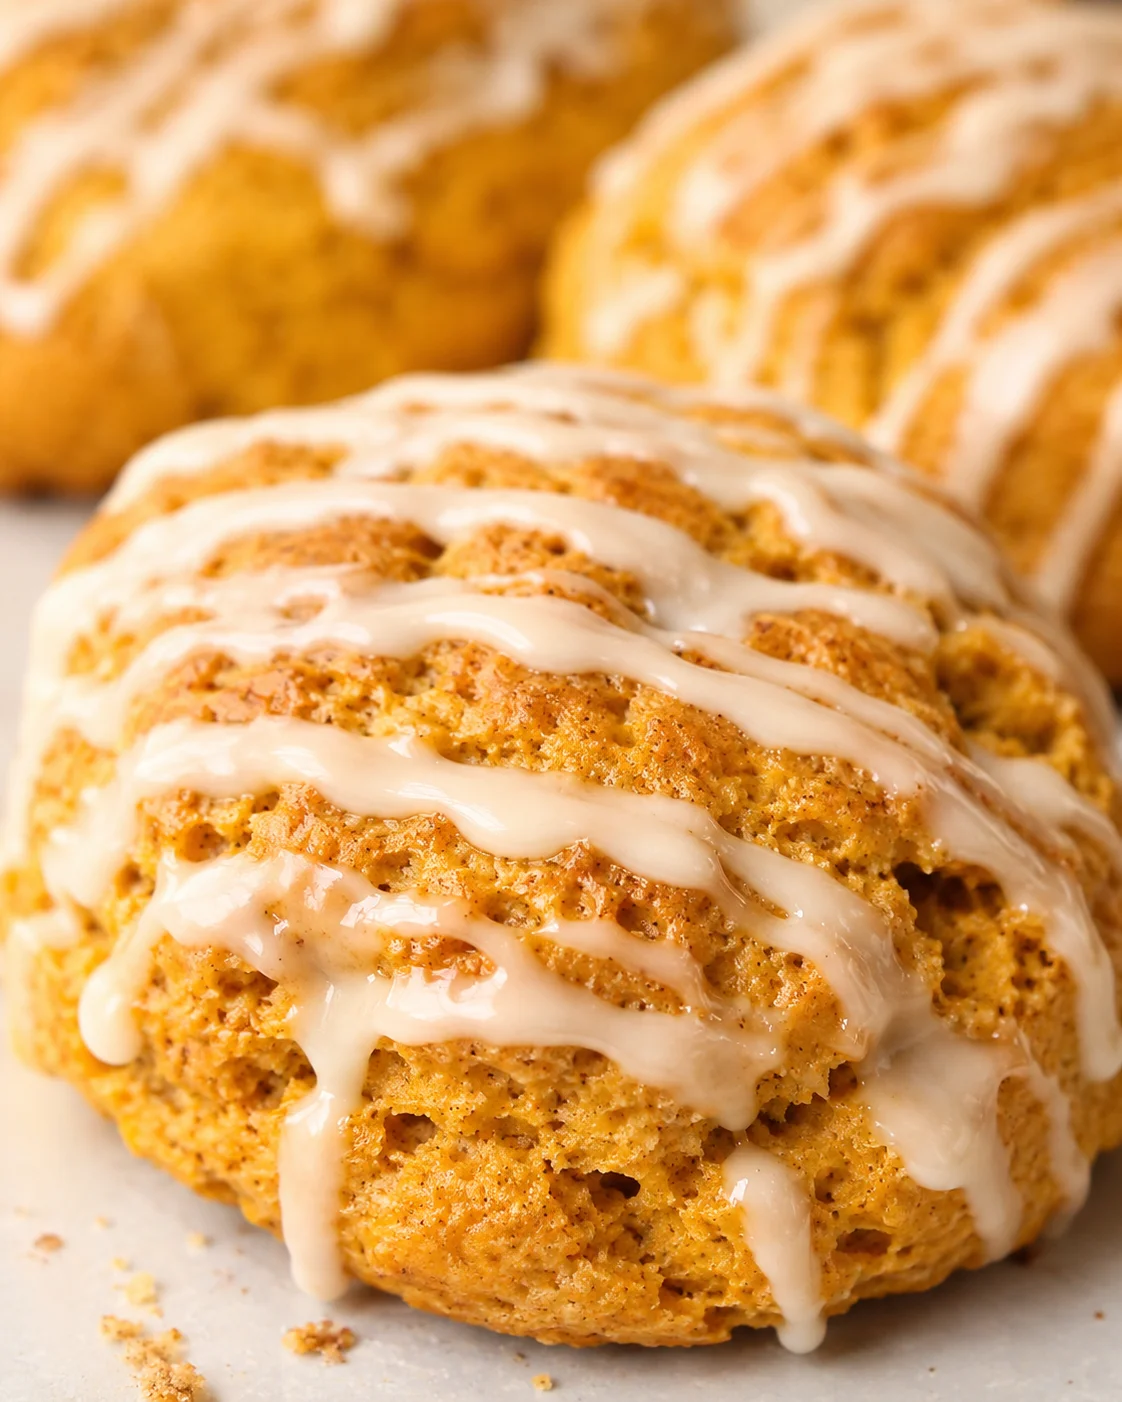
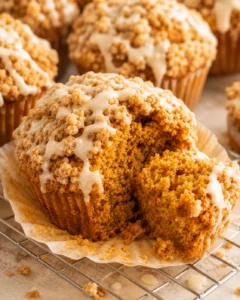
These Maple Pumpkin Scones are the ultimate cozy fall treat—soft and tender inside with a delicate crisp on the outside. They come together quickly using simple, wholesome ingredients like pumpkin purée for natural moisture, just a little butter, and a touch of maple syrup for sweetness. The finishing touch is a light maple-yogurt drizzle that adds a perfect hint of tang. From start to finish, you’re looking at about 45 minutes for a batch of 8 delicious scones everyone will love.
Nothing beats the warm, inviting smell of pumpkin and maple on a chilly morning, right? These Maple Pumpkin Scones bring that feeling to your kitchen in a snap. They’re soft and tender inside with a gentle crisp on top that makes each bite just perfect. We use pumpkin purée—not pumpkin pie filling—for moisture and add just a bit of butter and maple syrup for flavor. To round it all off, a simple maple-yogurt glaze adds a touch of brightness and subtle tang.
This recipe is super easy and hands-on, taking about 45 minutes from mixing to enjoying. You’ll get eight scones, perfect for sharing or savoring all to yourself over a couple of days. It’s flexible too—whether you prefer whole wheat flour, gluten-free options, or want to keep it vegan, it’s all doable with simple swaps. Keep reading for the full ingredient list, step-by-step instructions, and handy tips on variations, storing, and reheating.
- Texture: soft and tender inside with a lightly crisp crust.
- Time & yield: about 45 minutes; makes 8 scones.
- What makes it special: pumpkin purée adds moisture so only a little butter is needed.
- Flexible: works well gluten-free or vegan with easy substitutions.
Why These Scones Shine
- Classic scone texture with a soft, tender crumb inside and just enough crisp on the outside—without feeling heavy.
- Pumpkin purée keeps these pumpkin scones moist and flavorful while cutting back on the fat by reducing butter (a trick we also use in Pumpkin Zucchini Muffins).
- Just 2 tablespoons of butter in the whole batch, plus natural sweetness from pure maple syrup—if you love maple-forward breakfasts, try our Maple Nut Granola.
- Customizable with whole wheat or gluten-free flour blends to fit your family’s needs.
- Ready in about 45 minutes, they’re perfect for a cozy weekend breakfast or a batch to enjoy during a busy week.
Gather Your Ingredients
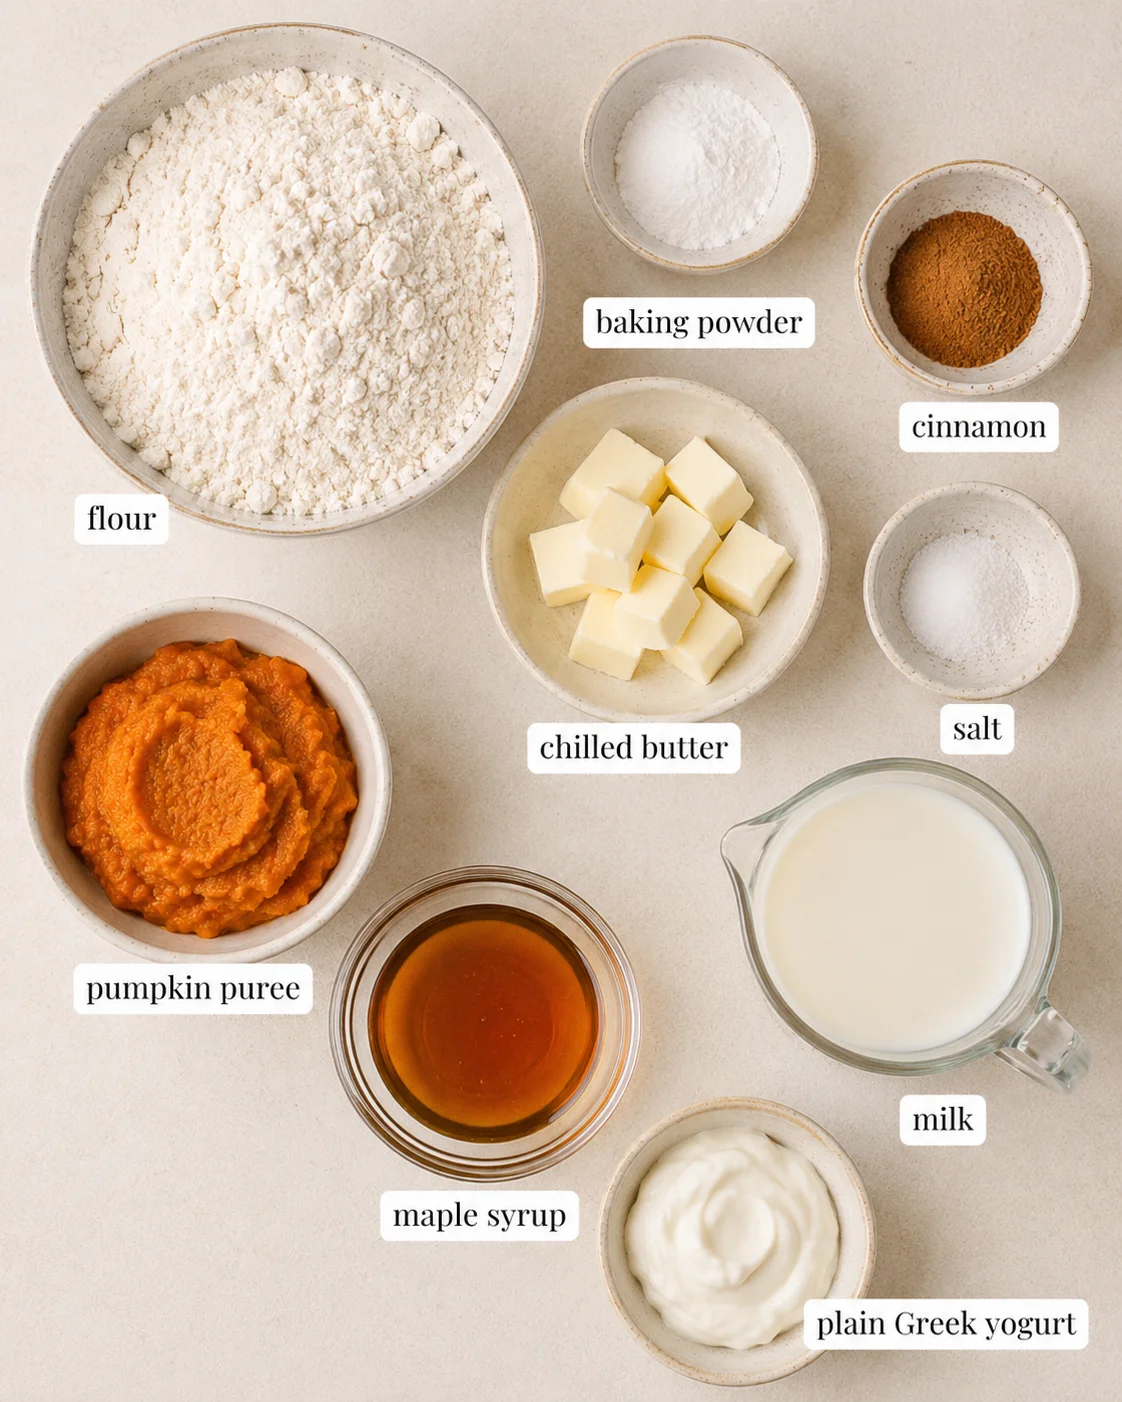
- 1 ½ cups (180g) whole wheat or gluten-free* flour (measured carefully)
- 1 ½ teaspoons baking powder
- 1 teaspoon ground cinnamon
- ¼ teaspoon salt
- 2 tablespoons unsalted butter, chilled
- ½ cup pumpkin purée (make sure it’s NOT pumpkin pie filling)
- 8 1/8 teaspoons maple syrup (8 tsp for dough + 1/8 tsp reserved for brushing)
- 10 ½ teaspoons nonfat milk, divided (10 tsp for dough + ½ tsp for brushing)
- 1 tablespoon plain nonfat Greek yogurt
- 1 ½ teaspoons maple syrup
- *For a gluten-free flour blend I love using: 1 cup (120g) millet flour, ¼ cup (35g) brown rice flour, ¼ cup (30g) tapioca flour, plus 1 ½ teaspoons xanthan gum.
Step-by-Step Instructions
- Preheat oven to 425°F and line a baking sheet with foil; spray foil with nonstick cooking spray.
- Use pumpkin purée (not pumpkin pie filling).
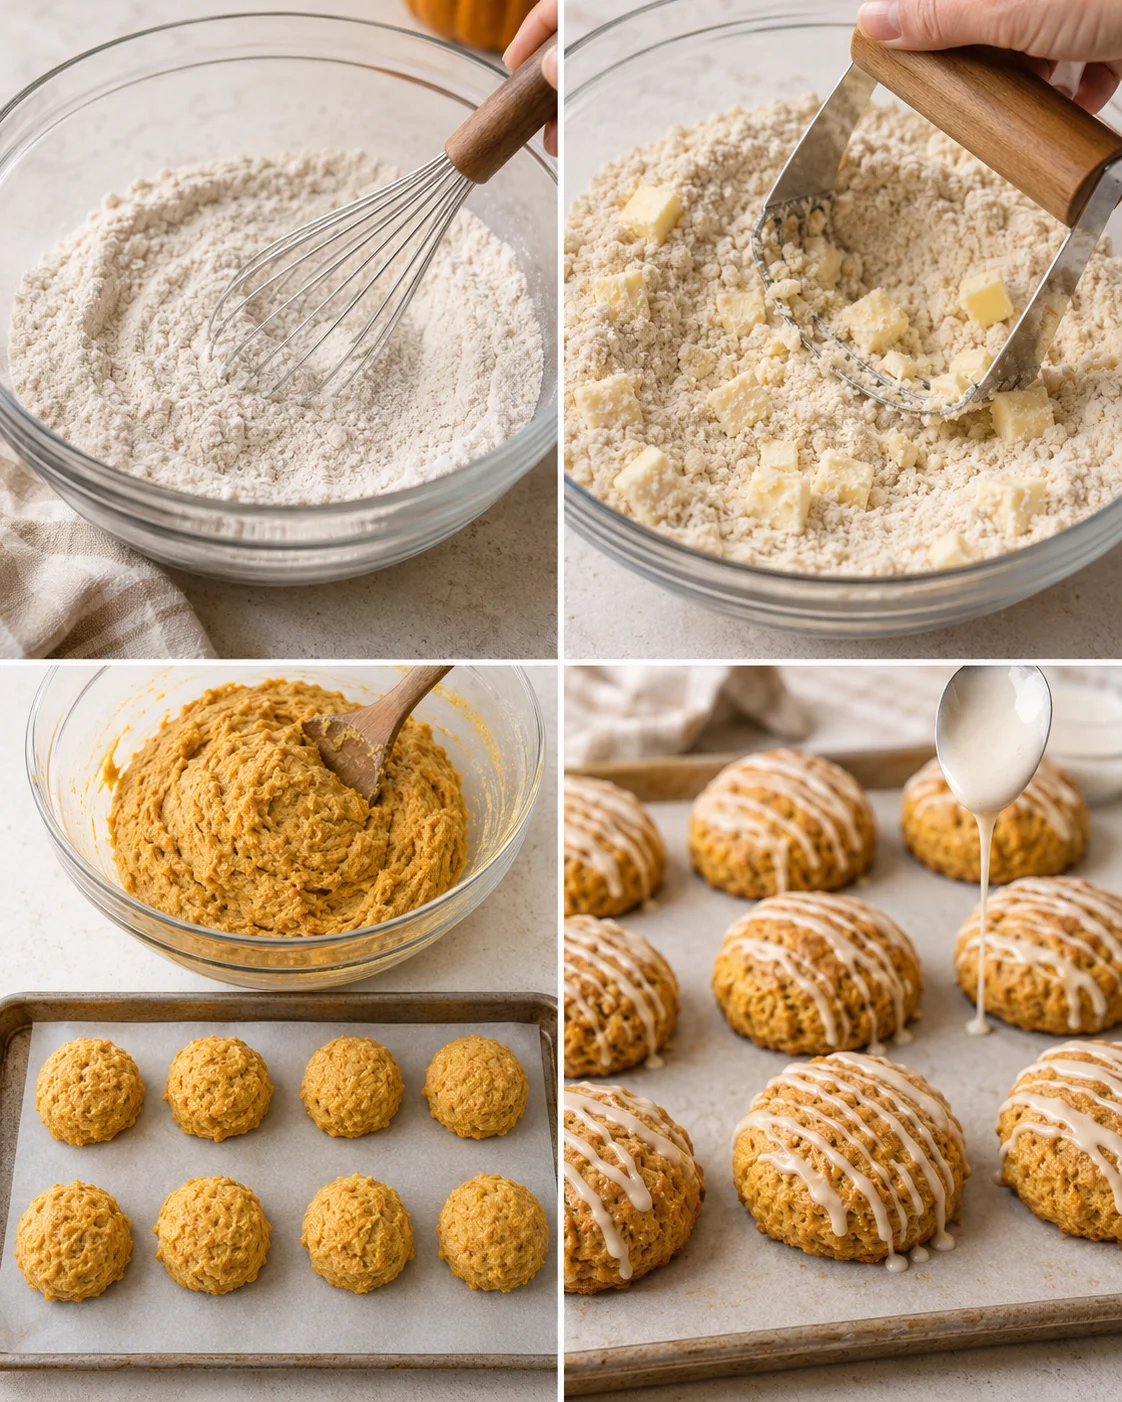
- Measure flour accurately (scale or spoon-and-level) and whisk together flour, baking powder, cinnamon, and salt.
- Keep the butter chilled; cut chilled butter into the flour mixture with a pastry cutter or fork until it resembles coarse crumbs.
-
Stir in pumpkin purée, 8 teaspoons maple syrup, and 10 teaspoons milk; mix gently just until the dough comes together, avoiding overworking.
- Reserve 1/8 teaspoon maple syrup and 1/2 teaspoon milk for brushing the tops.
- Divide the dough into 8 equal pieces, shape each into a ball, place on the prepared baking sheet, and press down slightly to form scone shapes.
- Mix the reserved maple syrup and milk and brush onto the tops of the scones just before baking.
- Bake at 425°F for 12 to 14 minutes until the tops are light golden brown; let scones rest on the pan for 5 minutes, then transfer to a wire rack to cool completely.
- Stir together Greek yogurt and 1 1/2 teaspoons maple syrup until smooth, pour into a small plastic bag, snip off a corner, and drizzle the glaze over the cooled scones.
Tips for Tender Scones
- Measure your flour the right way—either use a kitchen scale or the spoon-and-level method—to avoid dense scones that fall flat.
- Keep your butter as cold as possible and work quickly. Warm butter leads to heavy, dense dough.
- Mix just until all the ingredients come together. Over-mixing develops gluten and makes scones tough instead of tender.
- Press the dough balls down a little before baking so they cook evenly with soft centers and nicely browned edges.
- Brush the tops with the milk and maple syrup mix right before baking to coax out a light, crisp crust with just a hint of sweetness. For a bigger maple punch, make a small batch of vanilla maple syrup to brush on after baking.
- For a neat glaze drizzle, place the glaze in a zip-top bag and snip off a tiny corner.
- If you’re using gluten-free flour, don’t forget to add xanthan gum or a similar binder to help the scones hold together well. Or, for a naturally gluten-free fall dessert, try Crustless Pumpkin Pie.
Mix-Ins and Flavor Swaps
- Mix it up by folding in ¼ to ½ cup of add-ins like dark chocolate chips, chopped pecans or walnuts, or dried cranberries or raisins for a fruity touch—or even a handful of Pumpkin Spice Sourdough Granola for extra crunch.
- Switch up the spices by replacing the cinnamon with 1 teaspoon pumpkin pie spice or mixing cinnamon with ¼ teaspoon nutmeg and ¼ teaspoon ginger for a cozy fall flavor twist.
- Make mini scones—divide the dough into 12 to 16 smaller portions and watch your baking time closely, since they’ll bake more quickly.
- Try different glaze options like a cream cheese plus maple glaze or a simple powdered sugar and maple syrup drizzle for variation.
- Eating dairy-free or vegan? Use vegan buttery spread, plant-based milk, and nondairy yogurt for a perfectly inclusive treat.
How to Store and Freeze
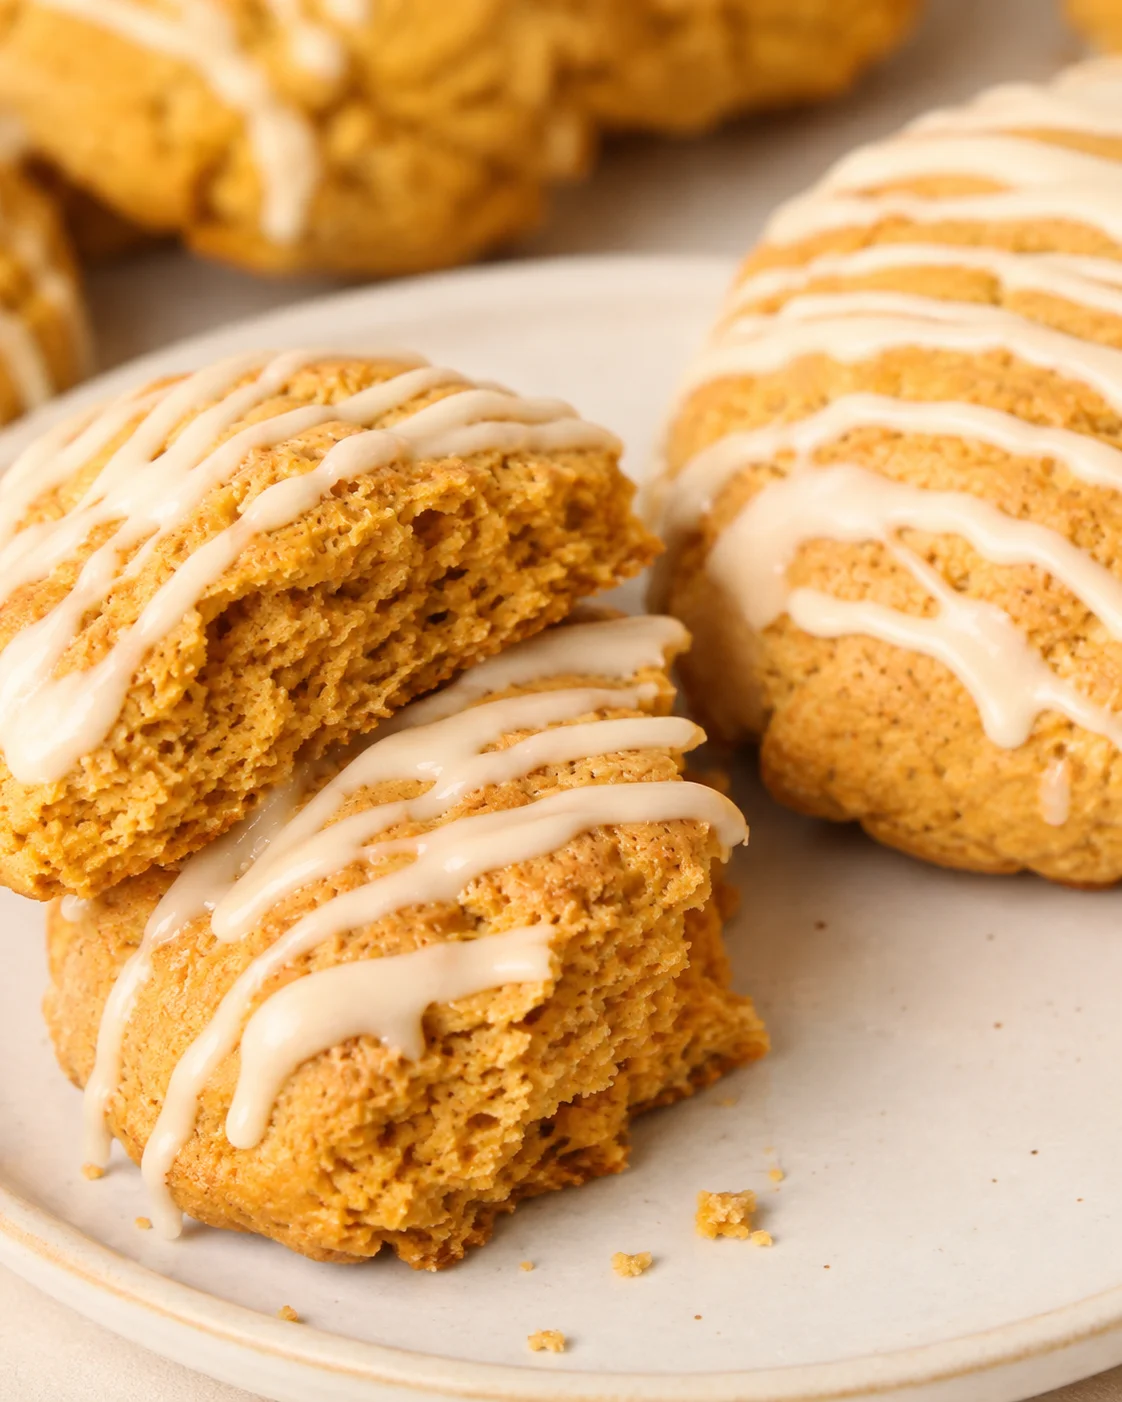
- Room temperature storage: Once cooled and glazed, keep your pumpkin scones in an airtight container for 1 to 2 days. The yogurt glaze might soften over time, but they’ll still be tasty.
- Refrigerate: For longer freshness, store scones in an airtight container in the fridge for up to 4 days.
- Freeze baked scones: Wrap each scone tightly in plastic wrap and store them in a freezer-safe bag or container for up to 2 months. Thaw them overnight in the fridge or leave on the counter until soft.
- Reheat: Warm scones from room temperature or thawed in a 300-350°F oven for 6 to 10 minutes to get that fresh-baked warmth back. From frozen, bake at 350°F for 12 to 15 minutes. You can zap them in the microwave quickly (15-30 seconds) for a fast fix, but the oven will bring back more of that crispy crust we love.
- Make-ahead raw dough: Shape the dough balls and freeze them on a tray, then transfer to a bag. When ready, bake them straight from frozen—just add a few minutes to the baking time. This freeze-then-bake method also works well for buttery biscuits like Peach Buttermilk Biscuits.
Common Questions Answered
- Can I use canned pumpkin pie filling? Nope, use plain pumpkin purée only. Pumpkin pie filling has added sugar and spices that will throw off the flavor and texture.
- Can I make these gluten-free? Absolutely! This recipe works great with gluten-free flour blends. I recommend millet, brown rice, tapioca flours plus xanthan gum—see the notes above.
- Why so little butter? Pumpkin purée adds plenty of moisture and keep the scones tender, so only a small bit of butter is needed to keep them light and less fatty.
- How do I get a crispy crust? Brushing the tops with the milk and maple syrup mix just before baking helps make that slightly crunchy, sweet finish. Also, baking at a high temp (425°F) helps set the crust quickly.
- Can these pumpkin scones be made vegan? Yes! Just swap the butter for vegan buttery sticks, use plant milk, and nondairy yogurt for the glaze. For another dairy-free pumpkin breakfast idea, try Pumpkin Chia Pudding.
- Can I freeze them? Yes! Both baked and unbaked scones freeze beautifully for up to 2 months. Bake raw scones from frozen, just add a few minutes to the bake time.
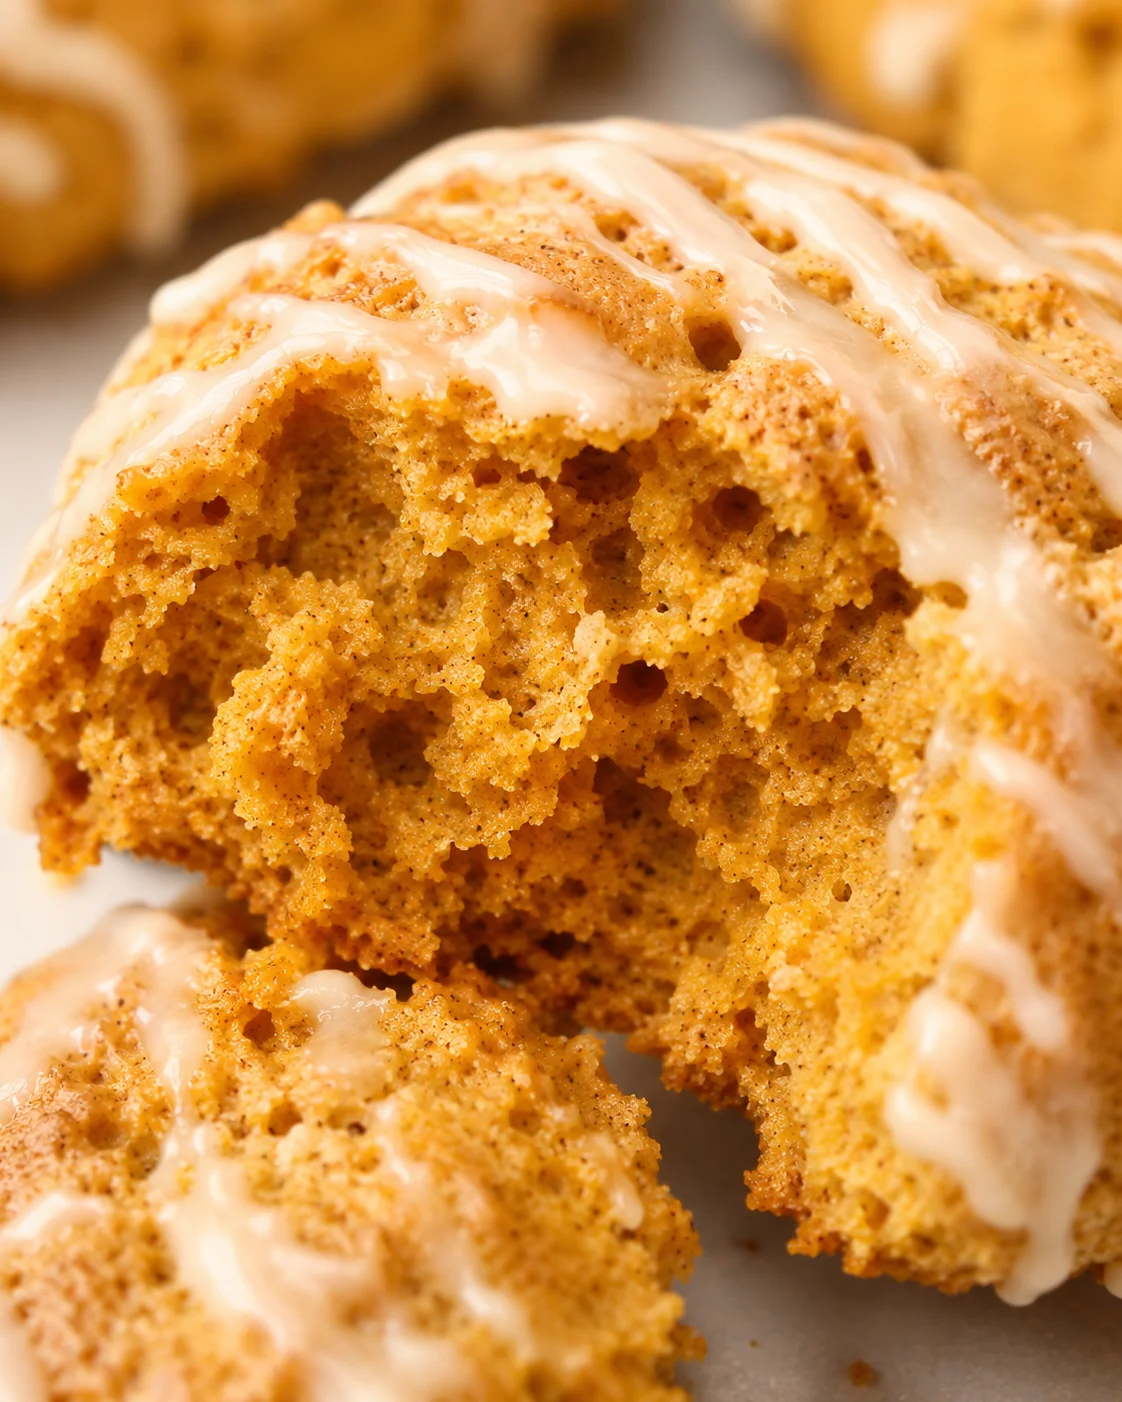
Soft and tender pumpkin scones with a lightly crisp crust, natural sweetness from maple syrup, and a light maple-yogurt glaze. Ready in about 45 minutes and perfect for fall mornings.
- Prep Time: 15 minutes
- Cook Time: 14 minutes
- Total Time: 45 minutes
- Yield: 8 scones 1x
- Category: Breakfast
- Cuisine: American
Ingredients
- 1 ½ cups (180g) whole wheat or gluten-free* flour (measured carefully)
- 1 ½ teaspoons baking powder
- 1 teaspoon ground cinnamon
- ¼ teaspoon salt
- 2 tablespoons unsalted butter, chilled
- ½ cup pumpkin purée (use plain pumpkin purée, not pumpkin pie filling)
- 8 teaspoons maple syrup (8 tsp for dough + 1/8 tsp reserved for brushing)
- 10 teaspoons nonfat milk, divided (10 tsp for dough + ½ tsp for brushing)
- 1 tablespoon plain nonfat Greek yogurt
- 1 ½ teaspoons maple syrup (for glaze)
- *Gluten-free flour blend: 1 cup (120g) millet flour, ¼ cup (35g) brown rice flour, ¼ cup (30g) tapioca flour, plus 1 ½ teaspoons xanthan gum.
Instructions
- Preheat oven to 425°F and line a baking sheet with foil; spray foil with nonstick cooking spray.
- Measure and whisk together flour, baking powder, cinnamon, and salt.
- Cut chilled butter into the flour mixture using a pastry cutter or fork until mixture resembles coarse crumbs.
- Stir in pumpkin purée, 8 teaspoons maple syrup, and 10 teaspoons milk; mix gently just until the dough comes together, avoiding overworking.
- Reserve 1/8 teaspoon maple syrup and ½ teaspoon milk for brushing the tops.
- Divide the dough into 8 equal pieces, shape each into a ball, place on prepared baking sheet, and gently press down to form scone shapes.
- Mix reserved maple syrup and milk; brush onto scone tops just before baking.
- Bake at 425°F for 12 to 14 minutes until tops are light golden brown; let scones rest on pan for 5 minutes, then transfer to wire rack to cool completely.
- Mix Greek yogurt and 1 ½ teaspoons maple syrup until smooth; pipe or drizzle glaze over cooled scones.
Notes
Measure flour accurately using a kitchen scale or spoon-and-level method to avoid dense scones., Keep butter chilled and work quickly to maintain tender texture., Do not over-mix dough to prevent toughness., Brushing tops with maple syrup and milk before baking helps develop a crisp, sweet crust., For gluten-free versions, add xanthan gum to help scones hold together., Add mix-ins like chocolate chips, pecans, or dried cranberries for variation., Scones can be made vegan by substituting vegan butter, plant-based milk, and nondairy yogurt., Store cooled scones in airtight container at room temperature for 1-2 days or refrigerate up to 4 days., Freeze baked scones wrapped tightly for up to 2 months; bake from frozen adding a few minutes to baking time., Raw shaped dough balls can be frozen and baked later, adding a few minutes to bake time.
Nutrition
- Serving Size: 1 scone
- Calories: Approximately 160 calories per scone
- Fat: 5g per serving
- Carbohydrates: 25g per serving
- Protein: 4g per serving
More in Recipes
Healthy Pumpkin Truffles

10-Minute Vegan Pumpkin Pasta
Gluten Free Pumpkin Muffins