Delicious Sesame Chicken

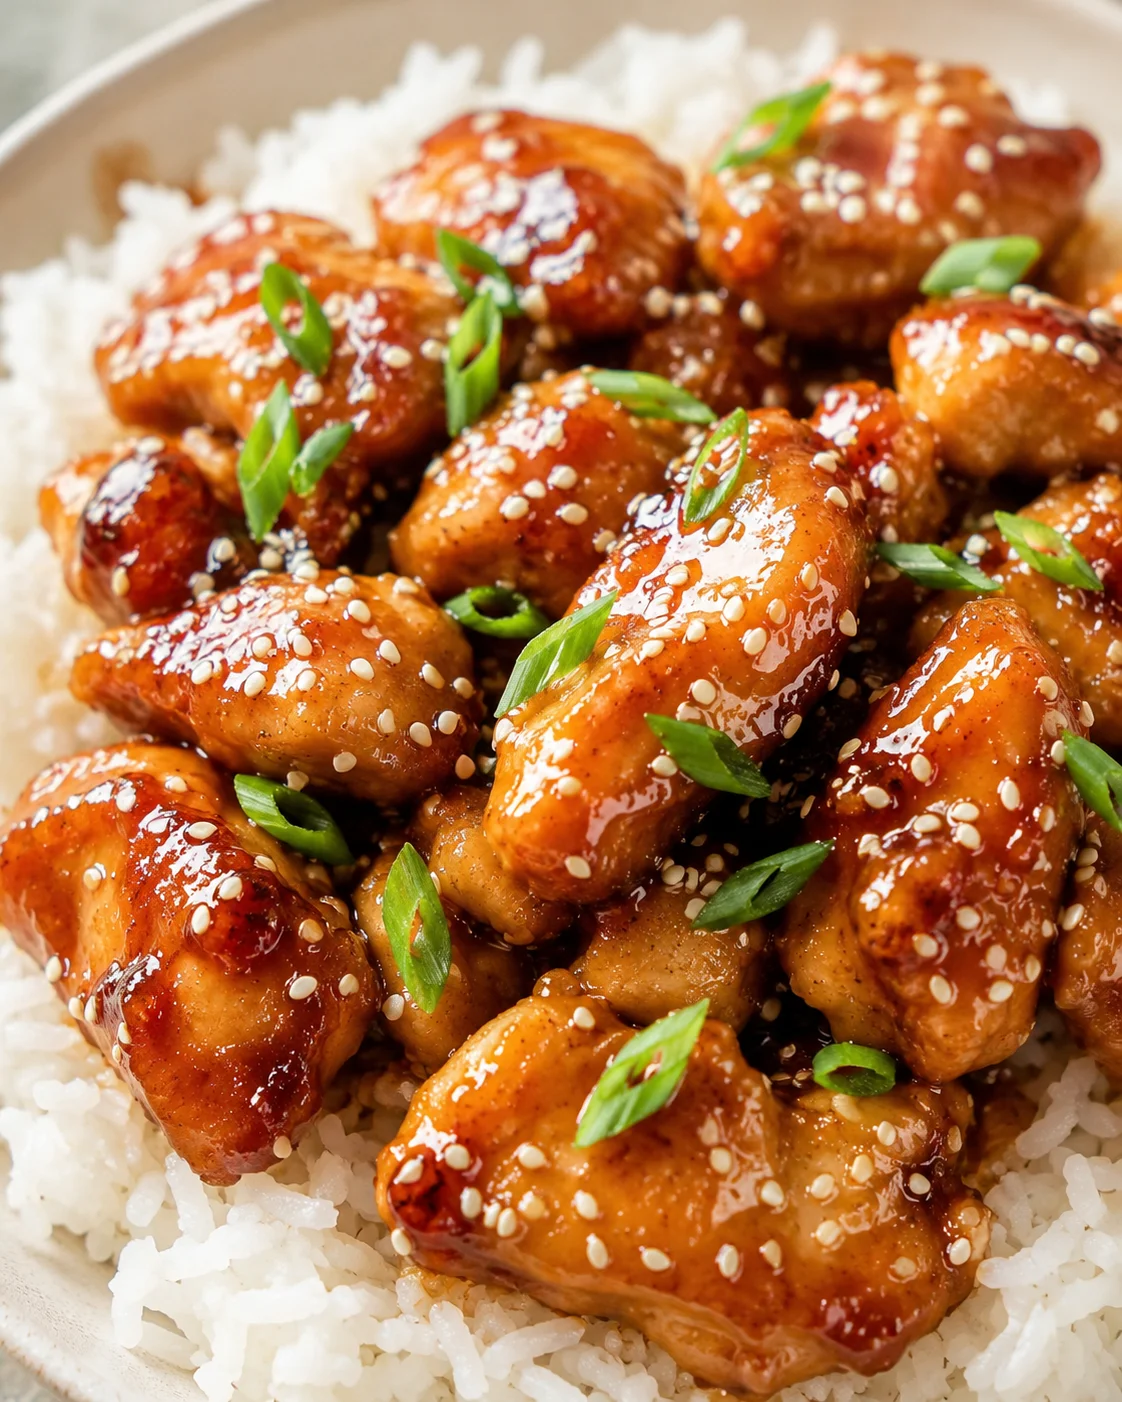
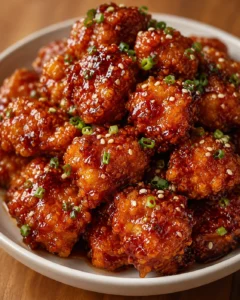
In this Sesame Chicken recipe, tender chunks of chicken are smothered in a glossy, sticky sesame sauce that’s perfectly sweet and savory. The best part? You can whip it up in just 30 minutes, making it an ideal weeknight dinner!
This sesame chicken recipe quickly became a family favorite at my house, and I’m sure your loved ones will enjoy it just as much! It ticks all the boxes for a busy night meal: super easy, full of bold flavor, and way healthier than your average takeout.
The real magic here is the sesame sauce coating every bite of chicken. It has just the right balance of sweet and savory that sticks to the pan-seared chicken like a dream. The sauce thickens as you toss it with the golden chicken, creating a deliciously sticky glaze. We’ve been making this sesame chicken recipe on repeat — give it a try, and you’ll see why it’s such a keeper!
This sesame chicken recipe is ready in around 30 minutes and features tender, bite-sized chicken pieces coated in a sticky, sweet-and-savory sesame sauce—think delicious takeout flavors without any deep-frying mess. The chicken gets a light coating of egg, cornstarch, and flour, then it’s pan-cooked in just a splash of oil to get a touch of crispiness without all the extra grease.
Below, you’ll find everything you need: a full list of ingredients with exact amounts, step-by-step instructions complete with photos, handy tips for getting the texture just right, easy swaps and variations, storage advice, nutrition info, and answers to common questions. Serve this sesame chicken over steamed rice with your favorite vegetables, and top it off with sesame seeds and green onions for a totally stress-free and satisfying family dinner.
What Makes It Special
This sesame chicken recipe is a quick, family-friendly dinner that delivers those crave-worthy takeout flavors in just about half an hour. The sauce is sticky and perfectly balanced between sweet and savory, making every bite a delight. Pan-cooking the chicken with a light coating gives it a crisp bite without deep frying, so you get all the flavor with less oil and fuss. If you’d rather take it outside, try our Grilled Sesame Chicken for a smoky spin. Plus, this recipe calls for simple pantry staples like soy sauce, honey, and cornstarch, and it’s super easy to tweak or scale up depending on what you need. Serve it with rice or steamed or roasted veggies like Lemon Garlic Roasted Broccoli, and you have a complete meal everyone will love!
Ingredients and Pantry Staples
- ¼ cup low sodium soy sauce
- ¼ cup ketchup
- 2 tablespoons honey
- 1 tablespoon brown sugar
- 1 tablespoon sesame oil
- 1 tablespoon rice vinegar
- 1 tablespoon sweet chili sauce, or a pinch of red pepper flakes for heat (optional)
- 3 cloves garlic, minced
- 2 teaspoons cornstarch
- 1.5 pounds boneless, skinless chicken breasts, cut into 1-inch pieces
- 2 large eggs
- 3 tablespoons cornstarch
- ½ teaspoon salt
- ½ teaspoon black pepper
- ¾ cup all-purpose flour
- 2 tablespoons canola oil, or avocado oil
- cooked white or brown rice
- chopped green onions
- sesame seeds
Step-by-Step Cooking Instructions
- Cut the chicken into 1-inch cubes.
- Whisk all sauce ingredients together in a bowl until smooth and set aside.
- In a shallow dish, whisk together the eggs, cornstarch, salt, and pepper until smooth.
- Place the flour in a separate shallow dish.
- Working in two batches, dip each chicken piece into the egg mixture, then toss in the flour, shaking off excess; place coated pieces on a plate.
- Heat the canola oil in a large skillet over medium heat.
- Add the coated chicken to the hot skillet and cook, turning gently, until all sides are golden brown and the chicken is cooked through (about 10 minutes); lower the heat if the exterior browns too quickly.
- Push the cooked chicken to one side of the pan.
-
Pour the sauce into the empty side of the pan and stir until it thickens, about 1–2 minutes.
- Gently toss the chicken in the thickened sauce until well coated; cook another 2–3 minutes on low if you want a thicker, stickier glaze.
Tips for Crisp, Sticky Sauce
- Cut the chicken into 1-inch cubes or smaller so the pieces cook quickly and evenly.
- If the chicken starts browning too fast on the outside but isn’t cooked through, turn down the heat a bit to avoid burning.
- Flip the chicken gently to keep the crispy coating intact while cooking.
- After you toss the chicken in the sauce, cook it a few more minutes on low so the sauce thickens into a glossy, sticky glaze—similar to the method in our Honey Garlic Sesame Chicken.
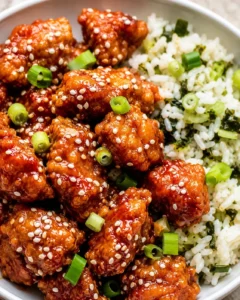
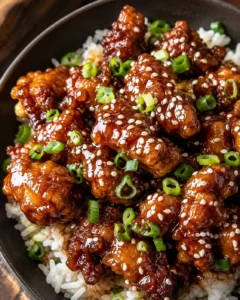
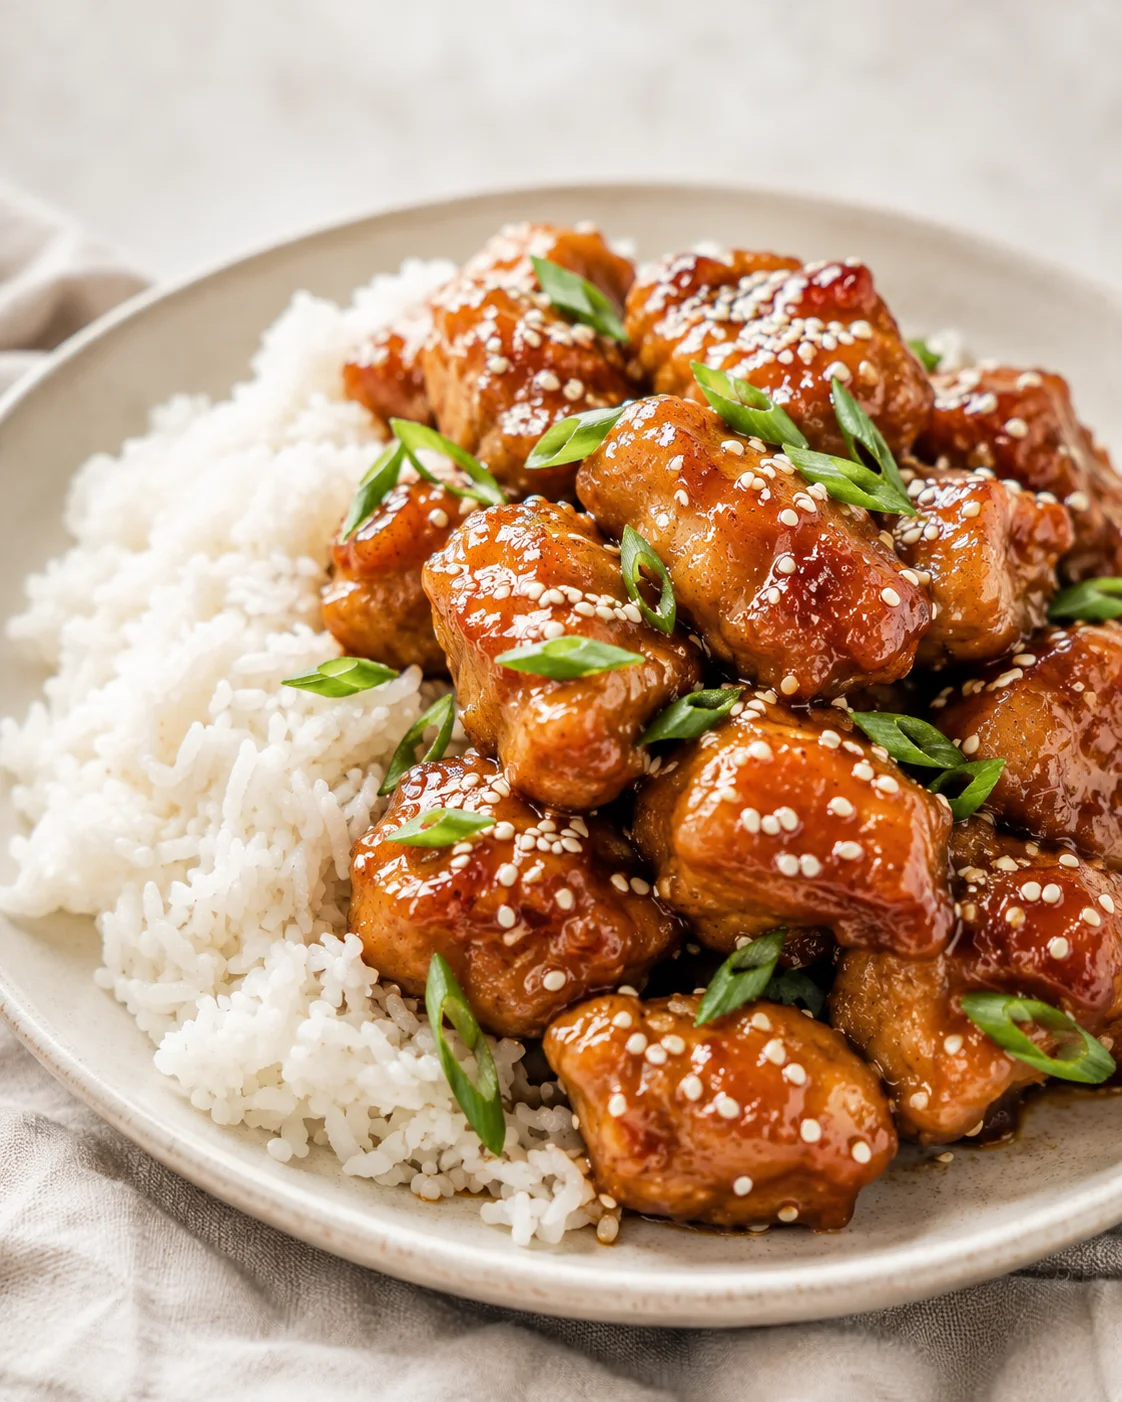
Serve this easy sesame chicken over warm rice and add a sprinkle of sesame seeds and chopped green onions to finish it all off.
Flavor Variations and Substitutes
- Substitute boneless chicken thighs for breasts if you want juicier meat; just cut into the same size pieces and cook a few minutes longer.
- Turn up the heat by adding more sweet chili sauce, red pepper flakes, or a splash of sriracha for some spice.
- For a gluten-free version, swap soy sauce with tamari or coconut aminos and use gluten-free flour or extra cornstarch for the chicken coating.
- Try swapping the chicken for firm tofu (pressed and patted dry, then coated and pan-fried—see crispy honey garlic tofu for technique) or shrimp — just adjust the cooking times accordingly.
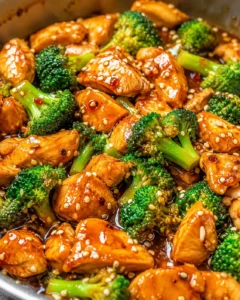
- Add veggies like broccoli, bell peppers, snap peas, or shredded carrots during the last few minutes for a colorful one-pan meal.
- For extra crispy chicken, pan-sear the coated pieces and finish them in a 400°F oven for 6–8 minutes or in an air fryer for 6–10 minutes depending on size.
- Swap honey for maple syrup in the sauce for a slightly different but equally tasty sweetness.
Storage, Freezing, and Reheating
Let any leftover sesame chicken cool a bit before moving it into an airtight container. Store in the fridge and enjoy within 3 to 4 days.
For longer storage, freeze in a freezer-safe container or bag for up to 2–3 months. Label with the date and thaw overnight in the fridge before reheating.
Reheating tips:
- On the stovetop, warm the chicken gently over low to medium heat with a splash of water or broth, stirring occasionally to loosen up the sauce.
- In the microwave, cover and heat in 30 to 60 second bursts, stirring in between to heat evenly and keep the chicken moist.
- Oven reheating works well too: place in an oven-safe dish, cover, and heat at 325–350°F for 10–15 minutes. Uncover for a few minutes at the end if you want to thicken the sauce again.
Make-ahead tip: Whip up the sauce in advance and keep it refrigerated for up to 3 days. You can also coat the chicken ahead of time, cover, and store it in the fridge for up to 24 hours before cooking.
Common Questions Answered
- Can I use chicken thighs instead of breasts? Absolutely! Thighs stay juicier and more tender. Just cut them into 1-inch pieces and cook until the internal temperature hits 165°F. They might need a couple extra minutes.
- How do I get the coating crispier? Turn up the heat just a bit and avoid crowding the pan so the chicken browns instead of steaming. You can also finish cooking the coated chicken in a hot oven or an air fryer for a few minutes—for timing and crisping cues, see our Crispy Air Fryer Broccoli Bites.
- Is the sauce spicy? The original sauce is mild and sweet-savory, but you can easily add more heat with extra sweet chili sauce or a little red pepper flakes—just to your taste.
- Can I make this gluten-free? Yes, swap soy sauce for tamari or coconut aminos, and replace the all-purpose flour with gluten-free flour or extra cornstarch.
- Can I double the recipe? Totally. Just cook the chicken in batches so the pan isn’t crowded and the chicken browns nicely instead of steaming.
- How long can I keep coated, uncooked chicken in the fridge? You can keep the coated chicken in the fridge up to 24 hours before cooking. For longer storage, freeze the raw coated pieces and cook from frozen, adding a few extra minutes to the cooking time.
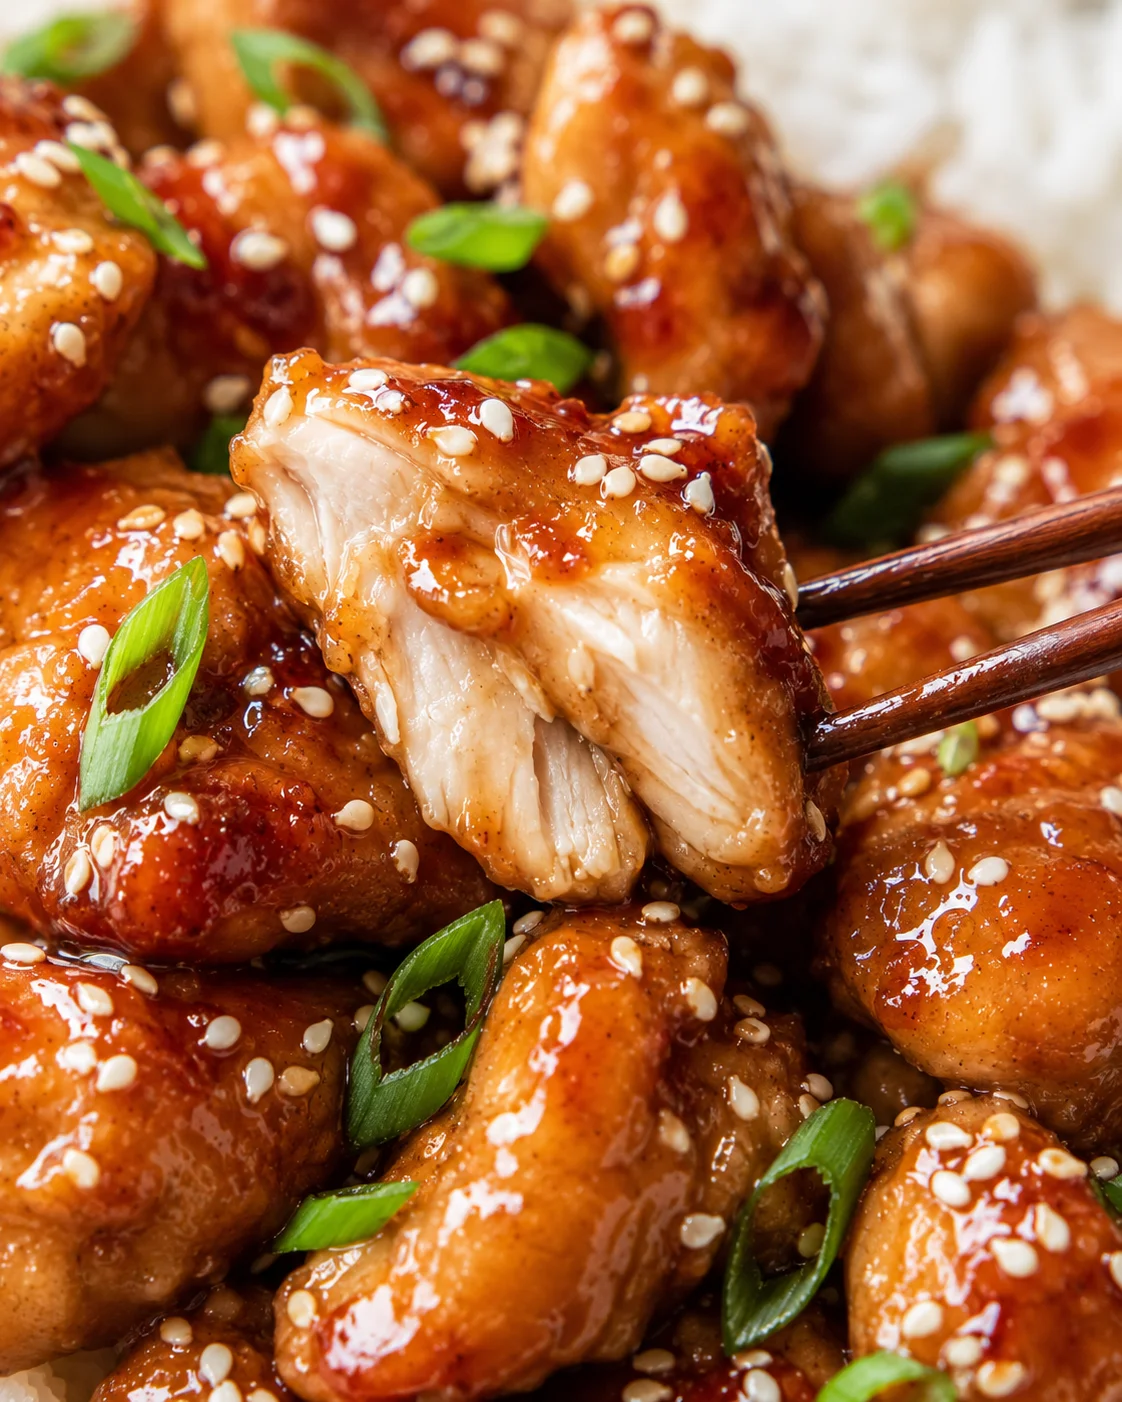
Tender chunks of chicken pan-cooked with a light coating and smothered in a sticky, sweet and savory sesame sauce. Ready in about 30 minutes, this recipe offers takeout flavors without deep-frying.
- Prep Time: 10 minutes
- Cook Time: 20 minutes
- Total Time: 30 minutes
- Yield: 4-6 servings 1x
- Category: Main Course
- Cuisine: Asian-inspired
Ingredients
- 1.5 pounds boneless, skinless chicken breasts, cut into 1-inch pieces
- 2 large eggs
- 3 tablespoons cornstarch (divided: 2 teaspoons in egg mixture, 3 tablespoons for coating)
- ½ teaspoon salt
- ½ teaspoon black pepper
- ¾ cup all-purpose flour
- 2 tablespoons canola oil or avocado oil
- ¼ cup low sodium soy sauce
- ¼ cup ketchup
- 2 tablespoons honey
- 1 tablespoon brown sugar
- 1 tablespoon sesame oil
- 1 tablespoon rice vinegar
- 1 tablespoon sweet chili sauce or a pinch of red pepper flakes (optional)
- 3 cloves garlic, minced
- cooked white or brown rice, for serving
- chopped green onions, for garnish
- sesame seeds, for garnish
Instructions
- Cut the chicken into 1-inch cubes.
- Whisk together all the sauce ingredients (soy sauce, ketchup, honey, brown sugar, sesame oil, rice vinegar, sweet chili sauce or red pepper flakes if using, and minced garlic) in a bowl until smooth and set aside.
- In a shallow dish, whisk together the eggs, 2 teaspoons cornstarch, salt, and black pepper until smooth.
- Place the all-purpose flour in a separate shallow dish.
- Working in two batches, dip each chicken piece first into the egg mixture, then toss in the flour, shaking off excess; place coated pieces on a plate.
- Heat the canola or avocado oil in a large skillet over medium heat.
- Add the coated chicken to the hot skillet and cook, turning gently, until all sides are golden brown and the chicken is cooked through, about 10 minutes. Lower the heat if the exterior browns too quickly.
- Push the cooked chicken to one side of the pan.
- Pour the sauce into the empty side of the pan and stir until it thickens, about 1–2 minutes.
- Gently toss the chicken in the thickened sauce until well coated. Cook another 2–3 minutes on low heat if a thicker, stickier glaze is desired.
Notes
Cut chicken into small 1-inch pieces for quick and even cooking., Avoid overcrowding the pan to keep the coating crispy., To make the glaze thicker and stickier, cook the chicken extra minutes in the sauce on low heat after tossing., Can substitute chicken thighs for breasts, adjusting cooking time as thighs take a few minutes longer., For extra crispiness, finish coated chicken in a 400°F oven for 6–8 minutes or air fryer for 6–10 minutes., Gluten-free option: use tamari or coconut aminos instead of soy sauce and gluten-free flour or extra cornstarch for coating., Spicier sauce can be achieved by adding more sweet chili sauce, red pepper flakes, or sriracha., Sauce and chicken batter can be made ahead and stored refrigerated (sauce for up to 3 days, coated chicken up to 24 hours)., Leftovers can be refrigerated for 3–4 days or frozen for 2–3 months. Reheat gently with a splash of water or broth.
Nutrition
- Serving Size: about 1 cup chicken with sauce
- Calories: Approximately 350 calories per serving
- Fat: About 10 grams per serving
- Carbohydrates: About 25 grams per serving
- Protein: About 35 grams per serving