Chewy Homemade Granola Bars Recipe You’ll Love to Make and Share!
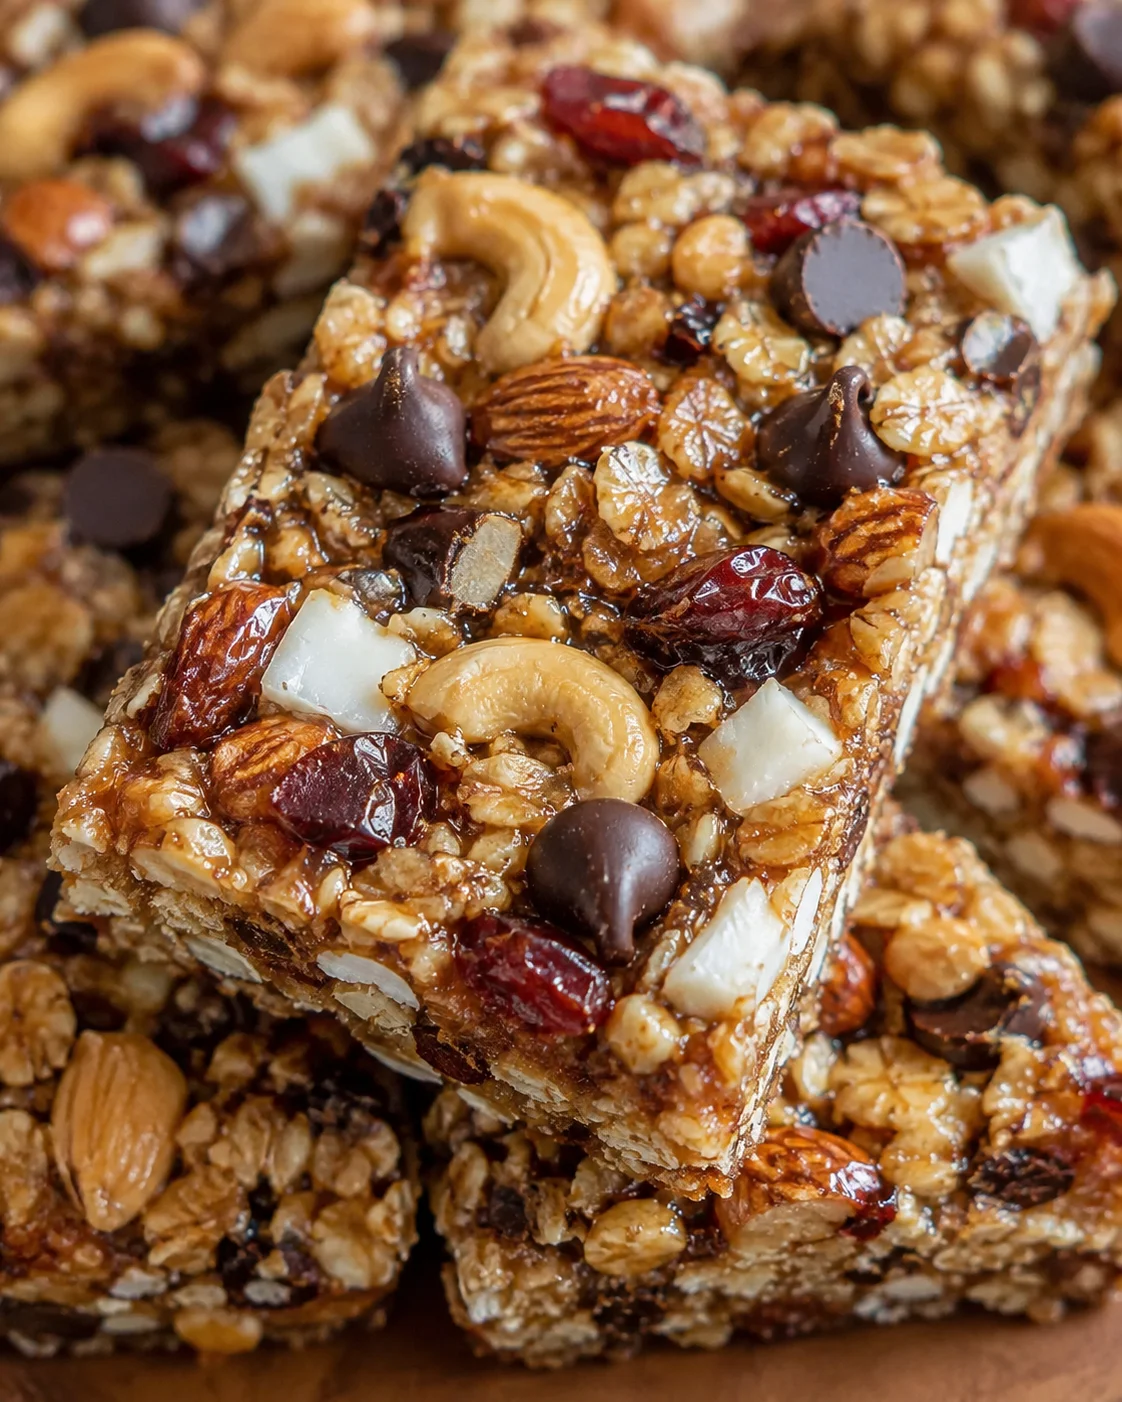
Looking for a simple, healthy snack that’s perfect for busy days and on-the-go munching? You’ve come to the right place! These Chewy Homemade Granola Bars are just what your kitchen needs. They’re loaded with wholesome ingredients and can be customized to suit whatever flavors you and your family love. Whether you’re packing lunchboxes, fueling up before a hike, or just craving a tasty bite, these bars fit right in. Best of all, they’re easy and quick to whip up without any stress. Let’s jump into how you can make your own homemade granola bars that everyone will enjoy!
To sum it up, these Chewy Homemade Granola Bars strike the perfect balance between nutrition and flavor. They’re kid-friendly, straightforward to make, and you’ve got full control over what goes into them. I can’t wait for you to try this recipe — making snacks at home feels so rewarding! Don’t forget to share how yours turn out; I love hearing your stories.
Equipment
- 8×8-inch baking pan
- Parchment paper
- Large mixing bowl
- Small saucepan
- Spatula or wooden spoon
- Measuring cups and spoons
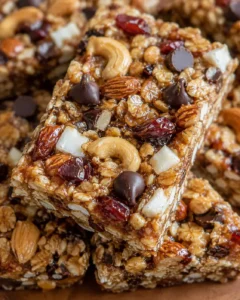
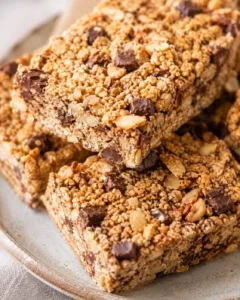
Looking for a snack that’s nourishing, easy to make, and conveniently portable? This recipe for Chewy Homemade Granola Bars ticks all those boxes. It’s built around simple pantry staples — oats, nuts, honey, and nut butter — coming together in a chewy, tasty bar. There’s no fuss or fancy ingredients here, just real food you can feel good about.
With about 20-25 minutes in the oven followed by some cooling time, you’ll end up with a big slab that slices into perfect bars for lunchboxes, backpack snacks, or a quick bite any time. If baking isn’t your thing, don’t worry — you can also skip the oven and chill the bars in the fridge to set.
This guide covers it all — from tools and ingredients to tips for getting chewy, firm bars that hold together well. Plus, you’ll find ideas for flavor swaps and how to store or freeze your homemade granola bars so they stay fresh.
- Who this recipe is great for: busy families, hikers, meal preppers, or anyone who loves homemade snacks.
- What you need on hand: pantry basics and simple kitchen tools.
- What you’ll get: chewy, customizable bars that store great at room temp or chill in the fridge/freezer.
Why You’ll Love This Recipe
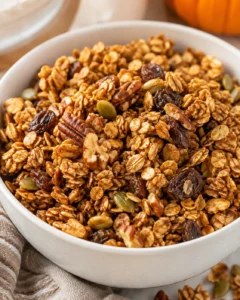
There’s so much to like about these Chewy Homemade Granola Bars. First off, they’re hugely adaptable. Whatever nuts, dried fruit, or add-ins you have around, toss them in. Craving a classic cinnamon–raisin combo? Borrow mix-in cues from this Cinnamon Raisin Granola. Love almonds? Perfect. Not crazy about cranberries? Swap in chocolate chips or seeds — it’s totally up to you! This recipe lets your creativity shine while keeping your snack wholesome.
Then there’s the nutrition. Rolled oats and nuts bring fiber, protein, and healthy fat to the table, helping you stay full and energized longer. These bars satisfy that craving for something chewy and filling without relying on added sugars or preservatives like many store-bought snacks do.
Plus, there’s a special joy in making your snacks from scratch. It’s an easy kitchen project you can share with the kids or friends. Imagine biting into a homemade bar you made together—it’s a simple way to share love and encourage healthier habits at home. If you keep a sourdough starter, try Sourdough Granola Bars for a fun from-scratch twist.
Trying this Chewy Homemade Granola Bars recipe means you know exactly what’s inside your snacks. No mystery ingredients or sneaky additives here — just natural, tasty goodness made by you. And because they’re so convenient, you can have a stash ready for busy mornings or afternoon pick-me-ups. Grab one instead of something sugary from the store and feel good about what you’re eating!
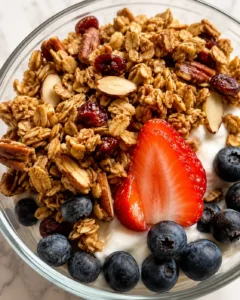
These bars also shine in kid lunches or after-school snacks. Easy to pack and pair with yogurt or nut butter dips, they’re a great way to get your kids used to wholesome homemade treats early on.
What You’ll Need
- 2 cups rolled oats
- 1 cup chopped nuts (almonds, walnuts, or pecans)
- 1/2 cup honey or maple syrup
- 1/4 cup peanut butter or almond butter
- 1/2 teaspoon vanilla extract
- 1/2 cup dried fruit (raisins, cranberries, or chopped apricots)
- 1/4 teaspoon salt
- 1/4 cup optional chocolate chips or seeds (pumpkin or sunflower)
How to Make the Bars
- Preheat the oven to 350°F (175°C) and line an 8×8-inch pan with parchment paper, leaving an overhang for easy removal.
- Optional: Toast the rolled oats and chopped nuts in a dry pan or oven for 5–8 minutes, then cool before mixing.
- In a large bowl, combine rolled oats, chopped nuts, dried fruit, and salt (add chocolate chips or seeds if using).
- Heat honey or maple syrup and peanut butter or almond butter in a small saucepan over low heat, stirring until smooth; remove from heat and stir in vanilla extract.
- Pour the warm honey–nut butter mixture over the dry ingredients and stir until everything is evenly coated and sticky.
- If using chocolate chips and you don’t want them to melt, let the mixture cool slightly and then fold the chips in (optional).
- Transfer the mixture to the lined pan and press down firmly with a spatula or oiled hands to compact the mixture.
-
Bake for 20–25 minutes, until the edges turn golden brown.
- Let the baked slab cool in the pan for 10 minutes, then lift it out using the parchment overhang and cool completely on a wire rack before slicing into bars.
- No-bake option: instead of baking, press the mixture into the pan and chill in the refrigerator for at least 2 hours until firm; adding a little coconut oil or extra nut butter can help it set (optional).
Tips for Best Texture
Grab parchment paper with an overhang so you can lift your bars right out without a mess — it’s the same parchment-sling trick we use for our gluten-free rhubarb bars. Press the mixture down firmly to help bars stick together once baked. For deeper flavor, try toasting your oats and nuts in a dry pan or oven for 5–8 minutes — just cool them before mixing with the wet stuff.
Don’t overbake! Pull bars out when the edges are golden but the center still looks a little soft — they’ll set as they cool and stay chewy. If your mix feels too dry and crumbly, gently warm the honey and nut butter again and stir in tiny bits until it binds better; finely chopped dates can also help with binding while keeping the bars chewy (see Date Cookies (Soft, Sweet and Chewy Recipe) for how dates influence texture). If too wet, add a spoon or two of oats.
Add chocolate chips after your mixture cools a bit so they don’t melt completely, or stir them in once bars have partially cooled. When pressing, oil your hands or spatula lightly to keep things from sticking and get a nice compact bar. Want to boost protein? Swap a 1/4 to 1/3 cup of oats for protein powder and add a bit more nut butter or syrup to keep things together.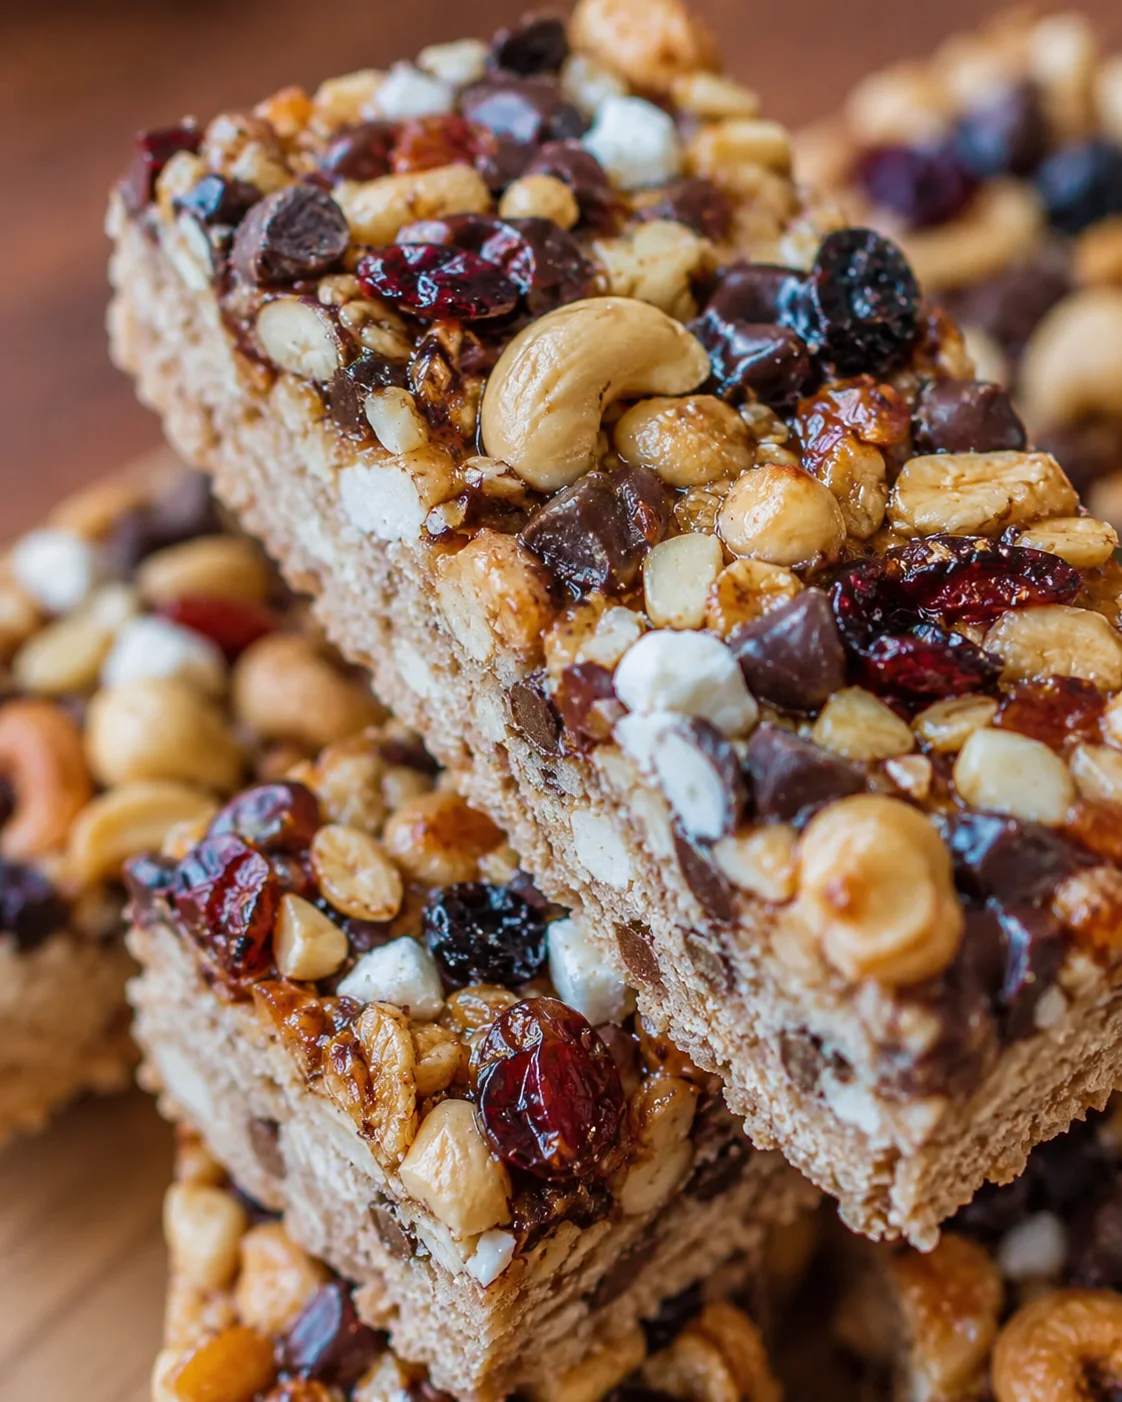
Mix-Ins and Substitutions
- Nut-free? Use sunflower or soy nut butter and swap nuts for extra pumpkin or sunflower seeds.
- Vegan? Choose maple or agave syrup plus a vegan-friendly nut or seed butter instead of honey; for maple-forward inspiration, see Maple Nut Granola (gluten-free, refined sugar-free).
- Chocolate and fruit lovers can add 1/3 cup chocolate chips plus 1/3 cup dried cherries or cranberries.
- For a tropical twist, add 1/3 cup shredded coconut and swap apricots for dried mango.
- Spice it up by mixing in 1 teaspoon ground cinnamon and 1/4 teaspoon ground ginger with dry ingredients, or go the pumpkin spice route with Pumpkin Spice Sourdough Granola.
- If you want a protein power-up, replace 1/4 to 1/3 cup oats with protein powder and add 1–2 tablespoons extra nut butter or syrup.
- For a lighter crunch, fold in 1/2 to 3/4 cup puffed rice—press gently to avoid crushing.
- No time or oven? Press the mix into the pan and chill in the fridge for at least 2 hours until firm. Coconut oil or extra nut butter helps this set nicely.
Storing and Shelf Life
At room temperature, store your cooled homemade granola bars in an airtight container for up to 7 days. Layer pieces with parchment or wax paper to keep them from sticking together.
If you want them to last longer, refrigeration is the way to go. Keep bars sealed in a container for up to 2 weeks. They’ll firm up in the fridge, which can make for neater slicing.
Freezing is a great option too! Wrap bars individually in plastic wrap or parchment, then place them in a freezer-safe bag or box. They’ll keep well for up to 3 months. To thaw, pop them in the fridge overnight or leave them at room temp for 20-30 minutes. Stocking the freezer? Chocolate Chip Zucchini Bars are another great make-ahead treat that freezes well.
If you like warmed bars, heat one for 10-15 seconds in the microwave or toast it in a 300°F (150°C) oven for around 5 minutes for a slightly crispy edge.
Ahead of time? Mix all your dry ingredients and store them in an airtight jar or container for up to a month. When ready, just warm the wet ingredients, combine, press, and bake. For a fridge-friendly make-ahead breakfast in jars, see Vanilla Chia Pudding.
Common Questions Answered
Can I customize the ingredients in these Chewy Homemade Granola Bars?
Definitely! Feel free to swap nuts, fruits, or sweeteners based on what you have or like best. For a nutty, protein-forward twist, browse the mix-in ideas in our Peanut Butter Granola and adapt them to your bars. This recipe is very flexible to your taste.
How do I store Chewy Homemade Granola Bars?
Keep them in an airtight container at room temperature for about a week. Refrigerating them extends freshness and firms them up.
Can I freeze these granola bars?
Yes! Wrap them individually and freeze them up to 3 months. Thaw in the fridge or at room temperature before enjoying.
What can I use instead of honey or maple syrup?
Try agave syrup or brown rice syrup as vegan-friendly substitutes for honey or maple syrup.
Can I add protein powder to these bars?
Yes! Replace a portion of the oats with protein powder, and add a little extra nut butter or syrup to keep the bars holding together nicely.
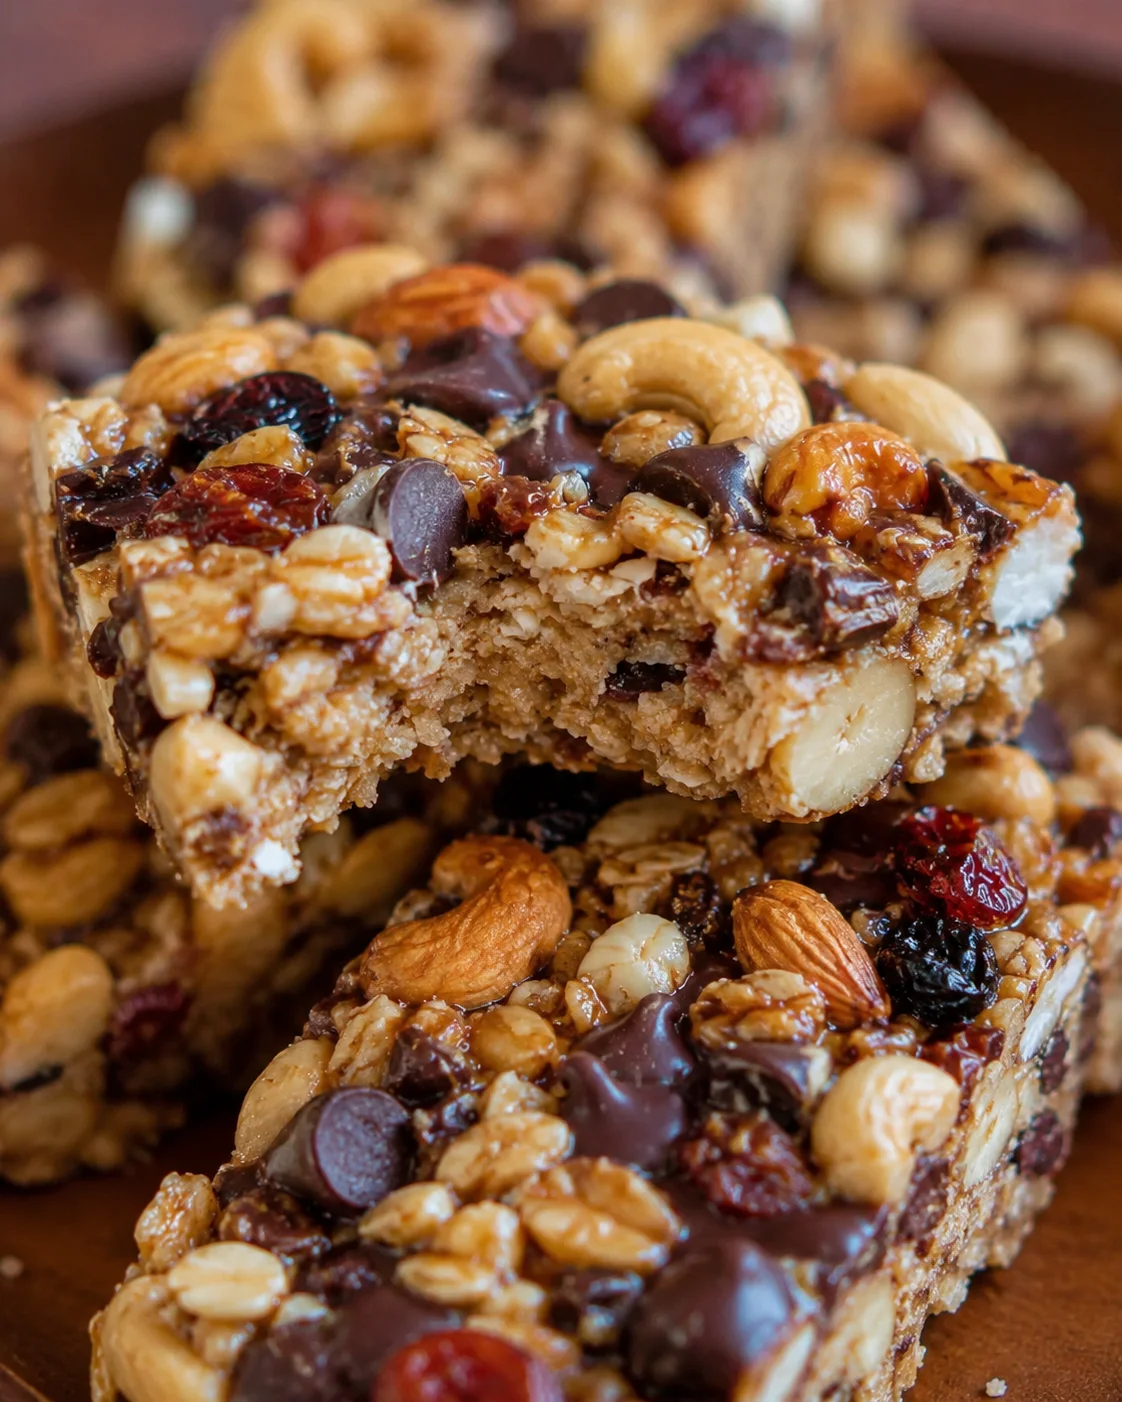
Wholesome, customizable chewy granola bars made with rolled oats, nuts, dried fruit, and natural sweeteners. Perfect for a healthy snack on the go.
- Prep Time: 15 minutes
- Cook Time: 20-25 minutes
- Total Time: 35-40 minutes
- Yield: 16 bars (approximately) 1x
- Category: Snack
Ingredients
- 2 cups rolled oats
- 1 cup chopped nuts (almonds, walnuts, or pecans)
- 1/2 cup honey or maple syrup
- 1/4 cup peanut butter or almond butter
- 1/2 teaspoon vanilla extract
- 1/2 cup dried fruit (raisins, cranberries, or chopped apricots)
- 1/4 teaspoon salt
- 1/4 cup optional chocolate chips or seeds (pumpkin or sunflower)
Instructions
- Preheat the oven to 350°F (175°C) and line an 8×8-inch pan with parchment paper, leaving an overhang for easy removal.
- (Optional) Toast the rolled oats and chopped nuts in a dry pan or oven for 5–8 minutes, then cool before mixing.
- In a large bowl, combine rolled oats, chopped nuts, dried fruit, salt, and chocolate chips or seeds if using.
- Heat honey or maple syrup and peanut butter or almond butter in a small saucepan over low heat, stirring until smooth; remove from heat and stir in vanilla extract.
- Pour the warm honey–nut butter mixture over the dry ingredients and stir until everything is evenly coated and sticky.
- If using chocolate chips and you don’t want them to melt, let the mixture cool slightly and then fold the chips in (optional).
- Transfer the mixture to the lined pan and press down firmly with a spatula or lightly oiled hands to compact the mixture.
- Bake for 20–25 minutes, until the edges turn golden brown.
- Let the baked slab cool in the pan for 10 minutes, then lift it out using the parchment overhang and cool completely on a wire rack before slicing into bars.
- No-bake option: instead of baking, press the mixture into the pan and chill in the refrigerator for at least 2 hours until firm; adding a little coconut oil or extra nut butter can help it set (optional).
Notes
Store bars in an airtight container at room temperature for up to 7 days, layering with parchment or wax paper to prevent sticking., Refrigerate for up to 2 weeks to extend freshness and firm the bars for neater slicing., Freeze individually wrapped bars for up to 3 months; thaw in fridge overnight or at room temperature for 20–30 minutes., To warm, microwave for 10–15 seconds or toast in a 300°F (150°C) oven for about 5 minutes for a crispier edge., Mix dry ingredients ahead and store in airtight container up to one month; when ready, warm wet ingredients, combine, press and bake., Protein powder can replace 1/4 to 1/3 cup oats, adding extra nut butter or syrup to maintain texture.
Nutrition
- Serving Size: 1 bar
- Calories: Approximately 180 calories per bar (estimate)
- Fat: About 8-9 grams per bar (estimate)
- Carbohydrates: Approximately 22 grams per bar (estimate)
- Protein: Around 4-5 grams per bar (estimate)