Peanut Butter Granola
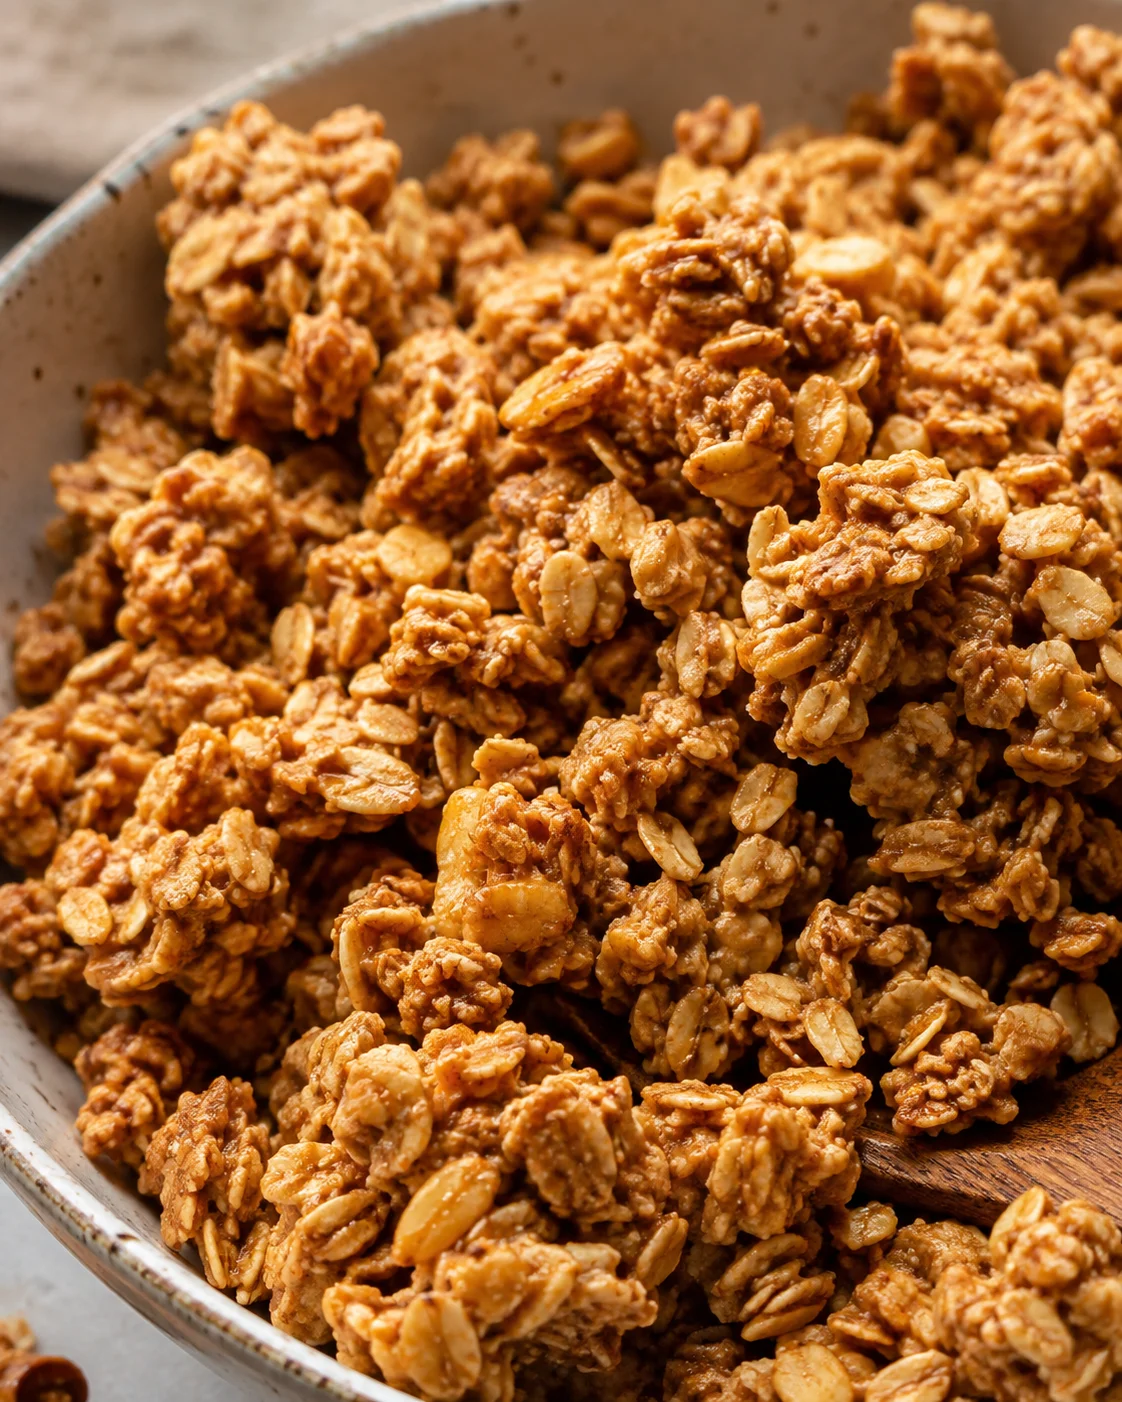
Peanut Butter Granola
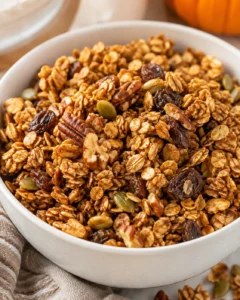
This peanut butter granola recipe comes together super easily with just 6 simple ingredients and only takes about 30 minutes! It’s a wholesome, tasty alternative to those store-bought granola mixes loaded with sugar.
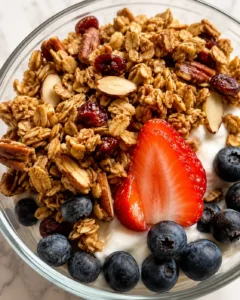
Our family absolutely adores this healthy peanut butter granola recipe! We love eating it spooned over creamy yogurt or pouring it into a bowl with cold milk for a quick, satisfying breakfast.
This peanut butter granola is naturally gluten-free, dairy-free, oil-free, and doesn’t use any refined sugars. It’s a really nourishing option compared to many store varieties packed with additives. Plus, it tastes amazing with that rich peanut butter flavor and chunky texture everyone loves!
Make it ahead and you’ll have a grab-and-go breakfast ready all week long.
Equipment
- measuring spoons
- measuring cups
- spatula
- glass batter bowl
- baking sheet
Notes
*The nutrition info is based on a ¼ cup serving size.
Ingredient Substitutions
- Oats: Both quick-cooking and old-fashioned oats work great. Quick oats give you chunkier pieces which we find delicious.
- Honey: Maple syrup works beautifully as an alternative if you want to keep it vegan or just switch it up.
- Peanut Butter: You can swap in any nut or seed butter you like here. Just be sure to melt it fully with the sweetener so the texture comes out right.
Storage and Freezing:
This peanut butter granola keeps well in an airtight container at room temperature for 2 to 4 weeks. For longer storage, pop it in the freezer where it will stay fresh up to 2 months.
Nutrition
Serving: 0.25cup | Calories: 161kcal | Carbohydrates: 22.8g | Protein: 5g | Fat: 6g | Sodium: 81mg | Potassium: 57mg | Fiber: 2g | Sugar: 12.4g | Iron: 2mg
Nutrition info is an estimate and can vary depending on exact ingredients used.
Did you try this recipe? Got questions or tips? Drop a comment below – I love hearing from you!
If you want a super simple and delicious homemade peanut butter granola that comes together with just six ingredients in about 30 minutes, you’re in the right spot. This version gives you that rich, nutty peanut butter flavor with big crunchy clusters that beat store-bought mixes any day. It’s naturally gluten-free (just make sure your oats are gluten-free), dairy-free, oil-free, and can be made without refined sugar by swapping honey for maple syrup.
This recipe yields roughly 2 cups of granola — perfect over yogurt, served with milk, or to pack as a snack for busy mornings or afternoons. You can make it chunkier with quick oats or chewier with old-fashioned oats. Store it in an airtight jar for a few weeks or freeze for longer prep.
Below, you’ll find the full ingredient list, step-by-step instructions with helpful photos, troubleshooting tips for achieving those perfect crispy clusters, and delicious serving ideas. Everything you need to master homemade peanut butter granola at home!
What Makes This Granola Special
This peanut butter granola is a total winner because it’s easy, fast, and packed with flavor. Only six ingredients and about 30 minutes from start to finish make it an effortless make-ahead breakfast or snack — and if you love make-ahead mornings, try these Coconut Cream Pie Overnight Oats. It’s naturally free of dairy and oil, and you can swap to maple syrup to avoid refined sugars, making it a healthier choice than many store-bought options. The rich peanut butter taste and big, crunchy clumps give it a wonderful texture whether you eat it with yogurt or milk, spooned over Peach Pie Cottage Cheese Bowls, or straight from the jar. Plus, it’s so flexible — swap out the nut butter, choose your oats, and store it for weeks or freeze it for longer batches.
Ingredients and Simple Swaps
- 2 cups quick-cooking oats
- ½ teaspoon ground cinnamon
- ¼ teaspoon sea salt
- 6 Tablespoons creamy peanut butter
- ¼ cup honey (or maple syrup)
- ½ teaspoon pure vanilla extract
Bake and Mix Instructions
- Preheat oven to 325°F and lightly grease a large baking sheet (or line with parchment).
- Stir together quick-cooking oats, sea salt, and ground cinnamon in a small bowl.
- Melt creamy peanut butter and honey (or maple syrup) together in a microwave-safe bowl in short bursts or on the stove over low heat, stirring constantly until smooth.
- Remove from heat and stir in pure vanilla extract.
- Add the dry oat mixture to the peanut butter-honey mixture and stir until the oats are evenly coated.
- If the mixture looks too dry or crumbly, stir in a little more peanut butter or honey until sticky and cohesive.
- Spread and press the granola mixture firmly and evenly onto the prepared baking sheet.
- Bake at 325°F for 15 to 20 minutes, gently stirring once halfway through to promote even browning.
-
Remove the baking sheet from the oven and let the granola cool completely on the sheet (test doneness by letting a small scoop cool — it should harden).
- Break the cooled granola into clusters.
Tips for Crispy, Chunky Clusters
- Make sure to fully melt the peanut butter and honey together over low heat (or in short bursts in the microwave) so the mixture is super smooth and coats the oats well.
- If your granola looks dry or crumbly before baking, don’t hesitate to add a little more peanut butter or honey for a sticky texture — this helps form those awesome clusters.
- Press the granola mixture firmly and evenly onto your baking sheet. Baking it as one solid layer will create those big, crunchy clumps everyone loves.
- Bake at 325°F and start checking at 15 minutes. Use the quick-cool test: scoop out a bit and let it cool for 1–2 minutes; if it hardens, you’re good! If not, give it a few extra minutes.
- Avoid baking at too high a temperature — a steady low heat dries the granola without burning the peanut butter or oats.
- Line the pan with parchment paper or lightly grease it for easier clean-up and to help the granola release effortlessly.
- Quick oats produce chunkier granola, while old-fashioned oats give a chewier bite; try both to find your favorite. If you’re avoiding oats altogether, a nut-and-seed blend like our Keto Granola Cereal still delivers crunchy clusters.
- Always let the granola cool completely at room temperature before breaking into pieces so it crisps perfectly.
- Keep your peanut butter granola fresh in an airtight container at room temp for 2 to 4 weeks, or freeze for up to 2 months. To get that crunch back, warm it gently in a 300°F oven for 2–5 minutes, watching carefully to avoid burning.
- Customize it by swapping in maple syrup for honey if you want vegan — see our Maple Nut Granola for a maple-sweetened, refined sugar-free version — or try almond, cashew, or sunflower seed butter instead of peanut butter for a fun twist.
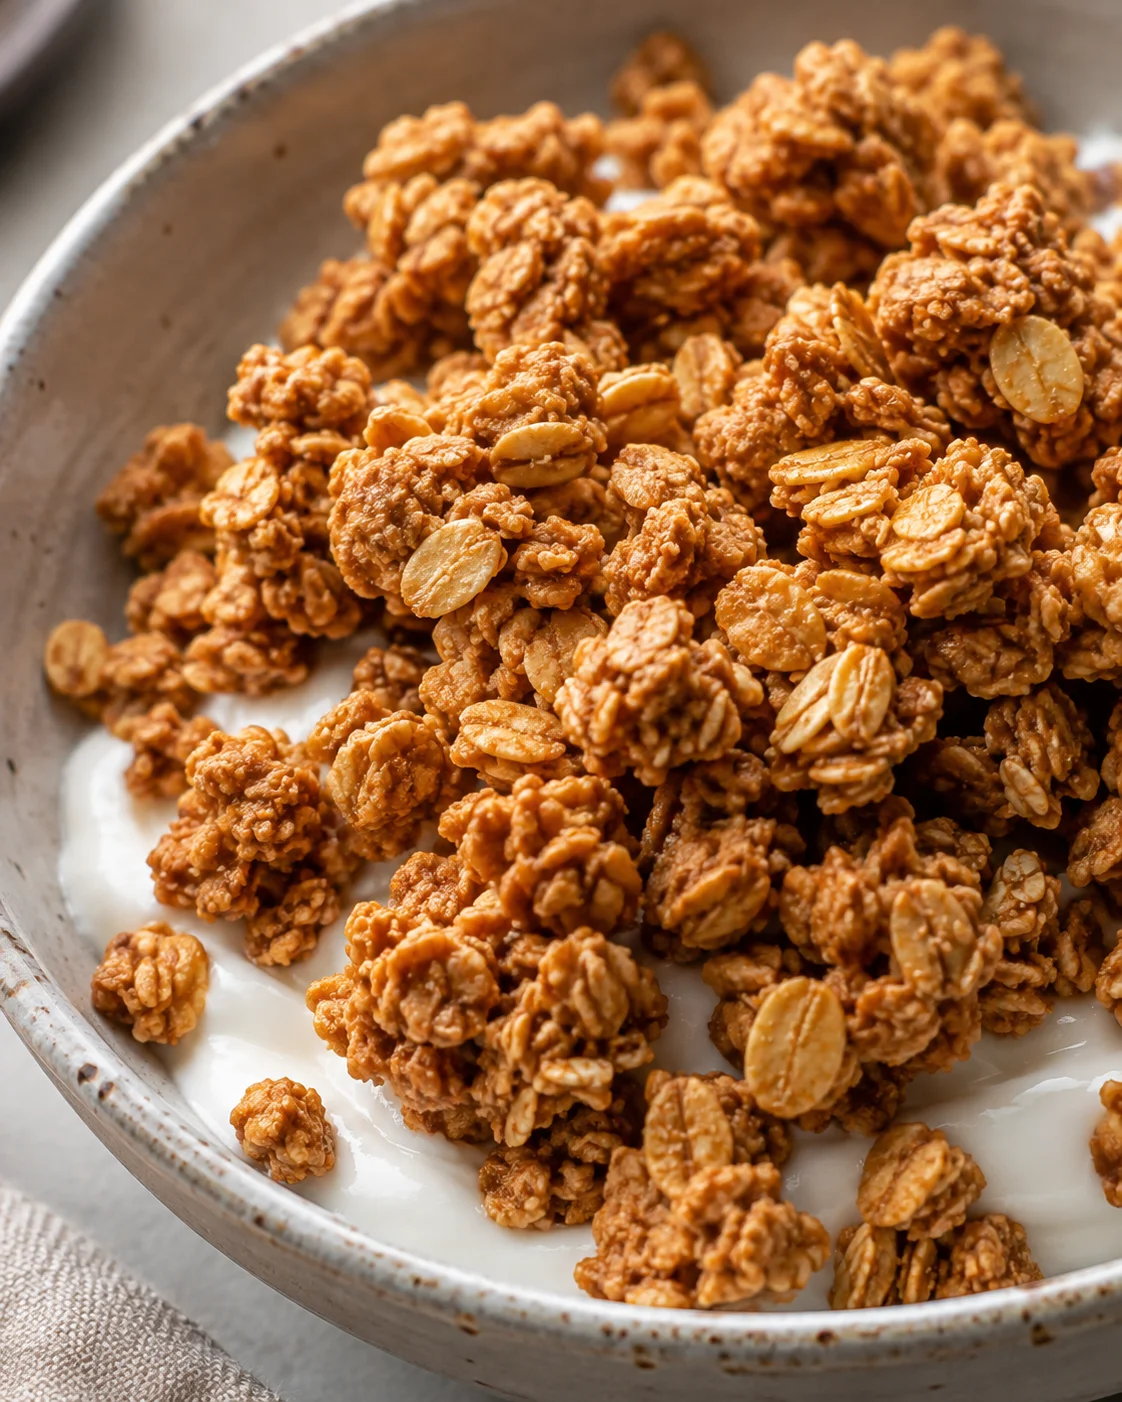
Ways to Customize and Serve
Here are some of our top ways to enjoy this peanut butter granola.
- Spoon it over your favorite yogurt. Or try it on vanilla chia pudding. Add fresh berries for a wonderfully crunchy, creamy breakfast or snack.
- Serve it like cereal with your choice of milk. Try dairy-free or regular milk and enjoy a crunchy, peanut buttery bowl anytime. It also makes a great crunchy topping for fluffy old-fashioned pancakes.
- Snack on it straight from the jar. We love packing individual portions to take along hiking, park days, or anytime hunger strikes between meals.
Storage, Make-Ahead, and Freezing
Keep this peanut butter granola stored in an airtight container or glass jar at room temperature for 2 to 4 weeks. If you want to make it ahead for later, freeze it up to 2 months. It’s an easy, wholesome snack or breakfast to have ready when life gets busy — and for another fast batch option, try Air Fryer Cranberry Granola. If you’re stocking grab-and-go breakfasts, add Apple Crumble Chia Pudding to the rotation.
Common Questions and Troubleshooting
How do you make homemade granola crunchy?
Here’s how to get your peanut butter granola nice and crunchy (and keep it that way)…
Bake at a low temp. This recipe bakes at 325°F, lower than many granola recipes I use. This low, slow bake dries it out without burning, making it perfectly crisp.
Use enough wet ingredients. Moisture from the peanut butter and honey helps form those beloved clumps that give this granola its signature crunch.
Bake it pressed firmly. Baking the granola as one pressed sheet creates those big, satisfying clusters instead of just crumbs. For another ultra-crunchy variation, try Cinnamon Raisin Granola.
How long does homemade granola last?
Homemade peanut butter granola stays fresh and yummy for 3-4 weeks when stored in an airtight container at room temperature.
Can you refrigerate granola?
It’s best to store granola in a sealed container at room temperature to keep the crisp texture. Refrigeration can make it soft or stale faster.
How do you re-crisp homemade granola?
If your granola loses crunch, pop it in a 300°F oven for 2-5 minutes to crisp it back up. Watch closely so it doesn’t burn!
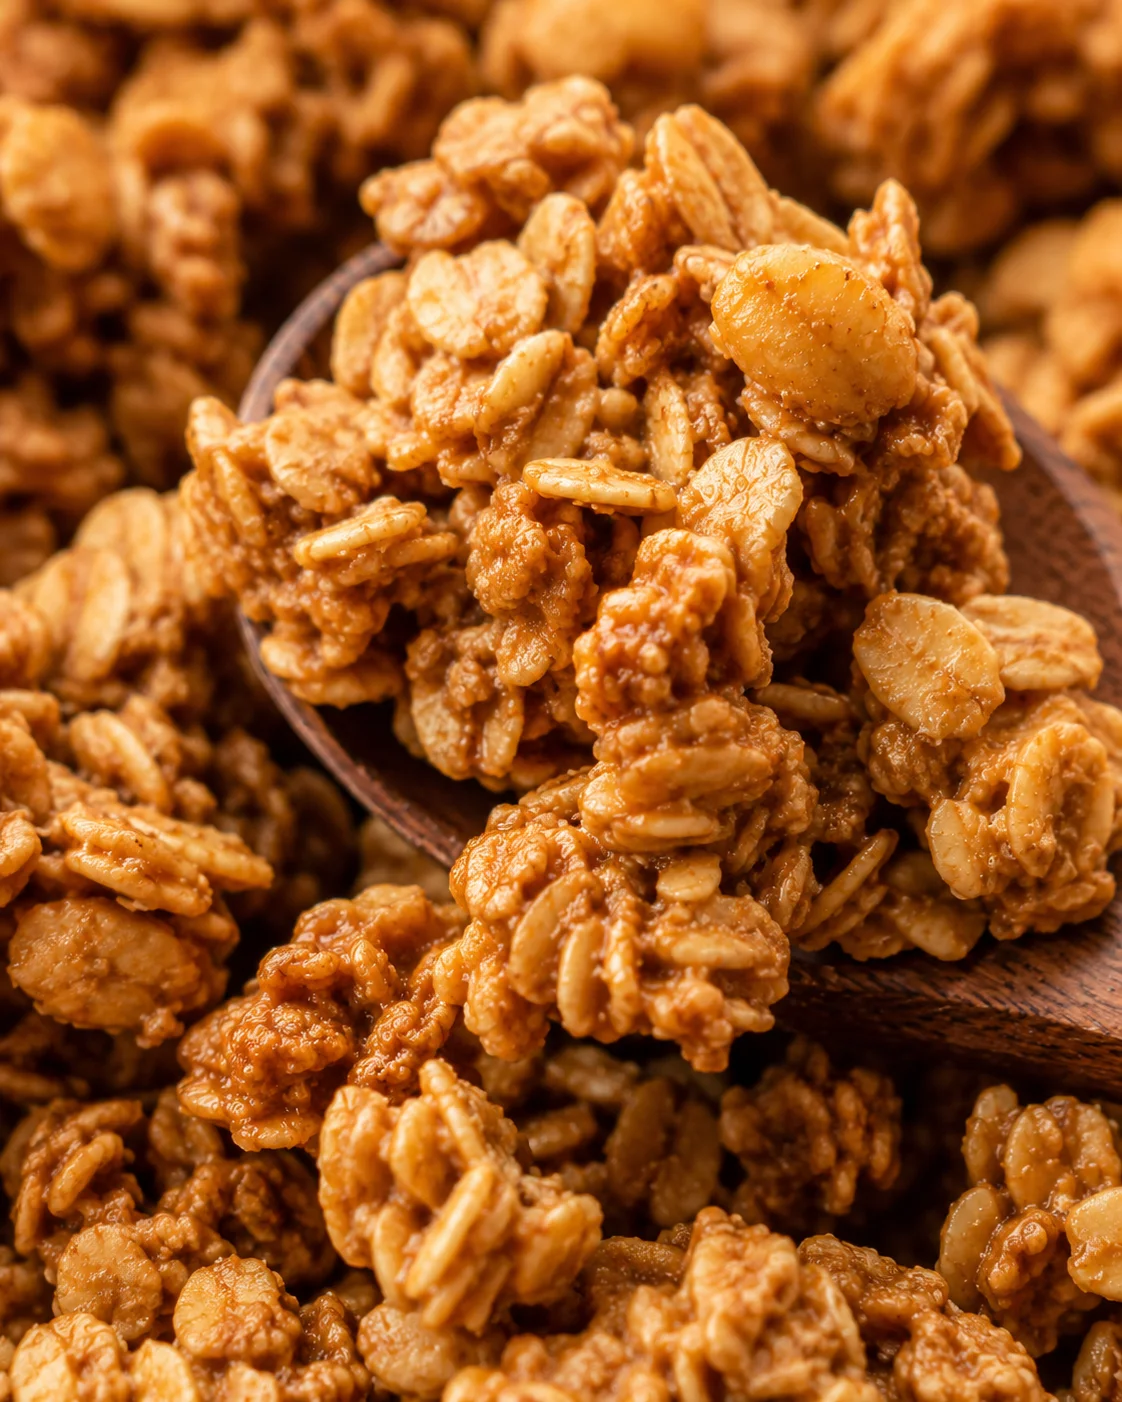
A quick, easy, and wholesome peanut butter granola made with six simple ingredients, naturally gluten-free, dairy-free, oil-free, and free of refined sugars with rich peanut butter flavor and chunky texture.
- Prep Time: 5 minutes
- Cook Time: 25 minutes
- Total Time: 30 minutes
- Yield: 2 cups granola 1x
- Category: Breakfast, Snack
- Cuisine: American
Ingredients
- 2 cups quick-cooking oats
- ½ teaspoon ground cinnamon
- ¼ teaspoon sea salt
- 6 Tablespoons creamy peanut butter
- ¼ cup honey (or maple syrup)
- ½ teaspoon pure vanilla extract
Instructions
- Preheat oven to 325°F and lightly grease a large baking sheet (or line with parchment).
- Stir together quick-cooking oats, sea salt, and ground cinnamon in a small bowl.
- Melt creamy peanut butter and honey (or maple syrup) together in a microwave-safe bowl in short bursts or on the stove over low heat, stirring constantly until smooth.
- Remove from heat and stir in pure vanilla extract.
- Add the dry oat mixture to the peanut butter-honey mixture and stir until the oats are evenly coated.
- If the mixture looks too dry or crumbly, stir in a little more peanut butter or honey until sticky and cohesive.
- Spread and press the granola mixture firmly and evenly onto the prepared baking sheet.
- Bake at 325°F for 15 to 20 minutes, gently stirring once halfway through to promote even browning.
- Remove the baking sheet from the oven and let the granola cool completely on the sheet; test doneness by letting a small scoop cool — it should harden.
- Break the cooled granola into clusters and enjoy.
Notes
Nutrition info is based on a ¼ cup serving size and is an estimate depending on ingredient specifics., Oats: Quick-cooking or old-fashioned oats can be used; quick oats yield chunkier pieces, old-fashioned oats a chewier texture., Honey can be replaced by maple syrup for a vegan alternative., Any nut or seed butter can substitute peanut butter if fully melted with the sweetener for proper texture., Store granola in an airtight container at room temperature for 2 to 4 weeks or freeze up to 2 months., To re-crisp granola, warm gently in a 300°F oven for 2–5 minutes, watching carefully to avoid burning.
Nutrition
- Serving Size: ¼ cup
- Calories: 161 kcal
- Fat: 6 g
- Carbohydrates: 22.8 g
- Protein: 5 g