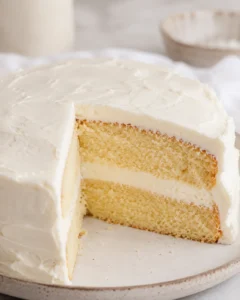
Mini Vanilla Cake
Mini Vanilla Cake
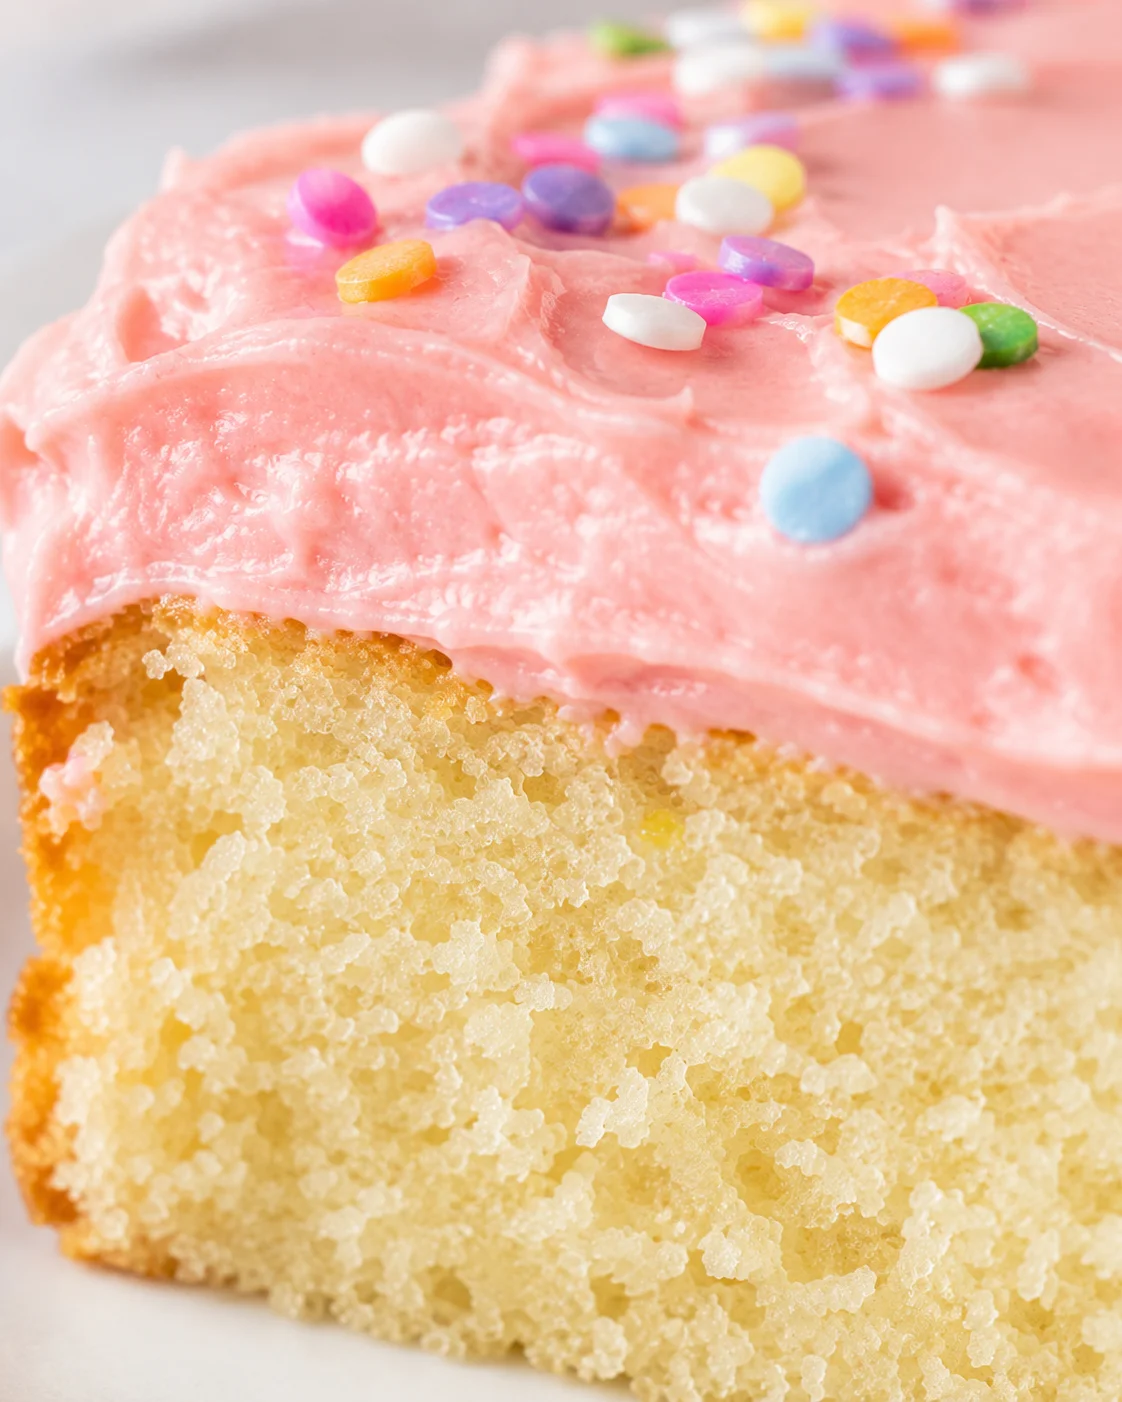
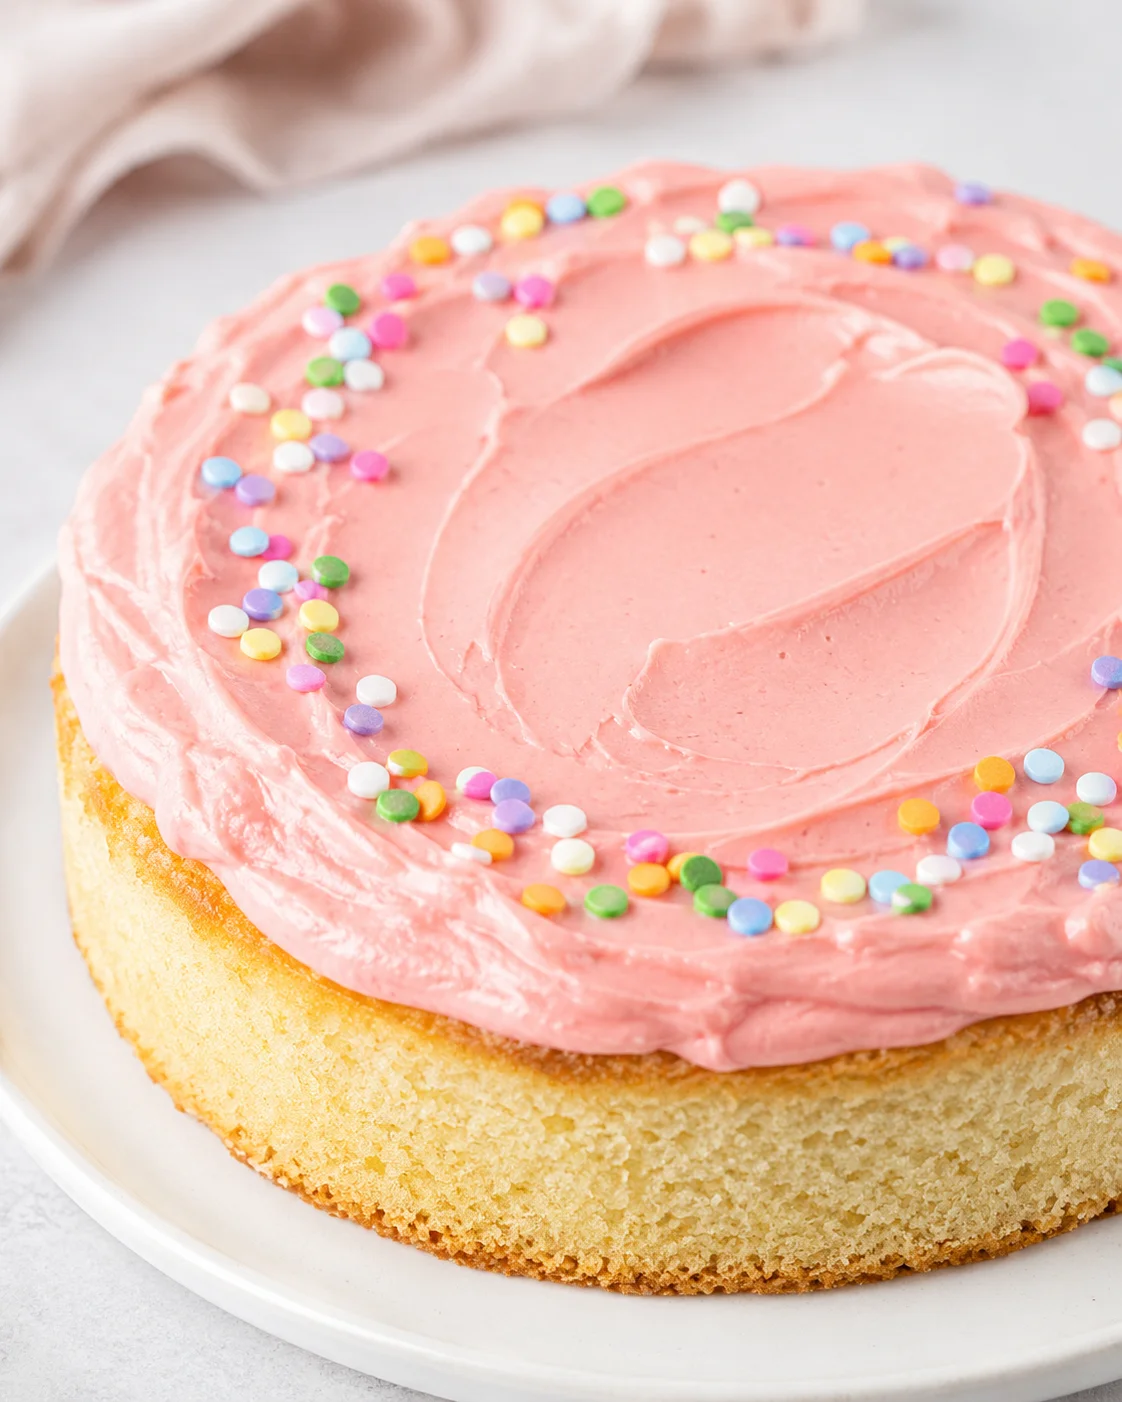
This mini vanilla cake recipe makes a single 6-inch round cake that’s just the right size for a cozy treat. It’s wonderfully moist and light, bursting with vanilla flavor, and topped with smooth, creamy vanilla frosting. This cake comfortably serves 4 people or 2 with some delightful leftovers. Ideal for a weeknight birthday, a small celebration, or anytime you want cake without too many leftovers.
This little vanilla cake has the perfect crumb — moist and tender with a buttery vanilla taste that isn’t overpowering or too sweet. What’s even better? It comes together quickly and easily, no fuss, and looks lovely with a simple vanilla frosting on top. You can also dress it up with fresh berries and whipped cream if you want to make it extra special. Because it’s just a single layer, there’s no pressure to be a decorating pro, making it a perfect quick homemade birthday cake.
This mini vanilla cake recipe yields one 6-inch (15 cm) single-layer cake that’s soft, tender, and just sweet enough. It’s great when you want to enjoy a homemade cake without the worry of a huge batch of leftovers crowding your fridge. It serves about 4, or 2 if you want to savor some for later. The whole process is pretty quick — 20 minutes to prep and about 30 minutes baking time, making it easy to fit into busy evenings or spontaneous celebrations.
One trick here is the reverse-creaming method, which helps create that soft, fine crumb by keeping the batter light and preventing overmixing — a common pitfall with smaller cakes. Then there’s a simple, creamy vanilla frosting to spread on top that’s just enough without becoming overwhelming. You can keep it casual with some sprinkles or berries, or turn it into something a bit more festive. Either way, it’s uncomplicated and delicious.
I’ve included clear step-by-step instructions, exact ingredient amounts for this 6-inch cake, troubleshooting tips, and a few easy ideas to tweak the recipe to fit your vibe. Ready to bake your own mini vanilla cake? Let’s get started!
Why It Turns Out So Tender
When I first experimented with this mini vanilla cake, I realized the smaller batter can very easily get overmixed. And overmixing is a major no-no — it makes the cake tough, dry, and full of air pockets instead of soft crumb. That’s why this recipe uses the reverse-creaming method to keep things tender.
Here’s the difference: the traditional creaming method calls for beating butter and sugar first, then adding eggs, then dry and wet ingredients alternately. The reverse creaming method flips that — you first whisk dry ingredients, then beat butter into them until the butter pieces are small (think smaller than a pea). Finally, you add the eggs and milk. This technique coats the flour with fat early on which helps prevent gluten from developing too much, giving you a tender, soft cake crumb every single time.
Ingredients for a 6-Inch Cake
- 1 large egg
- 6 tablespoons milk (90 ml), whole or 2% preferred
- 2 teaspoons vegetable oil (10 ml), or canola oil works well
- 1 teaspoon vanilla extract
- 3/4 cup all-purpose flour (94 grams)
- 1/4 teaspoon baking soda
- 1/8 teaspoon salt
- 1/2 cup granulated sugar (100 grams)
- 1/4 cup unsalted butter (56 grams), softened, but not melting
- 1/3 cup unsalted butter (75 grams), softened
- 1 – 1 1/2 cups powdered sugar (110 – 165 grams), sifted
- 1/2 teaspoon vanilla extract
- 1/8 teaspoon salt
- 2-3 drops food coloring, optional
- 2-4 teaspoons whipping cream (10-20 ml), or milk
Step-by-Step Method
- Preheat oven to 350°F (180°C) and line the bottom of a 6-inch round cake pan with parchment; lightly grease the sides.
- Optional: soak and wrap a cake strip around the pan to help the cake bake flat.
- Whisk together 1 large egg, 6 tablespoons (90 ml) milk, 2 teaspoons (10 ml) vegetable oil, and 1 teaspoon vanilla extract until smooth; set aside.
- Whisk together 3/4 cup (94 g) all-purpose flour, 1/4 teaspoon baking soda, 1/8 teaspoon salt, and 1/2 cup (100 g) granulated sugar in a medium bowl.
- Add 1/4 cup (56 g) cubed softened butter to the dry ingredients and beat on low with a hand mixer until the butter pieces are smaller than a pea and the mixture looks like flour dotted with butter bits.
- With the mixer on low, slowly drizzle the wet mixture into the flour-butter mixture and mix just until the batter is smooth and lump-free; stop immediately to avoid overmixing.
- Pour the batter into the prepared pan and smooth the top.
-
Bake in the center of the oven 30–35 minutes, until the top feels set, a toothpick inserted in the center comes out clean or with a few moist crumbs, and the edges pull away from the pan.
- Cool the cake in the pan for 10–15 minutes.
- Run a knife around the edges, remove the cake from the pan, and cool completely on a wire rack before frosting.
- Beat 1/3 cup (75 g) softened unsalted butter until creamy.
- Add 1 cup (110 g) sifted powdered sugar, 1/2 teaspoon vanilla extract, and 1/8 teaspoon salt; beat on low until combined.
- Gradually add the remaining powdered sugar (up to 1 1/2 cups/165 g), alternating with 2–4 teaspoons whipping cream or milk, until the frosting is sweet and spreadable; add food coloring if desired.
- Invert the cooled cake onto a serving plate, spread a thick layer of frosting over the top, and decorate as desired.
Pro Tips and Shortcuts
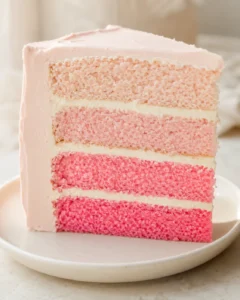
If you want to turn this mini vanilla cake into a layered cake, bake it as directed. Once completely cooled, carefully slice the cake layer in half horizontally using a serrated knife or cake leveler. Make sure to double the frosting so you have plenty for filling the middle and covering the sides and top.
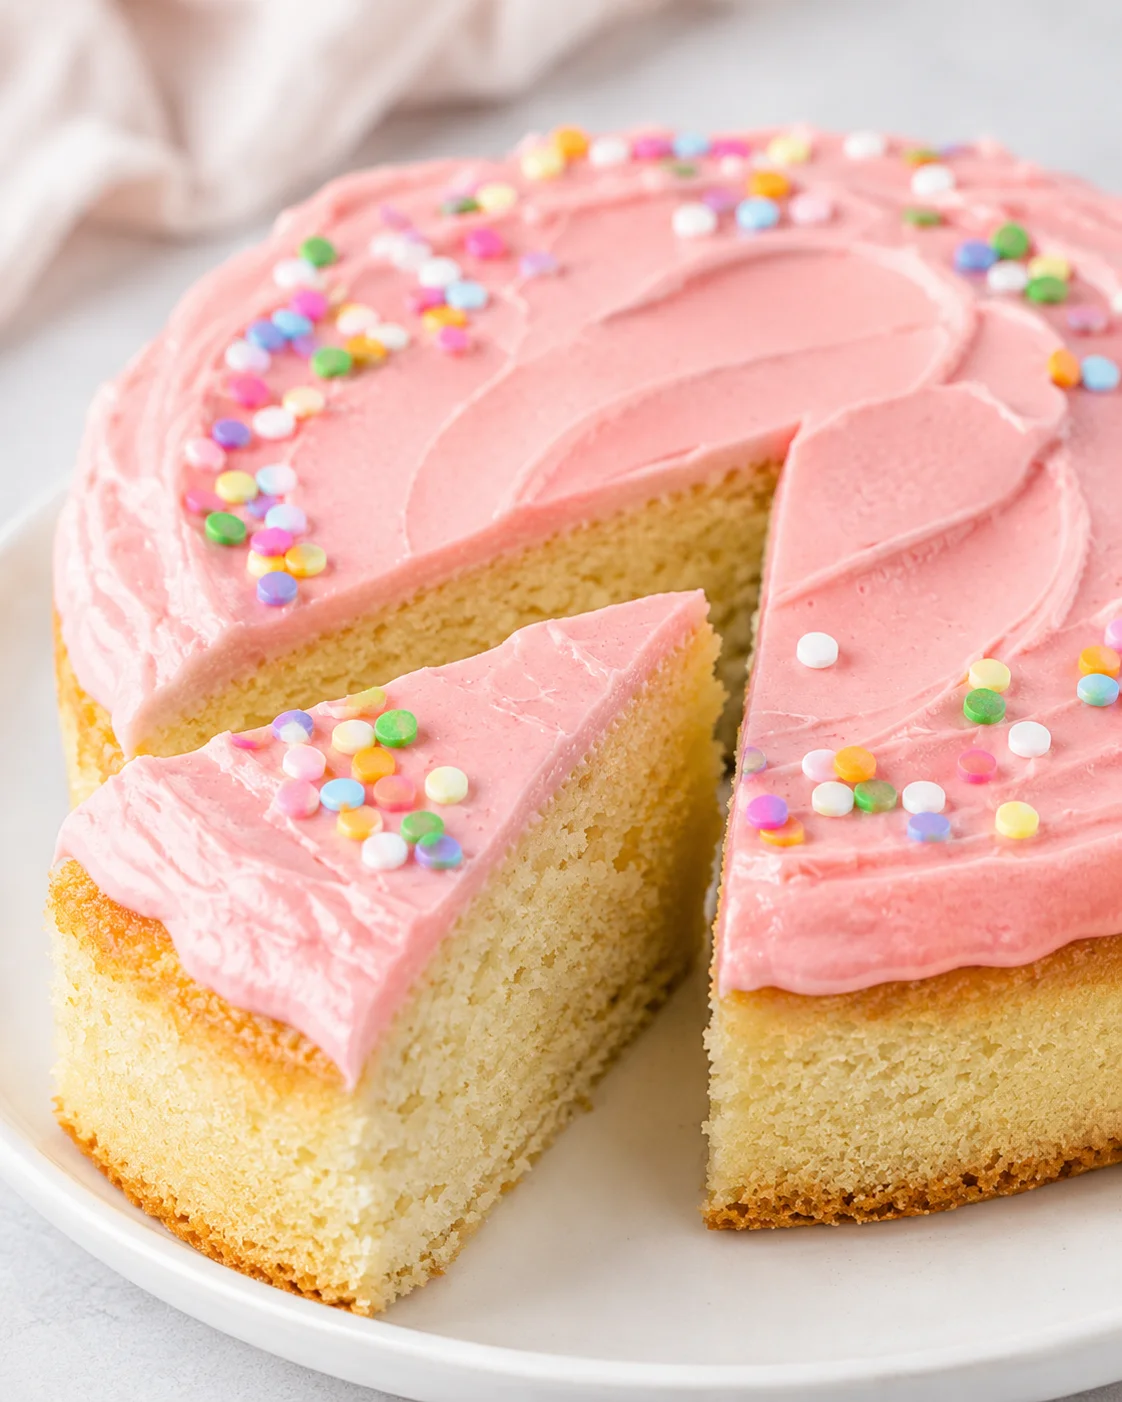
This simple mini vanilla cake is moist, fluffy, and creamy, with a lovely classic vanilla flavor. It’s perfect when you want a homemade dessert that’s easy to make, yet still feels special without leftover pressure.
Flavor Twists and Swaps
- Love citrus? Try adding 1 teaspoon of finely grated lemon zest to the batter and swap half the vanilla extract with lemon extract. It adds a fresh, bright twist.
- For a nutty note, substitute 1/2 teaspoon almond extract for part or all of the vanilla extract.
- Want chocolate instead? Replace 3 tablespoons of flour with 3 tablespoons of unsweetened cocoa powder (sifted), and add an extra 1–2 tablespoons sugar if you like it sweeter.
- Berry lovers: Fold in 1/3 cup of lightly floured fresh berries gently into the batter before baking for a fruity surprise. Be careful not to break the berries to keep the batter color pretty.
- Swap the frosting for something different by using a simple cream cheese frosting (beat 4 oz cream cheese with 1/3 cup butter, then add powdered sugar to taste) or make a quick chocolate ganache for a richer finish.
- If gluten is a concern, substitute a 1:1 gluten-free flour blend according to package directions. The texture will be a bit different but still delicious.
- For a vegan or egg-free version, try a flax egg (1 tbsp ground flaxseed + 3 tbsp water, chilled) with plant-based milk and vegan butter. The texture and rise won’t be exactly the same but it’s a great alternative.
Storing and Freezing Tips
- At room temperature: keep your frosted mini vanilla cake in an airtight container or cake carrier for up to 2 days. Keep it away from heat and direct sunlight.
- In the fridge: store it covered for up to 4 days. Take slices out about 30–60 minutes before serving to get the best softness and flavor.
- Freezing: you can freeze the unfrosted cake by wrapping it tightly in plastic wrap and foil for up to 2 months. Thaw it overnight in the fridge, then bring to room temp before frosting. Frosted slices can also freeze well—freeze on a tray, then transfer to an airtight container once solid. Thaw in the fridge.
- Extra frosting: keep leftover frosting in an airtight container in the fridge for up to 3 days. When you want to use it again, bring it to room temperature and beat it a little to restore softness. Add a teaspoon of cream if needed.
- Reheating: warm a single slice gently in the microwave for 10–20 seconds to take the chill off. Be careful not to dry it out.
Questions About This Recipe
-
Q: Can I double this recipe to make a larger cake?
A: Absolutely. Just double all the ingredients and bake in larger pans — like two 8-inch pans — or bake two 6-inch cakes. Baking times may be longer, so keep an eye on doneness with a toothpick test.
-
Q: How do I know when the cake is done?
A: You’ll know the cake is ready when the top is set, the edges start pulling away from the pan, and a toothpick inserted in the center comes out clean or with a few moist crumbs (never look for wet batter). The cake should also spring back lightly when pressed.
-
Q: I don’t have baking soda — can I use baking powder instead?
A: Yes, you can swap baking soda for baking powder. Use about 1 to 1 1/4 teaspoons of baking powder and leave out the baking soda. The cake will still rise though the flavor and texture might be a little different.
-
Q: Why do we use the reverse creaming method here?
A: Reverse creaming coats the flour with butter before adding liquids. This reduces gluten development and prevents overmixing, which gives a soft, fine crumb — especially important for small cakes that can easily get tough.
-
Q: Can I replace butter with oil?
A: You can swap some or all butter for a neutral oil, but note the texture and flavor will differ. Oil will make the cake moister, but butter adds more flavor and structure. If you use only oil, expect a slightly different crumb and taste.
-
Q: How do I turn this into a layer cake?
A: Once the cake is completely cooled, use a serrated knife or cake leveler to slice it horizontally in half. You’ll want to double the frosting for the middle and the outside of the cake so it looks just right.