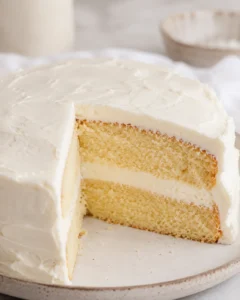
Copycat Costco Vanilla Cake Recipe Made Easy
Easy Copycat Costco Vanilla Cake Recipe You’ll Love
Hey friends! If you’ve ever found yourself staring longingly at those massive, gorgeous vanilla cakes in the Costco bakery aisle, you’re definitely in good company. I’ve stood there more times than I can count, juggling a cart half-full and trying to convince myself that yes, I really do need that tower of deliciousness. Well, I’ve got fantastic news for you. Today I’m sharing my copycat Costco vanilla cake recipe that nails all the bakery charm without leaving your kitchen. It’s straightforward, tastes amazing, and will totally change the way you bake vanilla cakes at home.
This easy homemade recipe is my go-to whenever there’s a birthday or celebration happening—or even when I just want a little slice of comfort on a random weekday. What I love most? You get to serve up those tender layers and luscious frosting knowing exactly what’s inside, plus your whole house will smell like heaven while it’s baking.
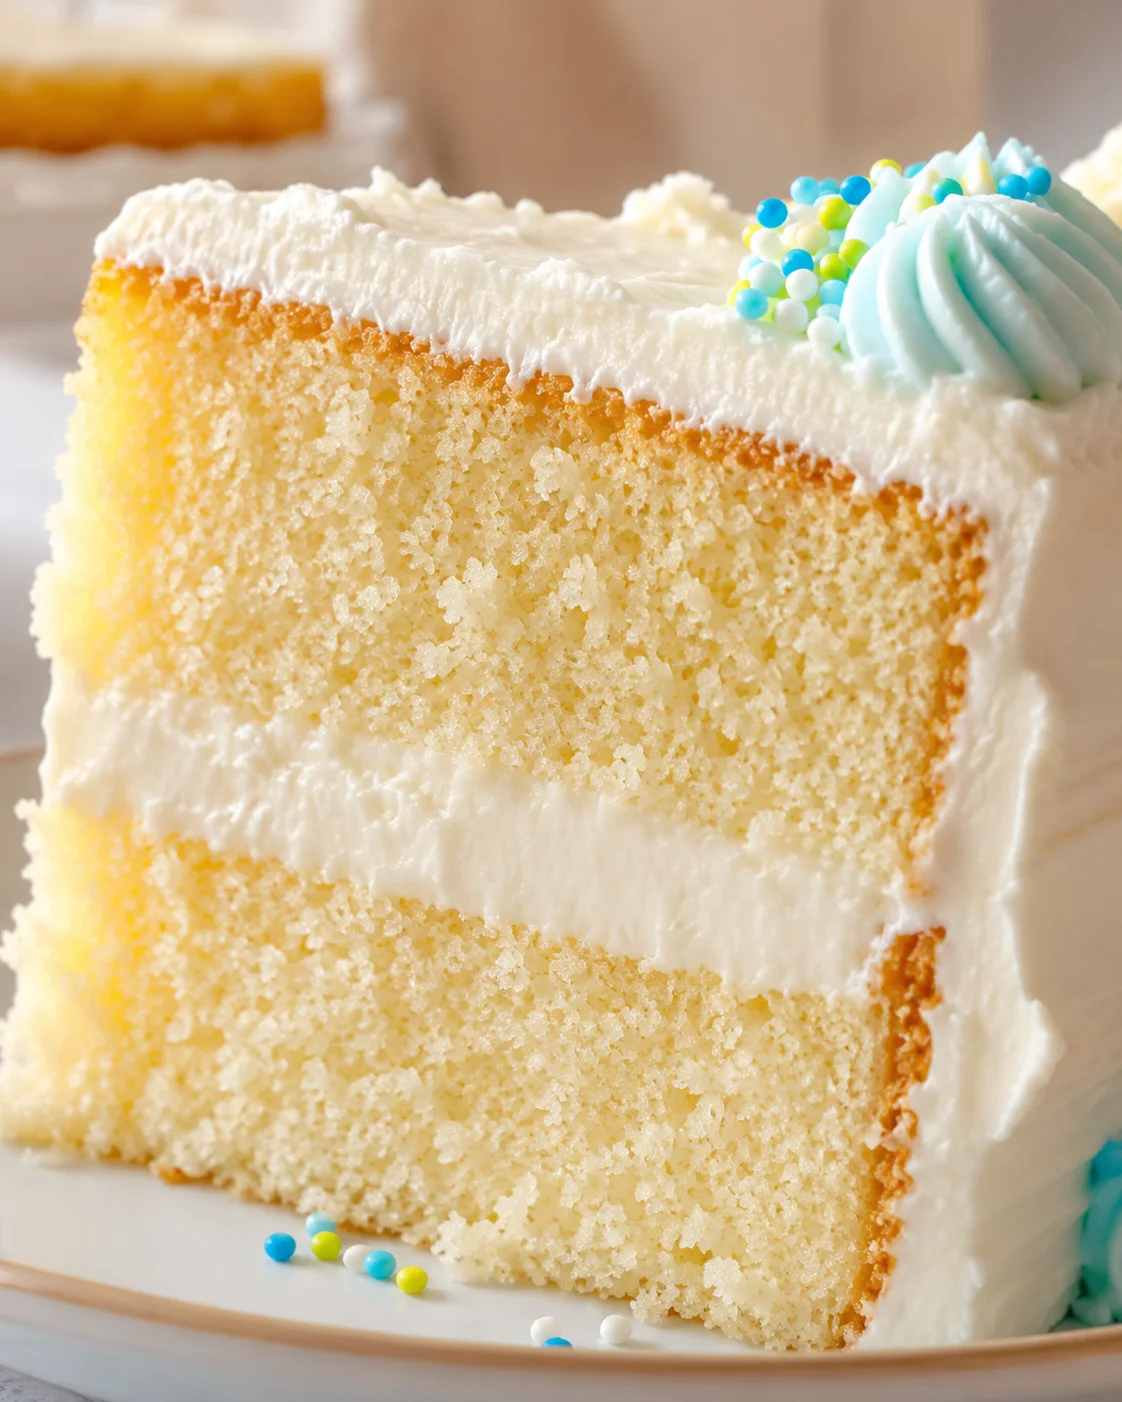
Slices of beautifully decorated birthday cake ready to enjoy.
The Joy of Baking Your Favorite Cake
Recreating a beloved bakery treat in your own kitchen is such a special feeling. This Costco vanilla cake recipe gives you all those nostalgic, classic flavors everyone loves, with the extra satisfaction of knowing you baked it yourself. It’s like a little celebration every time you slice in.
Why This Cake Is My Favorite
Making this cake always brings back why I fell in love with baking. It’s not just the end result—though let’s be real, that’s pretty fantastic. It’s the cozy aroma filling the kitchen, the simple steps, and the smiles all around once everyone takes their first bite and says, “Wow, this really tastes like Costco!”
Perfect for All Your Special Moments
Whether it’s a birthday, a potluck contribution, or just a sweet way to treat yourself, this copycat Costco vanilla cake delivers every. single. time. Tender cake layers paired with silky buttercream and a dreamy vanilla mousse filling combine for a dessert that’s as comforting as it is impressive.
A Homemade Cake You Can Be Proud Of
Honestly, nothing beats the joy of slicing into a homemade cake that looks and tastes like you just picked it up from your favorite bakery. With this recipe, every ingredient is chosen with care, and every step is doable—even on busy days. It’s a cake that’s truly worth celebrating.
Ready to Bake?
Gather Your Gear
Grab your mixing bowls, measuring cups, and spatulas so everything’s at your fingertips when you start.
Preheat Your Oven
Pop your oven on early so it’s perfectly warm when you’re ready to bake the batter.
Share the Cake Love
After baking, slice generously and share the magic with friends and family—it’s always better together!
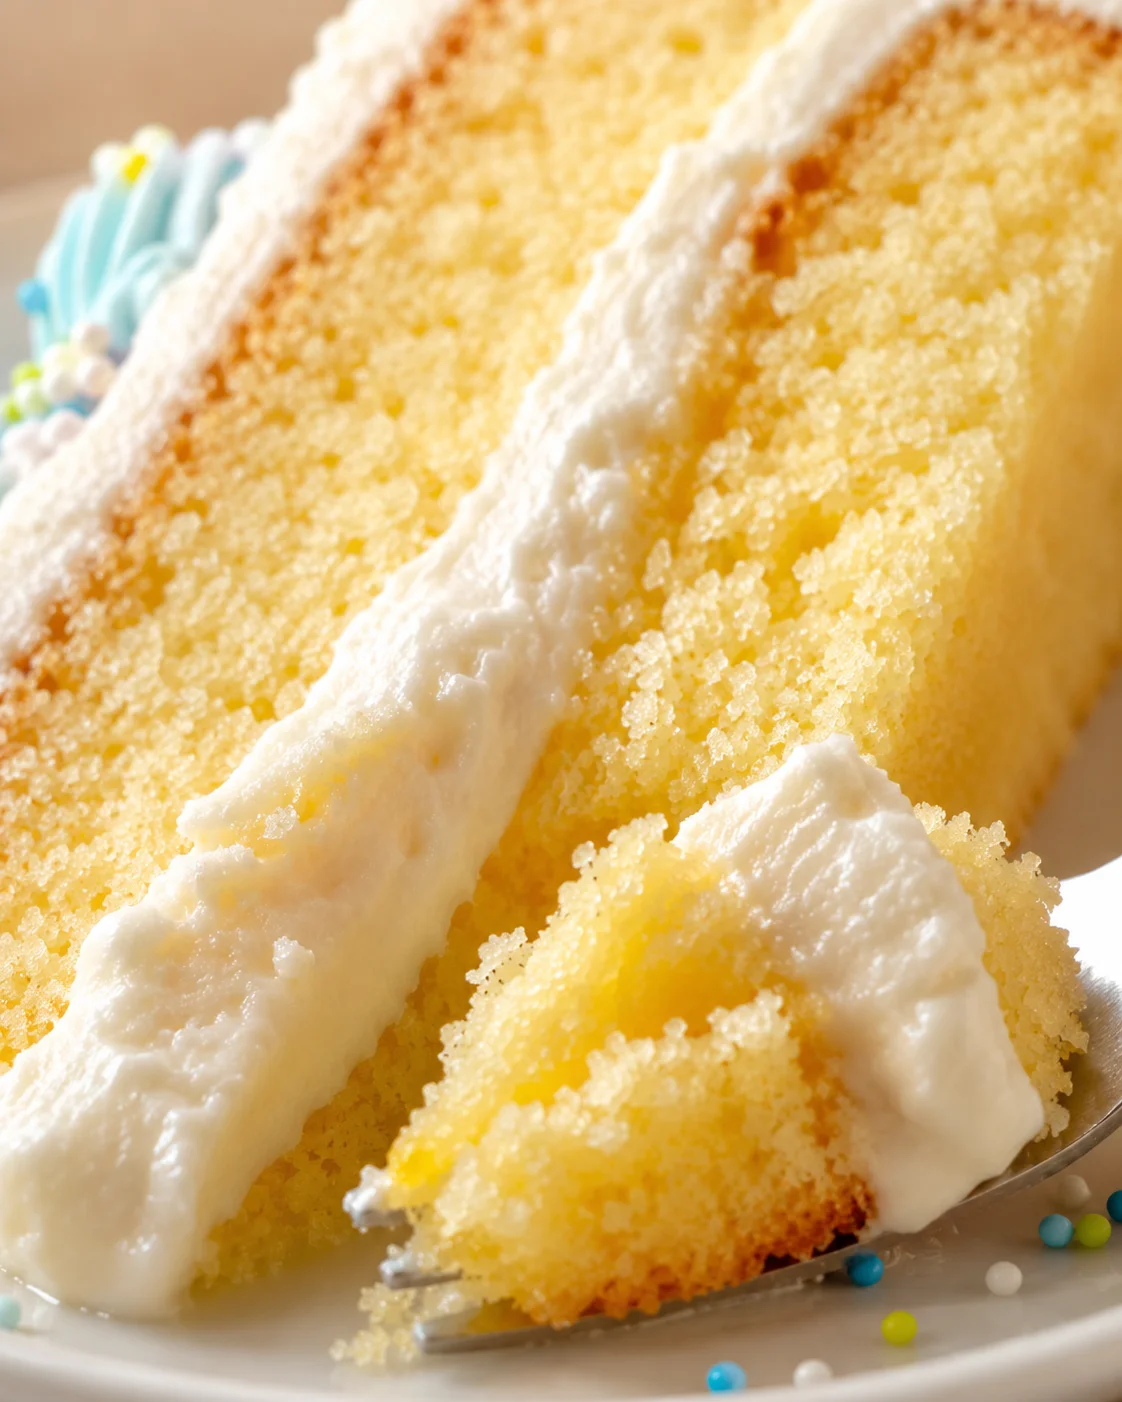
A delicious bite of vanilla cake frosted with smooth white frosting.
Recipe Card: Copycat Costco Vanilla Cake
Welcome to Deliciously Meals! I’m Lisa—the home cook, mom, and recipe lover behind this blog. Inspired by cozy family dinners and simple, delicious food that anyone can make, I share recipes designed to bring people together around the table. From comforting classics to fresh new ideas, I’m here to help you turn everyday meals into something special.
Recreating that famous Costco vanilla cake at home is truly a joy. This Costco vanilla cake recipe delivers the same incredibly moist cake with a tender, soft crumb and the signature light-but-rich buttercream frosting. It feels like a warm, sweet hug from your favorite childhood birthday party. The best part? You made it yourself.
This recipe is also easier than you might think. Even though it has that bakery-quality taste and texture, the ingredients are common staples you can find everywhere. There’s no hunting for weird specialty items or trying to decode a mysterious ingredient list from the store.
After lots of testing in my kitchen—reading, tweaking, and tasting—I nailed the exact balance of flavors and textures that make this cake so beloved. It’s sweet and buttery without being too heavy or artificial tasting. The vanilla flavor comes through clearly and beautifully.
The secret to the magic lies in a few key parts: first, the tender crumb comes from using cake flour instead of all-purpose flour. Cake flour’s lower protein helps keep the cake light and soft. Then, the butter and buttermilk combo adds moisture without weight, making each bite melt in your mouth.
And you can’t forget the buttercream frosting! Unlike many homemade buttercreams that are either too sugary or too greasy, this version balances butter and shortening, plus uses a method with a cornstarch slurry that yields a smoothing yet stable frosting. It pipes beautifully and tastes like a dream.
Between the cake layers, a vanilla mousse filling adds a lovely contrast. It’s lighter than frosting yet richer than whipped cream, making the whole cake feel extra special and layered with texture.
This recipe is super reliable—I’ve walked so many bakers through it and it hits the mark every single time. The ingredients are measured carefully, the technique is solid, and the flavors come together perfectly.
Unlike some copycat recipes that promise the moon but miss the mark, this one truly tastes like the real Costco vanilla cake. The texture is moist but fluffy, the frosting is creamy and stable, and that vanilla flavor is classic and nostalgic.
Plus, it scales nicely. Whether you want a small cake, mini cupcakes, a big sheet cake, or a double batch for a crowd, this recipe adapts well. The techniques here are great skills you can use for lots of other cakes, giving you more confidence in the kitchen.
What You’ll Love About It
This copycat Costco vanilla cake isn’t just about nostalgia—it’s about simplicity, reliability, and deliciousness you can count on. It nails the bakery flavor and texture while using familiar ingredients and straightforward steps. You get bakery-level results without any fuss.
- Authentic bakery flavor and texture. Using cake flour for tender crumbs, butter and buttermilk for moist layers, and the light vanilla mousse filling, you get that classic Costco experience—soft, moist cake with silky, pipeable frosting.
- Smooth and stable buttercream. Blending butter with shortening plus the cornstarch slurry gives you frosting that’s rich but holds up beautifully for piping, decorating, and even transport.
- Pantry-friendly and approachable. No specialty ingredients needed! The recipe uses basics you likely have at home. Plus, there’s an easy way to substitute cake flour if you can’t find it.
- Foolproof technique for consistent results. Adding egg whites one by one and buttermilk in stages prevents overmixing and guarantees a light, fluffy cake every time—even for beginners.
- Perfect for every occasion. Make it as a layered cake, a 9×13 sheet cake, or mini versions. Double the recipe for parties. Add sprinkles for the classic look or switch vanilla for different extract flavors.
- Travel and make-ahead friendly. Bake layers ahead and freeze, the buttercream holds up, and the assembled cake stays moist at room temperature for days. Chilling before moving prevents smudging—ideal for potlucks and celebrations.
- Boosts your baking confidence. The reverse creaming method, mousse filling, and frosting techniques here are skills you’ll use again and again, making other baking projects easier.
Simply put: this Costco vanilla cake recipe tastes just like the real deal, uses easy-to-find ingredients, and creates beautiful, reliable results every bake. You’ll want this one in your go-to recipe box!
Ingredients for Tender Vanilla Layers
- 2 1/2 plus 2 tablespoons cake flour
- 1 1/2 cups plus 2 tablespoons granulated sugar
- 1 tablespoon baking powder
- 3/4 teaspoon fine salt
- 3/4 cup unsalted butter, very soft
- 4 large egg whites, room temperature
- 1 large egg yolk, room temperature
- 1 tablespoon vanilla extract
- 1 cup buttermilk, room temperature
- 2 tablespoons water
- 2 tablespoons cornstarch
- 1 cup unsalted butter, very soft
- 1/2 cup vegetable shortening, room temperature
- 4 cups powdered sugar
- 1/2 teaspoon fine salt
- 1 tablespoon vanilla extract
- 3 to 4 tablespoons whole milk or heavy cream, room temperature
- Copycat Costco Vanilla Mousse
- Sprinkles
Step-by-Step Baking Guide
- Gather mixing bowls, measuring cups, spatulas, pastry bag, offset spatula, serrated knife, wire racks, two 8-inch cake pans, parchment paper, and baking spray.
- Preheat oven to 350°F.
- Spray two 8-inch cake pans with baking spray (flour-included spray if available) and line the bottoms with parchment paper.
- Bring eggs and buttermilk to room temperature; if needed, warm eggs in warm (not hot) water for 5 minutes and microwave buttermilk 10–15 seconds.
- Whisk together cake flour, granulated sugar, baking powder, and salt in a large bowl.
- Add softened unsalted butter gradually to the dry ingredients while mixing on low until the mixture looks sandy, then continue mixing 1–2 minutes and scrape the bowl sides and bottom.
- Add egg whites one at a time, beating well after each addition, then mix in the egg yolk and vanilla extract.
- Slowly add the buttermilk in three parts, mixing 1–2 minutes on low after each addition.
- Divide the batter evenly between the prepared pans.
- Bake for 26–30 minutes at 350°F until cakes are golden and a toothpick comes out with a few moist crumbs, checking starting at 26 minutes.
- Let the cakes cool in their pans for 5 minutes, then turn them out onto wire racks to cool completely and peel off the parchment.
- If not assembling the same day, wrap the cooled cakes tightly with plastic wrap and chill in the refrigerator.
- Whisk water and cornstarch together in a small bowl and set aside.
- Beat butter and shortening in a large bowl until light, fluffy, and creamy, about 3–4 minutes, scraping the bowl as needed.
- Add the cornstarch mixture to the butter-shortening and mix to combine.
- Very slowly add powdered sugar while mixing on low, scraping the bowl regularly to avoid lumps.
- Add salt and vanilla extract, then add milk 1 tablespoon at a time if the frosting is too thick until it’s spreadable but holds shape.
- Level any domed cake tops with a serrated knife.
- Place a dollop of frosting on the cake board or plate and set the first cake layer down to hold it in place.
- Fill a pastry bag with frosting and pipe a ring around the edge of the first cake layer to create a dam.
- Fill the inside of the ring with the vanilla mousse filling.
- Gently place the second cake layer on top.
-
Cover the entire cake with a thin crumb coat of buttercream and chill for 15 minutes.
- Apply the final frosting layer and smooth the sides and top with an offset spatula.
- Decorate with sprinkles if desired.
Pro Tips for Best Results
After baking this cake time and again, I’ve learned a few simple tips that make a big difference. If you have a kitchen scale, weigh your flour for the best consistency—measuring by volume can vary too much.
Room temperature ingredients are crucial. If you forget, no worries: warm your eggs gently in warm (not hot) water for 5 minutes and zap your buttermilk in the microwave for 10-15 seconds to get it just right.
Don’t overmix after adding buttermilk. A few small lumps are totally fine—they’ll bake out and keep your cake light.
If prepping ahead, bake your cake layers up to two days before and wrap tightly in plastic wrap. Buttercream holds up well refrigerated for three days, and just re-whip it before frosting.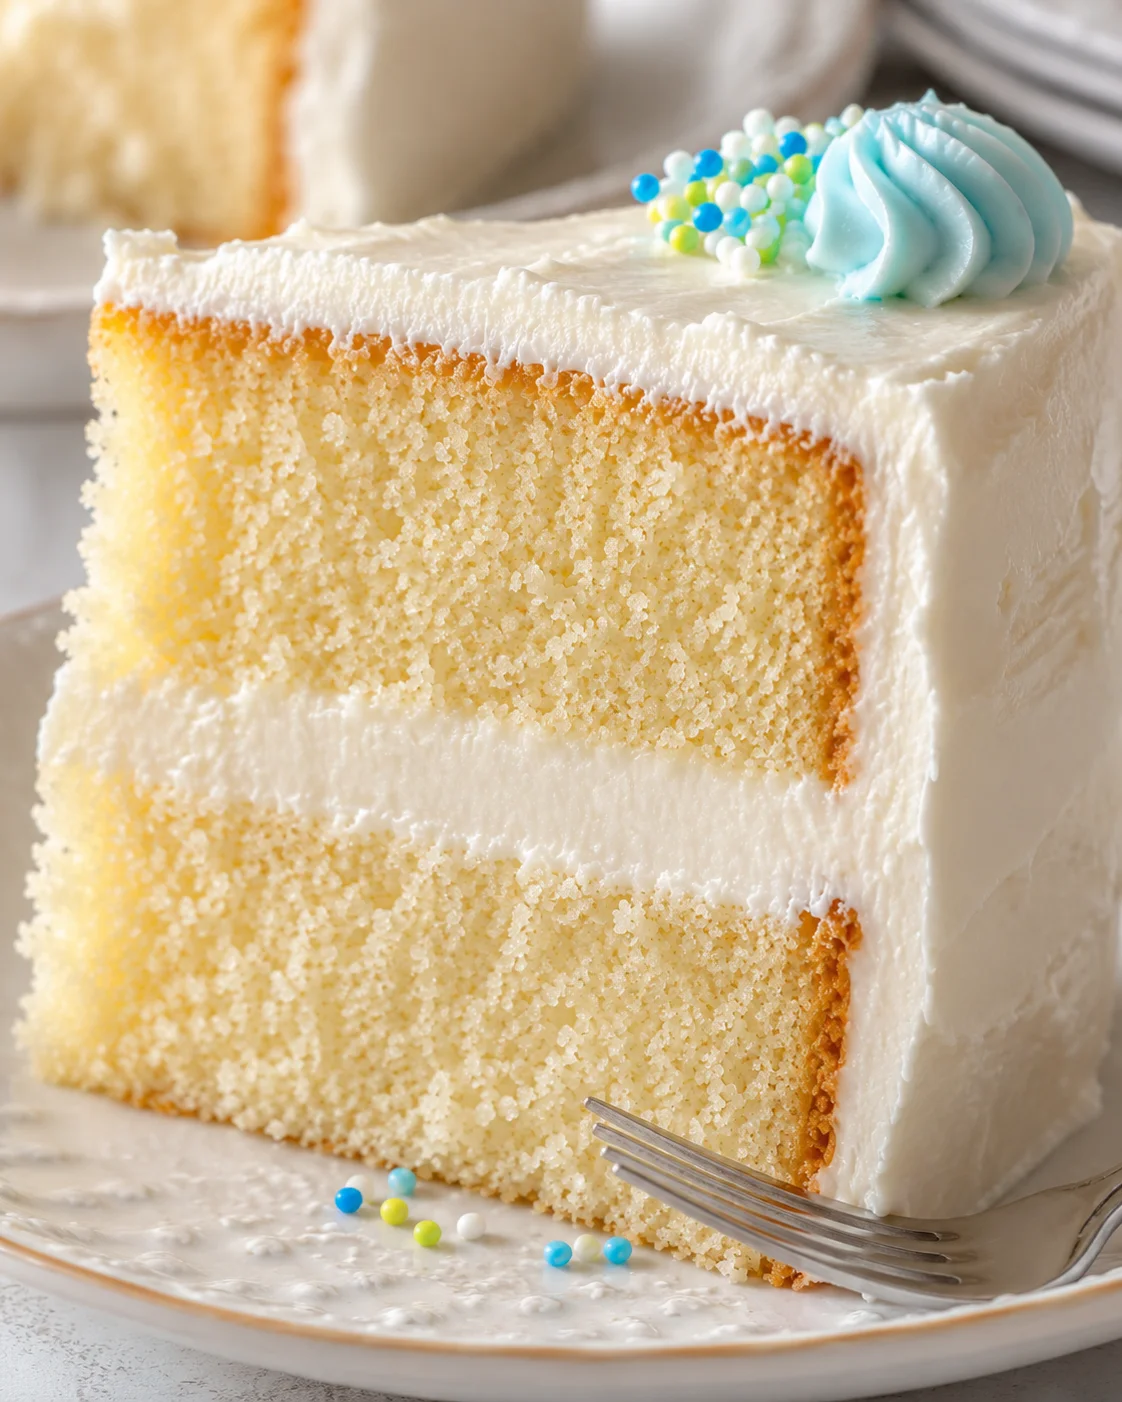
Flavor Twists and Add-Ins
Feel free to tweak this recipe with different extracts for a flavor twist. Almond extract adds a lovely subtle nuttiness, or try fresh lemon zest in the batter to brighten the vanilla base in a delightful way.
How to Store and Freeze
This copycat Costco vanilla cake stores really well, making it a perfect make-ahead treat for busy days or parties. Keep it covered at room temperature, and it will stay fresh and moist for up to three days. The buttercream frosting is fantastic at sealing in moisture, so no worries about drying out.
If you want to store longer, you can freeze individual slices wrapped tightly in plastic wrap for up to three months. When you’re ready to enjoy, let them thaw for about an hour at room temp—it’s just like freshly made.
Transporting the cake? Chill it well for about 30 minutes before moving to set the frosting and keep everything looking beautiful without smudging or sliding.
Common Questions and Answers
Can I bake this as a sheet cake instead of layers?
Definitely! Use a 9×13-inch pan and bake for 35 to 40 minutes. You still get that classic Costco vanilla flavor. Just skip the mousse filling and spread all the buttercream on top for an easy sheet cake.
What if I can’t find cake flour?
No problem at all! For every cup of cake flour, measure out 1 cup all-purpose flour, remove 2 tablespoons, then add 2 tablespoons cornstarch. Sift it together at least three times to get a great substitute.
Can I use all butter for the frosting instead of butter plus shortening?
You can, but note the texture will be different. Shortening adds stability that keeps the frosting smooth and pipeable—the secret to that classic look and feel. If you do use all butter, make sure it’s super soft and consider adding an extra tablespoon of cornstarch to help stabilize.
How far ahead can I make the cake?
Layers freeze well for up to three months when wrapped tightly. Buttercream keeps fresh for three days at room temperature covered. The assembled cake is best enjoyed within 2 to 3 days.
Can I double this recipe?
Absolutely! The recipe doubles easily for bigger crowds. Just be sure you have enough bowl space and pans—or bake in batches.