Sweet Zucchini Relish Canning Recipe

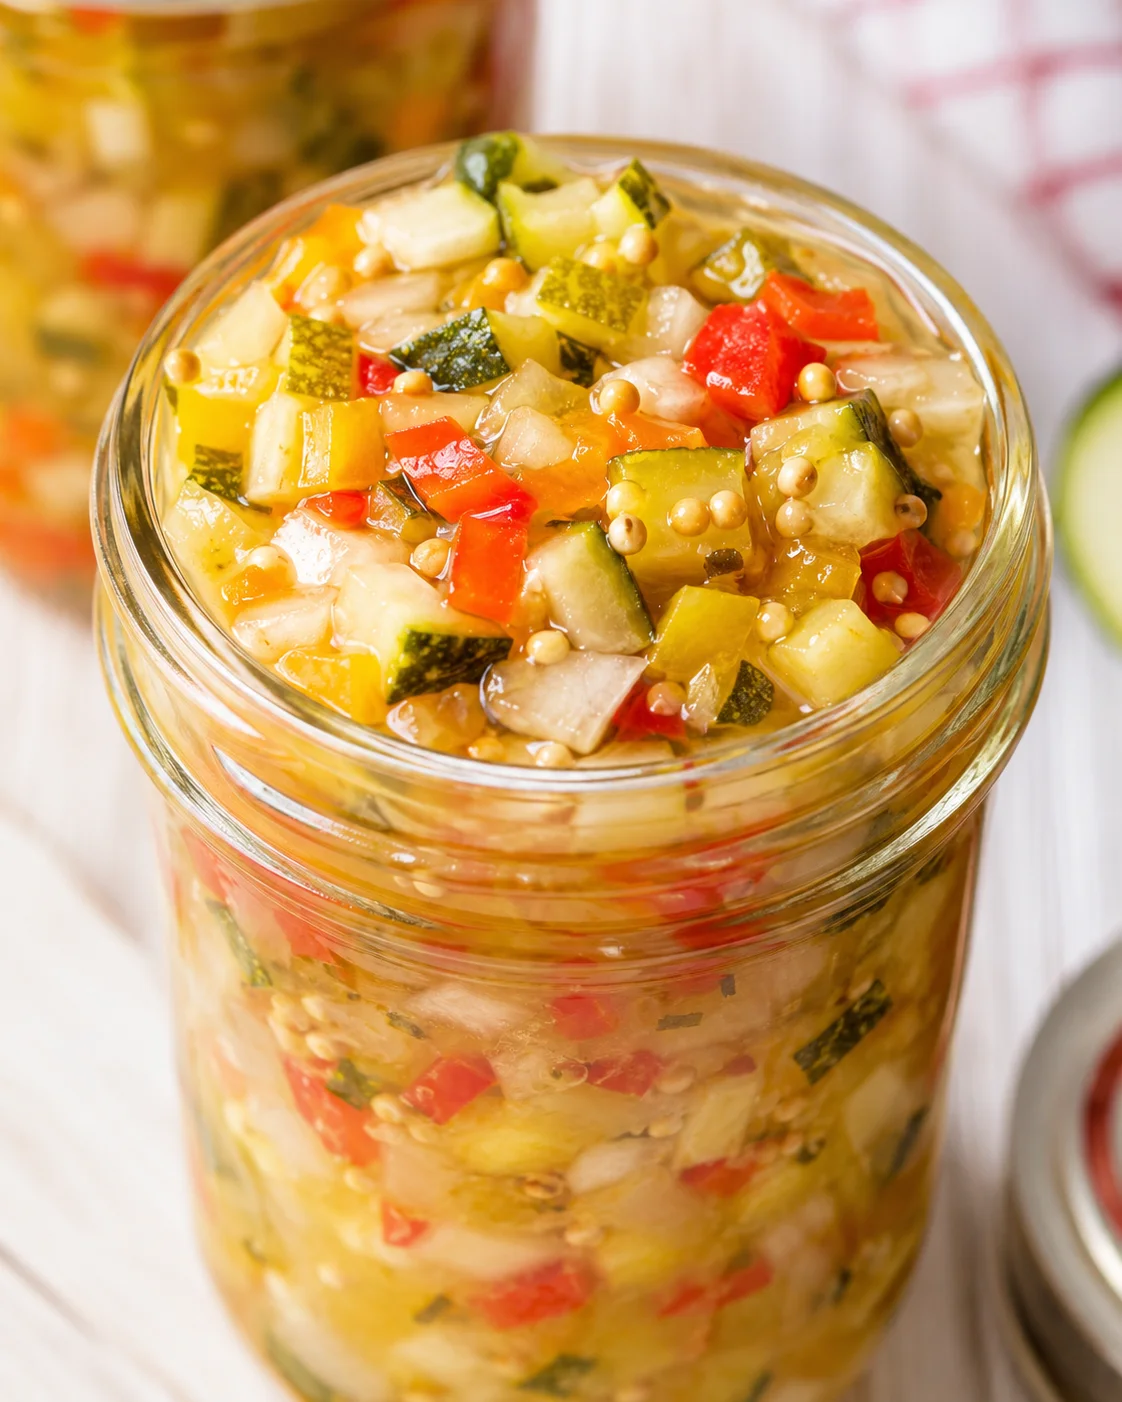
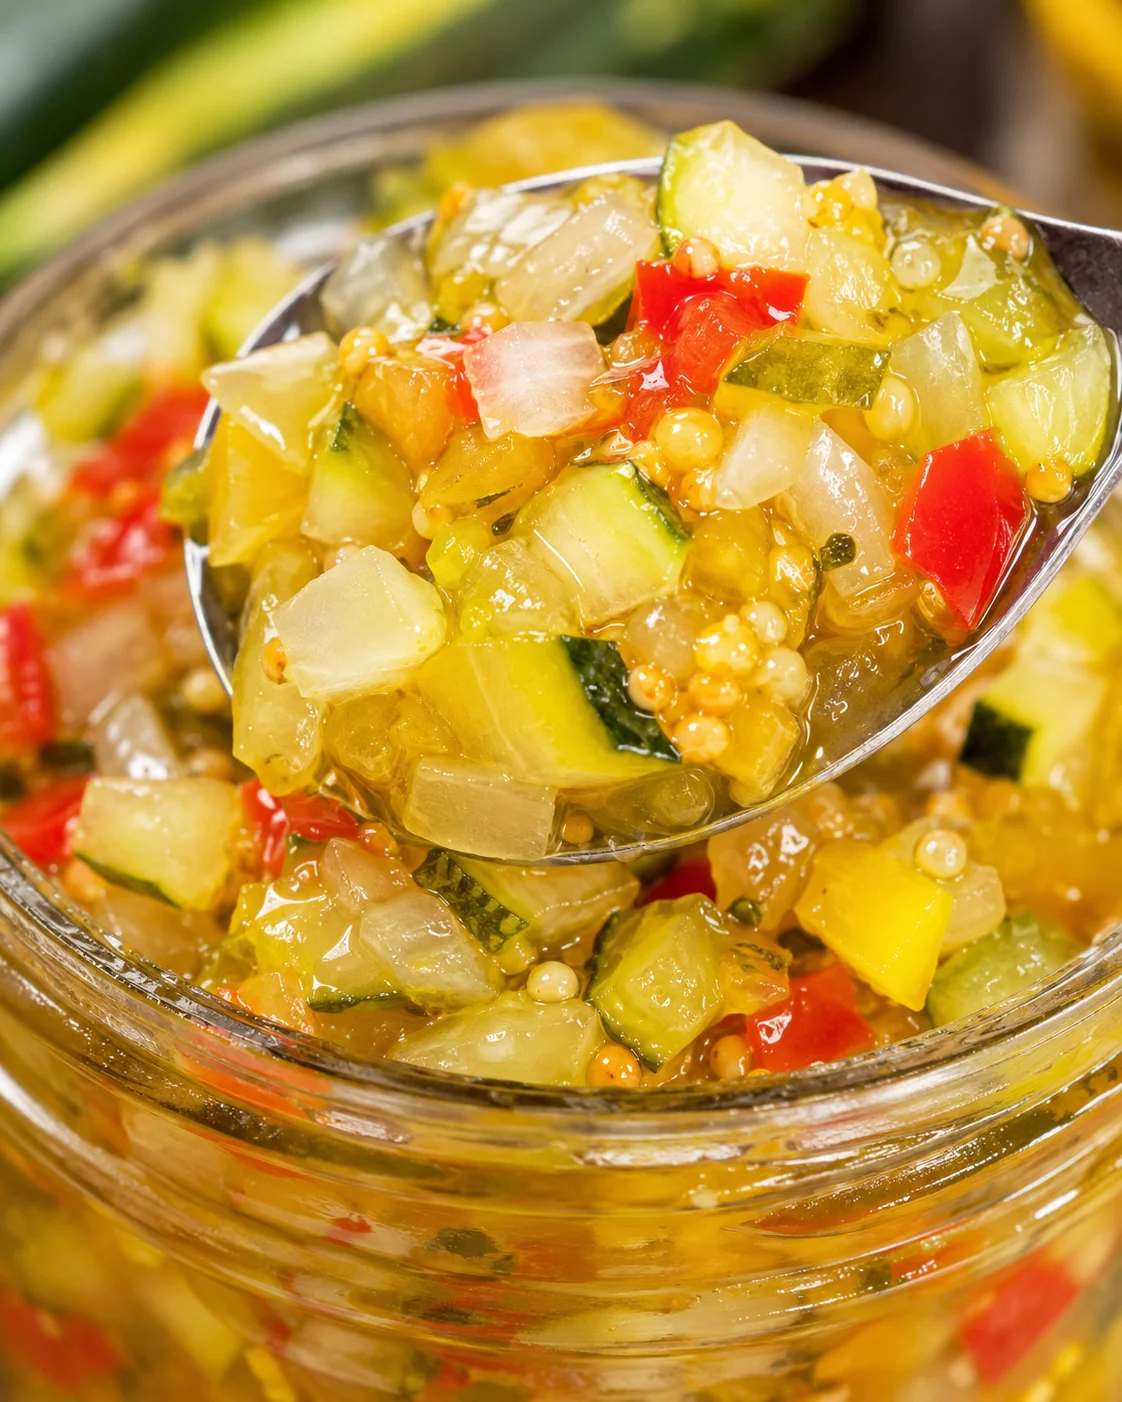
This zucchini relish recipe is a fantastic way to use up extra zucchini from your garden. It’s sweet, tangy, and totally delicious on hot dogs, burgers, and sandwiches. Best of all, it uses safe water bath canning methods, so you can enjoy this classic relish all year long.
When your garden gifts you more zucchini than you can eat fresh, zucchini relish is an amazing way to preserve that bounty. This classic sweet and tangy relish combines zucchini, onions, and bell peppers into a tasty pantry staple perfect for burgers, sandwiches, picnic salads, or even as a snack.
If you’re a gardener like me, summer zucchini tends to multiply overnight. And suddenly, you’re looking at a pile of big, beautiful squash wondering what to do. This zucchini relish recipe is my go-to solution to turn those oversized zucchinis into something delicious to enjoy anytime.
I’ve been making this relish year after year. It’s so straightforward and requires minimal fuss but makes a big impact on meals throughout the colder months when fresh veggies are scarce.
If zucchini seems to be taking over your kitchen, this sweet zucchini relish recipe is just what you need. It’s bright and tangy with a gentle sweetness that perfectly complements zucchini, peppers, and onions, turning them into a tasty condiment.
This post includes a tested, safe water bath canning recipe adapted from the trusted Ball Blue Book Guide to Preserving. It makes about 8 half-pint jars, requires around 2 hours and 30 minutes mostly for soaking the veggies in salted ice water, about 10 minutes cooking time, and another 10 minutes processing in the canner. Then just be patient and let your relish rest a few weeks so all those flavors can mellow and deepen.
Keep reading to find:
- The full list of ingredients with precise measurements for safe canning
- Step-by-step prep, cooking, and canning instructions
- Helpful canning tips, safety reminders, and altitude considerations
- Storage tips, troubleshooting, and tasty serving ideas
Whether you’re canning a bushel of zucchini or just a few oversized ones, this recipe is family-friendly, reliable, and sure to give you jars of delight when you follow it closely.
Why This Relish Shines
- An excellent way to put large or extra zucchini to good use
- A sweet, mild relish that even picky eaters will enjoy
- Simple water bath canning process that’s easy for beginners
- Stored properly, it keeps fresh for up to 18 months
- Super versatile—great on sandwiches, burgers, sausages, and more
- Tested recipe based on the Ball Blue Book Guide to Preserving for safety and success
Ingredient List
- 4 cups chopped zucchini
- 2 cups chopped bell peppers
- 2 cups chopped onions
- 1/8 cup pickling salt
- 3 1/2 cups sugar
- 1 tablespoon celery seeds
- 2 teaspoons yellow mustard seeds
- 2 cups apple cider vinegar 5% acidity
How to Make and Can
- Gather canning equipment: food processor or knife, measuring cups, water bath canner with rack, 8 half-pint jars, new lids, bands, ladle, funnel, bubble remover, jar lifter, clean towels, large pot, colander, and prep bowls.
- Wash jars, lids, bands, and all canning tools in hot, soapy water; rinse and set on a clean towel to air dry; discard any chipped or cracked jars.
- Wash zucchini, peppers, and onions.
- Trim about 1/4 inch off both ends of each zucchini; for large zucchini, halve, scoop out the seed core, and peel tough skin if needed.
- Remove stems, ribs, and seeds from bell peppers.
- Peel and chop onions.
- Chop or pulse zucchini, peppers, and onions uniformly and measure: 4 cups zucchini, 2 cups peppers, 2 cups onions; combine in a large bowl.
- Sprinkle 1/8 cup pickling salt over the chopped vegetables, toss well, cover with crushed ice or ice cubes and enough cold water to immerse, and let soak for 2 hours (or refrigerate overnight).
- While the vegetables soak, place the jar rack in the canner, add jars, cover with water, and heat jars to about 180°F (simmer) for 10 minutes to warm; keep jars warm until ready to fill.
- Drain the soaked vegetables in a colander and rinse under cool running water to remove excess salt.
- Press or squeeze the drained vegetables to remove as much moisture as possible.
- In a large pot combine 3 1/2 cups sugar, 1 tablespoon celery seed, 2 teaspoons mustard seed, and 2 cups apple cider vinegar (5% acidity) and bring the mixture to a gentle simmer.
- Add the drained vegetables to the simmering brine and stir to combine.
- Simmer the relish gently for 10 minutes, keeping it hot for jar filling.
- Place a clean, dry towel on the counter to set jars on for filling.
- Use a jar lifter to remove a warm jar from the canner, drain water back into the pot, and set the jar on the towel.
- Fit a canning funnel into the jar and ladle hot relish into the jar, leaving 1/2 inch headspace.
- Run a nonmetallic spatula or bubble popper around the inside edge of the jar to remove trapped air and recheck headspace.
-
Wipe the jar rim clean with a damp cloth, center a sterilized lid on the jar, and screw on the band until fingertip tight.
- Return the filled jar to the canner; repeat filling until all jars are filled and placed in the canner.
- Ensure water in the canner covers jars by at least 2 inches, cover the canner, and bring water to a full rolling boil.
- Process half-pint jars in a boiling water bath for 10 minutes if below 1,000 ft elevation (increase time according to altitude adjustments).
- When processing is complete, turn off the heat, remove the canner lid carefully, and let the canner rest for 5 minutes.
- Use a jar lifter to remove jars and place them 1 to 2 inches apart on a towel to cool; do not tighten bands or press lids while cooling.
- Leave jars undisturbed at room temperature for 12 to 24 hours.
- Check each lid for a proper seal by pressing the center; refrigerate and use unsealed jars within a month or reprocess with a new lid within 24 hours.
- Remove bands, wash jars to remove any sticky residue, label and date jars, and store sealed jars in a cool, dark place for up to 12–18 months.
Tips for Best Results
- Always measure your vegetables after chopping. The tested recipe depends on precise ratios of zucchini, peppers, and onions to vinegar.
- Wear gloves when handling hot peppers to avoid skin irritation or accidental eye contact.
- Remove the zucchini blossom end and scoop out the seed center from large zucchini. Peel tough skin on oversized squash to avoid mushy or chewy relish bits.
- Use pickling salt, never table salt, to keep your relish clear and flavorful.
- Warm jars before filling to reduce breaks and preserve proper headspace.
- Leave 1/2 inch headspace in jars filled with hot relish.
- Remove air bubbles by running a nonmetallic utensil around inside the jar after filling.
- Wipe jar rims clean before sealing lids and tighten bands only fingertip tight to let air escape.
- Follow the full recommended processing time and altitude adjustments—don’t skimp.
- Do not alter vinegar concentration or overall ingredient proportions for safety.
Serving Suggestions and Variations
This sweet zucchini relish is more than just a hot dog topping. Here are some tasty ways to enjoy it:
- Top burgers, hot dogs, sausages, or bratwurst for a burst of flavor
- Mix into tuna, chicken, or egg salad for extra zing
- Stir into mayonnaise for a quick homemade tartar sauce great with fish sticks
- Add a dollop to potato salad or creamy macaroni salad
- Serve alongside grilled meats or roasted veggies as a fresh condiment
- Include it on a snack or charcuterie board with cheeses and crackers
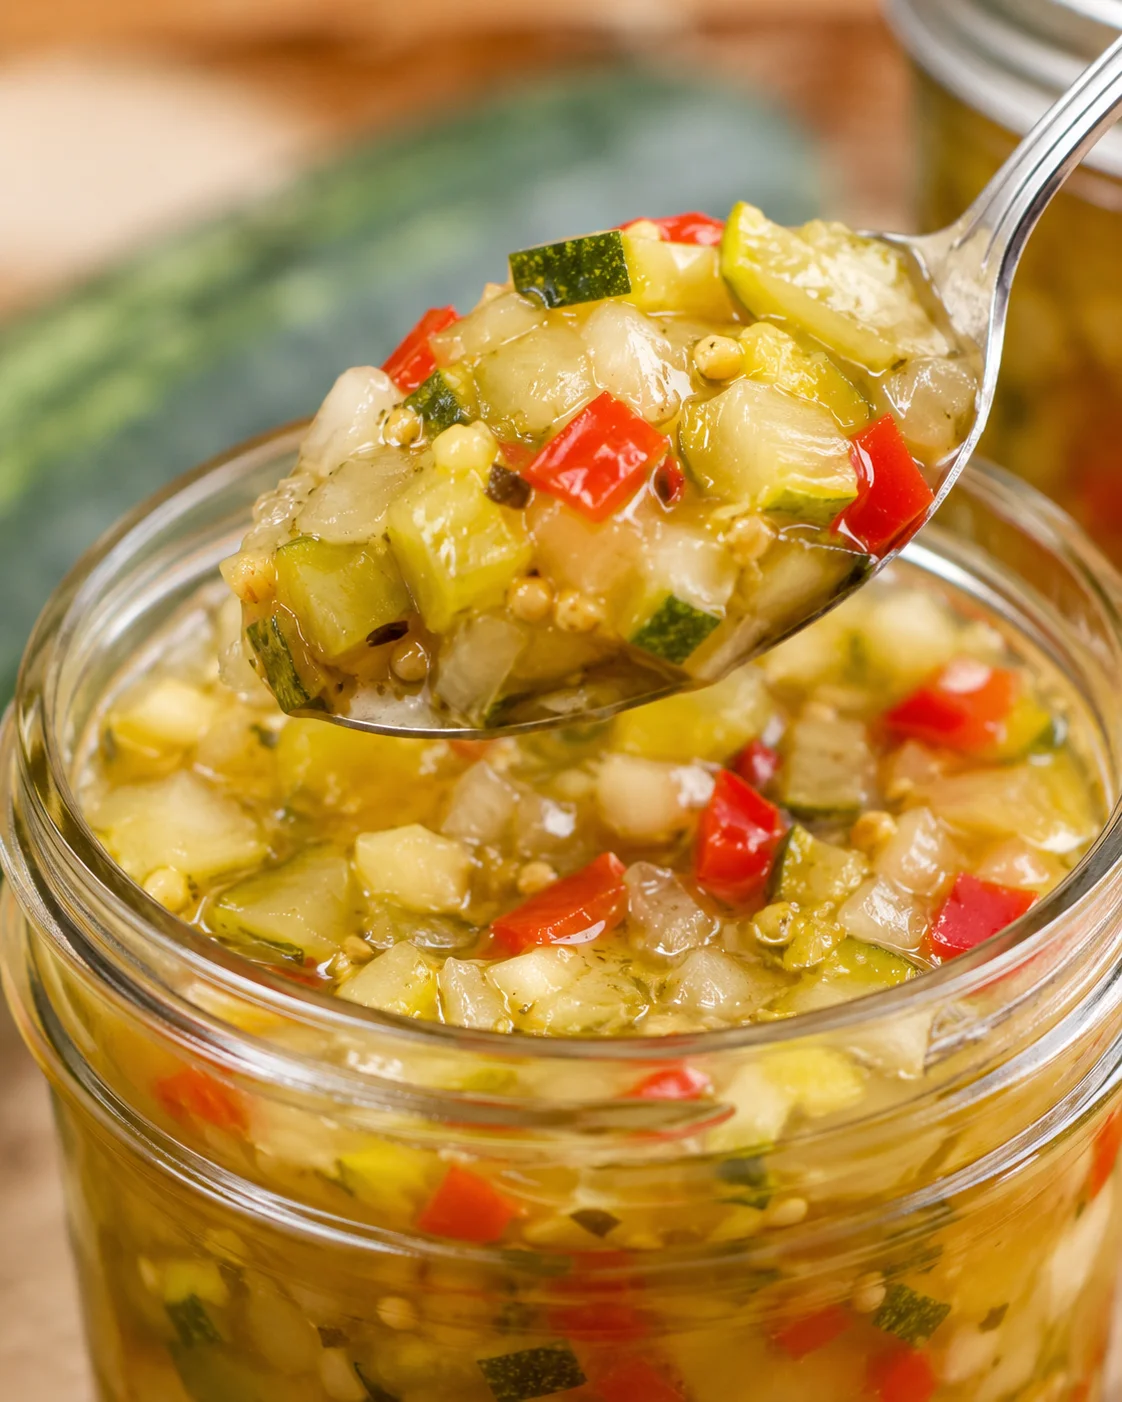
Storing, Shelf Life, and Use
Store your sealed jars in a cool, dark place away from sunlight. If sealed right, they’ll hold their quality for 12 to 18 months, maybe even longer.
For best flavor, give your relish a few weeks (2 to 4) to really develop before cracking open a jar.
Once opened, keep the jar refrigerated and plan to use within a month.
If any jar didn’t seal, put it in the fridge and use within a month, or reprocess quickly with a fresh lid.
Not into canning? Freeze your relish in freezer-safe containers for 3 to 6 months—note that the texture will soften.
Always remove screw bands after sealing and clean jars before long-term storage. It prevents rust and makes seal checks easier later.
Common Questions and Troubleshooting
- Can I reduce the sugar? No. This is a tested recipe from Ball. Changing sugar or any ingredient amounts risks safety and flavor quality.
- Can I use a different vinegar? Use only vinegars with 5% acidity. Apple cider and distilled white vinegars are best. Don’t dilute or use weaker vinegars.
- Can I make a smaller batch? Yes, you can halve or scale the recipe. Keep proportions exactly the same, and use the proper processing time for your jar size.
- What if a lid doesn’t seal? Refrigerate and use the relish within a month, or reprocess the jar with a new lid within 24 hours.
- Why soak the vegetables in salted ice water? It firms the texture and pulls out excess moisture for a better relish consistency. Soak for about 2 hours or refrigerate overnight.
- Can I substitute different peppers or onions? Yes, you can use any combination of sweet or hot peppers and onion types—just keep total amounts consistent for safety.
- Do processing times change with altitude? Yes, the recipe includes adjustments based on altitude. Always follow those to ensure a safe seal and preserved relish.