Juicy Watermelon Bliss Popsicles
One of my favorite summer moments takes me back to those hot afternoons spent in my grandmother’s backyard, surrounded by the sweet, inviting scent of ripe watermelon. I can still see her, full of life and laughter, slicing through the juicy pink flesh and handing me thick, dripping wedges. That simple treat was refreshing, but it wasn’t until I stumbled upon the joy of homemade watermelon popsicles that my love for this fruity classic really took off.
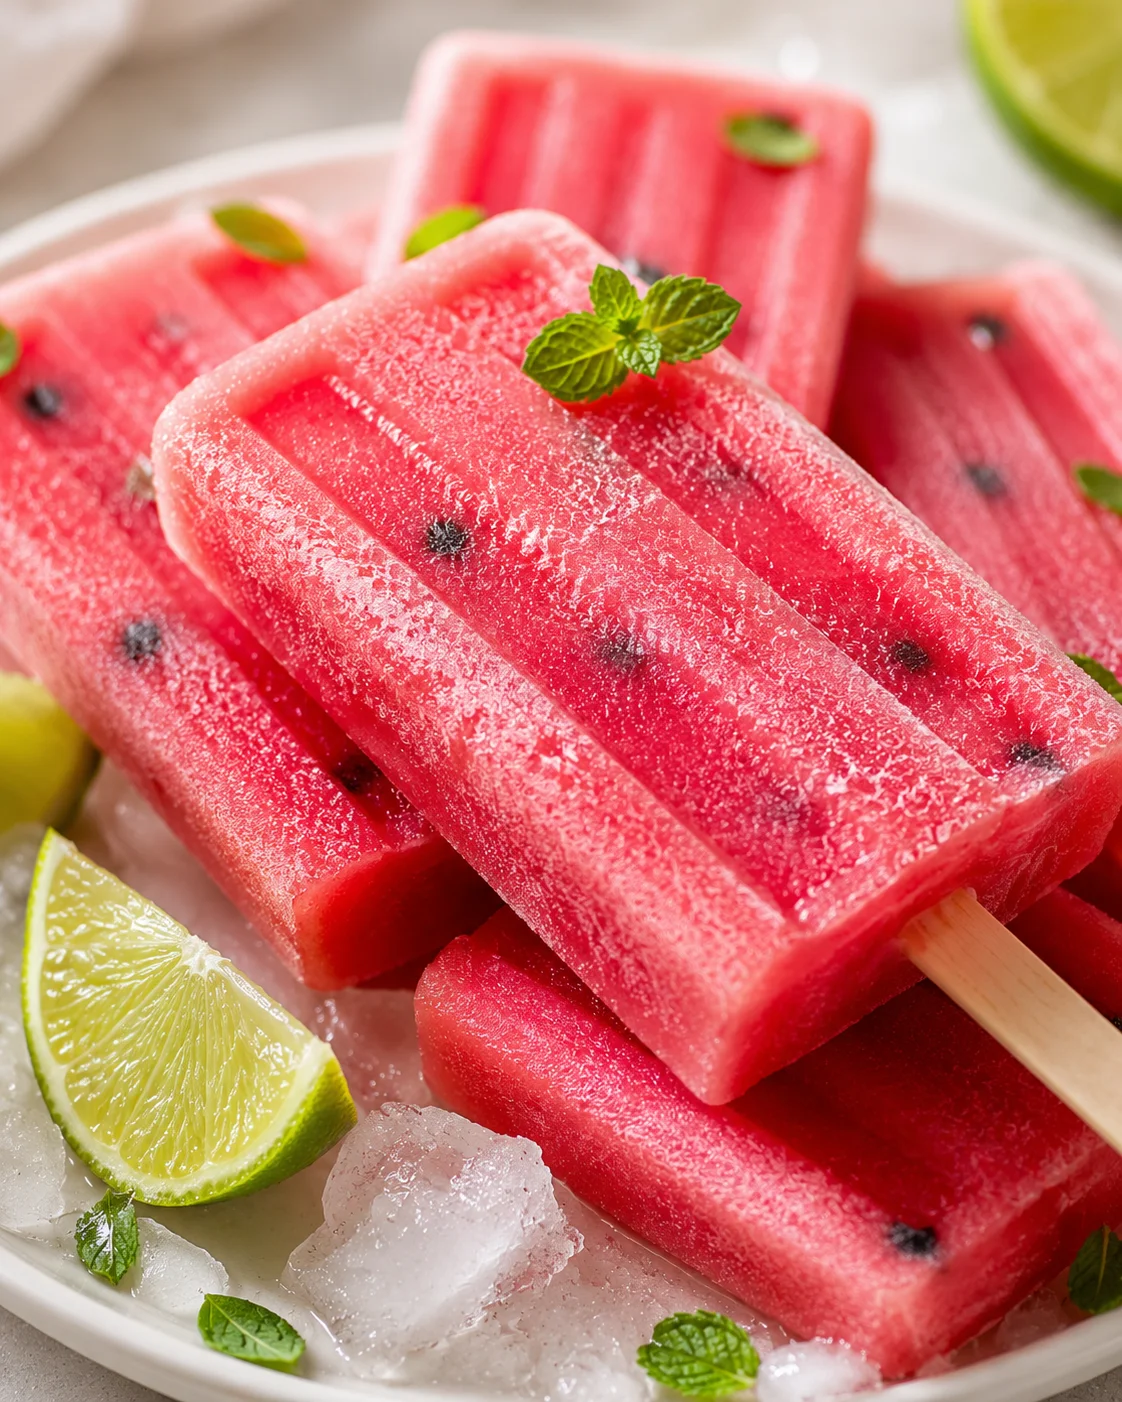
These popsicles are like a little celebration of summer in every bite. Imagine the cool, juicy sweetness of watermelon transformed into a handheld treat — each lick bursting with bright sunshine flavor. The vivid pink hue practically jumps out at you, and the fresh, fruity aroma promises a refreshing escape. With just a splash of lime to brighten things up, my homemade watermelon popsicles are not only super tasty but also wonderfully hydrating.
What really makes my recipe stand out is the touch of mint I add, giving that classic watermelon flavor a fresh, lively lift. It’s the perfect sweet-and-zesty combo, and believe me, everyone loves them. Plus, they’re so quick and easy to make—ideal for those laid-back days when you want something delicious without any extra fuss.
If you’re ready to chill out and enjoy a little slice of summer magic, stick around, and I’ll show you exactly how to make these delightful homemade watermelon popsicles!
Watermelon popsicles aren’t just a sweet treat; they’re a perfect way to refresh yourself on a hot day, packed full of natural sweetness and moisture. The bright, inviting color and juicy flavor make every bite a little celebration, perfect for cooling off at summer parties or savoring during a quiet afternoon at home.
This recipe is a true go-to for me, especially when I want a treat that feels indulgent but without the guilt. Just blending fresh watermelon with a squeeze of lime strikes that perfect balance of flavor that’s hard to beat.
So, grab your blender and popsicle molds, and let’s get started! I can’t wait to hear how your homemade watermelon popsicles turn out or how you make them your own with fun twists.
- Ready in less than 10 minutes with only a blender and popsicle molds—super simple and no mess.
- Just four easy ingredients, making it wallet-friendly and perfect for any summer get-together.
- Light and refreshing, packed with the natural sweetness that shows off watermelon’s juicy, bright flavors.
- Flexible recipe—you can add honey or mint if you want to customize the flavor your way.
- Hydrating and guilt-free, so you can cool down without worrying about artificial sugars or additives.
Why These Popsicles Shine
Homemade watermelon popsicles are the kind of summer snack that checks all the boxes: bold, fresh flavor with barely any effort. With quick prep, wholesome ingredients, and endless variations, they’re my favorite simple pick for hot days.
- Quick and no-fuss: It takes less than 10 minutes to whip these up with only a blender and molds—ideal when life gets busy or you need a breeze of last-minute summer fun. (Just remember the freezing time is about 4 hours.)
- Pure and natural sweetness: The juicy watermelon paired with fresh lime juice delivers the genuine taste of summer without any artificial nasties. If you love that citrusy kick, try these watermelon lime popsicles.
- Cool and hydrating: Thanks to watermelon’s high water content, these popsicles refresh and quench your thirst in the healthiest way possible.
- Make it your own: Toss in berries, mint leaves, a splash of creamy coconut milk or yogurt, or a touch of honey to tweak the taste exactly how you like it. For a berry-forward twist, make strawberry watermelon popsicles. You can even get creative and layer different flavors for a fun marble effect.
- Family and crowd-friendly: Kids love helping with blending and pouring, and these popsicles are always a hit at parties. Plus, they stay great in the freezer for up to two months, so you can prep ahead.
- Budget-smart and versatile: One medium watermelon yields plenty of popsicles, and any leftovers can be frozen in ice cube trays or added to drinks and smoothies for extra flavor.
- Easy to serve: Silicone molds make popsicle removal a breeze, and if they stick, a quick rinse with warm water does the trick.
In a nutshell, these homemade watermelon popsicles capture the pure taste of summer, save you time and money, and invite you to get creative with flavors. Trust me, you’ll find yourself making them again and again—maybe even more than you planned!
Ingredients for Juicy Popsicles
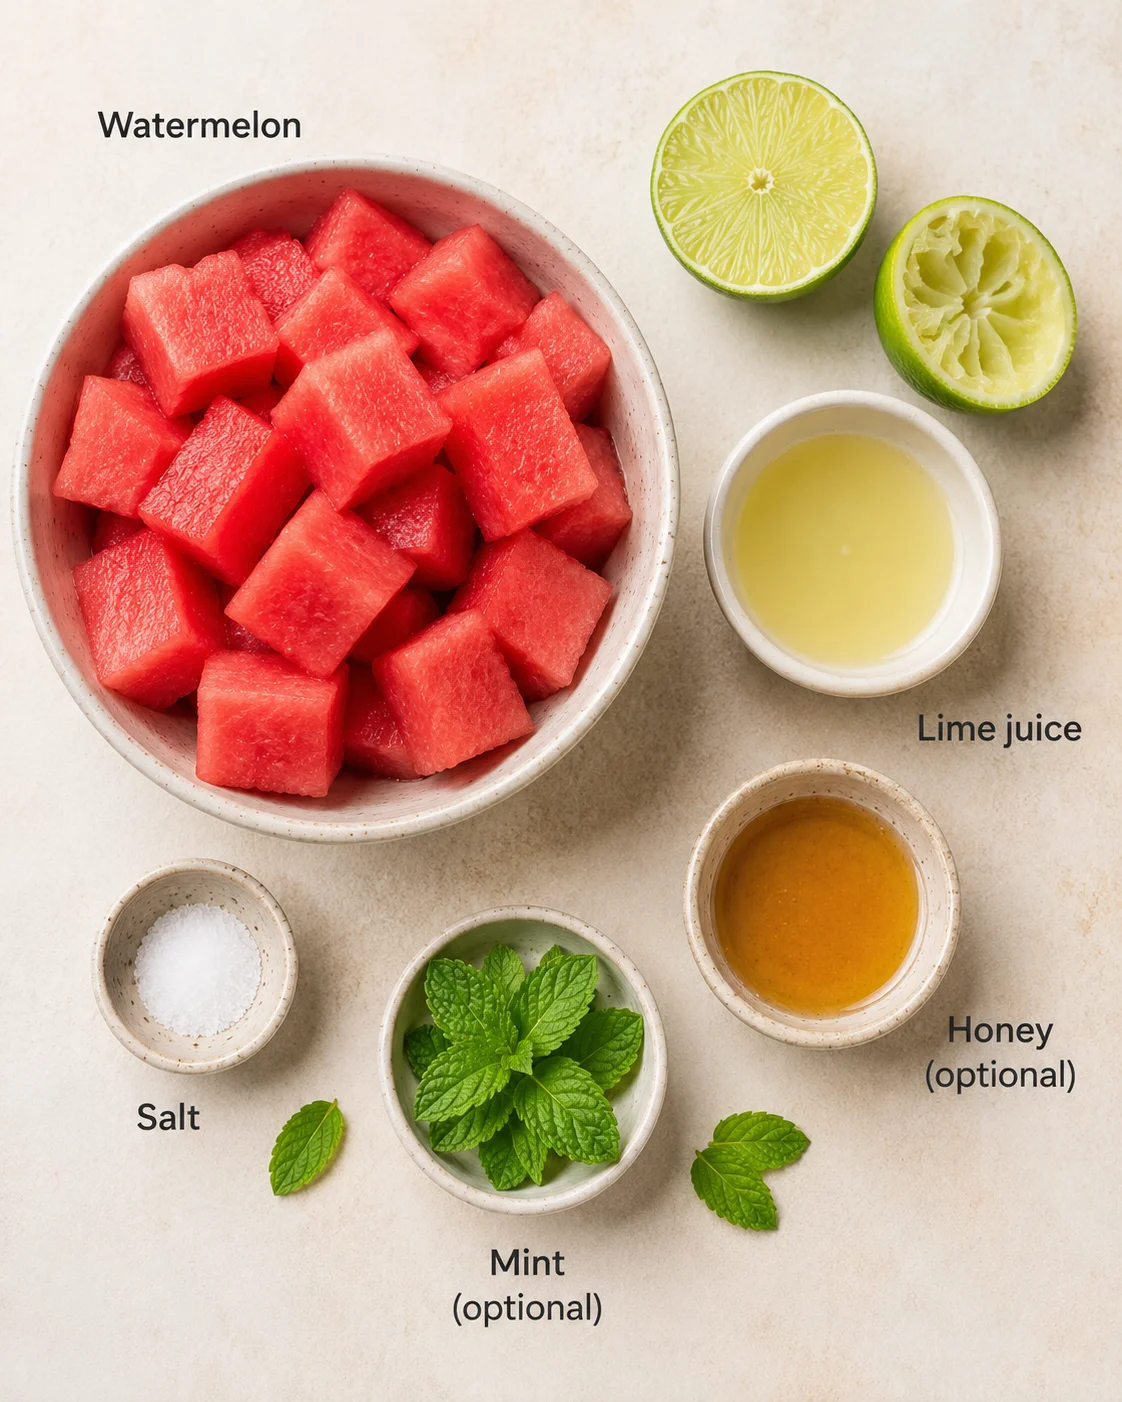
- 4 cups of seedless watermelon, cubed (about 1 medium watermelon)
- 1 tablespoon of freshly squeezed lime juice
- 1 tablespoon of honey or agave syrup (optional, adjust to your liking)
- A pinch of salt
- Optional: Fresh mint leaves for garnish and added freshness
Blend, Fill, Freeze: Simple Steps
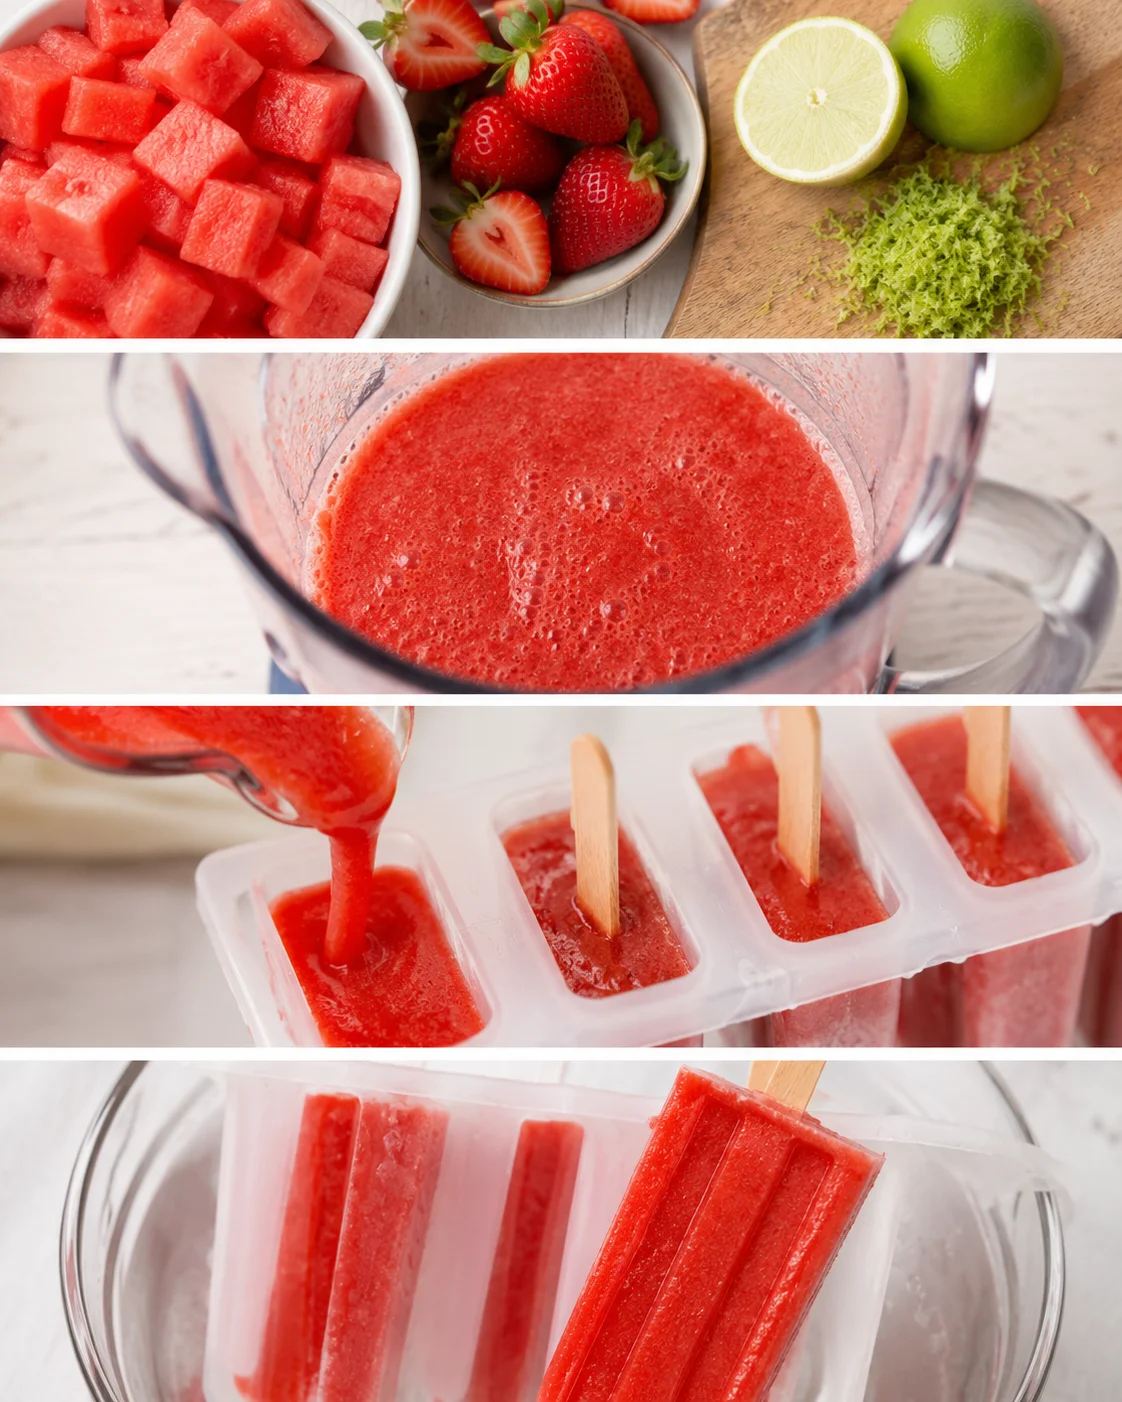
- Cut the watermelon into cubes to yield about 4 cups and remove any seeds.
- Place the watermelon cubes in a blender.
- Blend on high for 30–45 seconds until smooth and lump-free, avoiding over-blending to minimize foam.
- Add 1 tablespoon fresh lime juice, 1 tablespoon honey or agave (optional), and a pinch of salt to the blender.
- Blend 10–15 seconds to combine, taste, and adjust sweetness if needed.
- Pour the mixture into popsicle molds, filling them about three-quarters full; pour any extra into small cups or ice cube trays.
-
Insert popsicle sticks into the molds (let the mixture rest a few minutes if it’s too thin to support the sticks).
- Freeze the molds for at least 4 hours or until completely solid.
- Run warm water on the outside of the molds for about 30 seconds to loosen the popsicles, then gently pull on the sticks to remove.
Tips for Perfect Popsicle Texture
- Don’t pick watermelon that’s too soft or overly ripe — it can make your popsicles mushy. Look for firm, brightly colored fruit for the best texture.
- Use silicone molds if you can — they’re flexible and make popping out the frozen treats a snap compared to rigid plastic ones.
- For a creamier twist, try stirring in a splash of coconut milk (see how it creates rich, dairy-free creaminess in these coconut cream pie overnight oats) or plain yogurt. This adds a silky smoothness without masking fresh fruit flavor.
- If you want a pretty marbled look, layer the freezing. Pour some watermelon mix, freeze for 30 minutes, then add another layer for more color and fun.
- Brighten things up by garnishing with fresh mint leaves just before serving. It adds a lovely pop of color and a fresh aroma that makes the flavors sing.
Flavor Twists and Mix-Ins
If you want to take these homemade watermelon popsicles to the next level, try these fun variations:
- Berry Bliss: Add a cup of strawberries or blueberries into the blender for a splash of extra color and sweet-tart flavor.
- Coconut Lime: Swap out half the watermelon for creamy coconut milk for a tropical vibe and richer texture.
- Spicy Kick: Stir in a pinch of cayenne or finely chopped jalapeño if you like a bit of heat mixed with your sweetness.
And when it comes to what pairs beautifully with these popsicles, try:
- Grilled Chicken Salad: The smoky, savory chicken balances perfectly with the fresh, cooling popsicles; or serve a cold chicken macaroni salad for an easy picnic spread.
- Fish Tacos: These sweet treats calm down spicy tacos, especially if you add a zesty lime crema.
- Quinoa Bowl: A light quinoa and veggie salad makes a wholesome meal that pairs beautifully with these fruity popsicles.
Storing Popsicles for Maximum Freshness
You can keep your homemade watermelon popsicles in the freezer for up to two months without losing their fresh flavor or nice texture. Make sure you cover each mold tightly or wrap the popsicles well to avoid freezer burn. If you make them in advance, they actually taste even better the next day as the flavors really come together—similar to how Perfect French Macarons with Fresh Lemon Buttercream improve after a short rest.
No need to thaw or heat—just let them sit at room temperature a few minutes if they’re stuck, and they’ll loosen right up and be ready to enjoy frozen and refreshing.
Answers to Common Questions
Can I make Watermelon Popsicles ahead of time?
Absolutely! In fact, they often taste better after a day or two because the flavors blend and intensify. Just make them, freeze, and enjoy whenever you want.
What can I use instead of honey?
If you want a vegan option or prefer no added sweeteners, agave syrup works great. And sometimes, ripe watermelon is sweet enough on its own, so feel free to skip the sweetener altogether.
How do I prevent my popsicles from sticking to the mold?
Make sure they freeze completely — at least 4 hours. If they’re sticking, just run warm water on the outside of the mold for a few seconds before trying to pull them out.
Can I add other fruits to the popsicles?
Definitely! Mix in strawberries, blueberries, mango, or your favorite fruits. Just keep your total volume close to 4 cups to keep the texture right.
How can I make my popsicles more colorful?
Create a fun, layered look by pouring one fruit mix into the molds, freezing for 30 minutes, and then adding another layer of a different color before freezing again.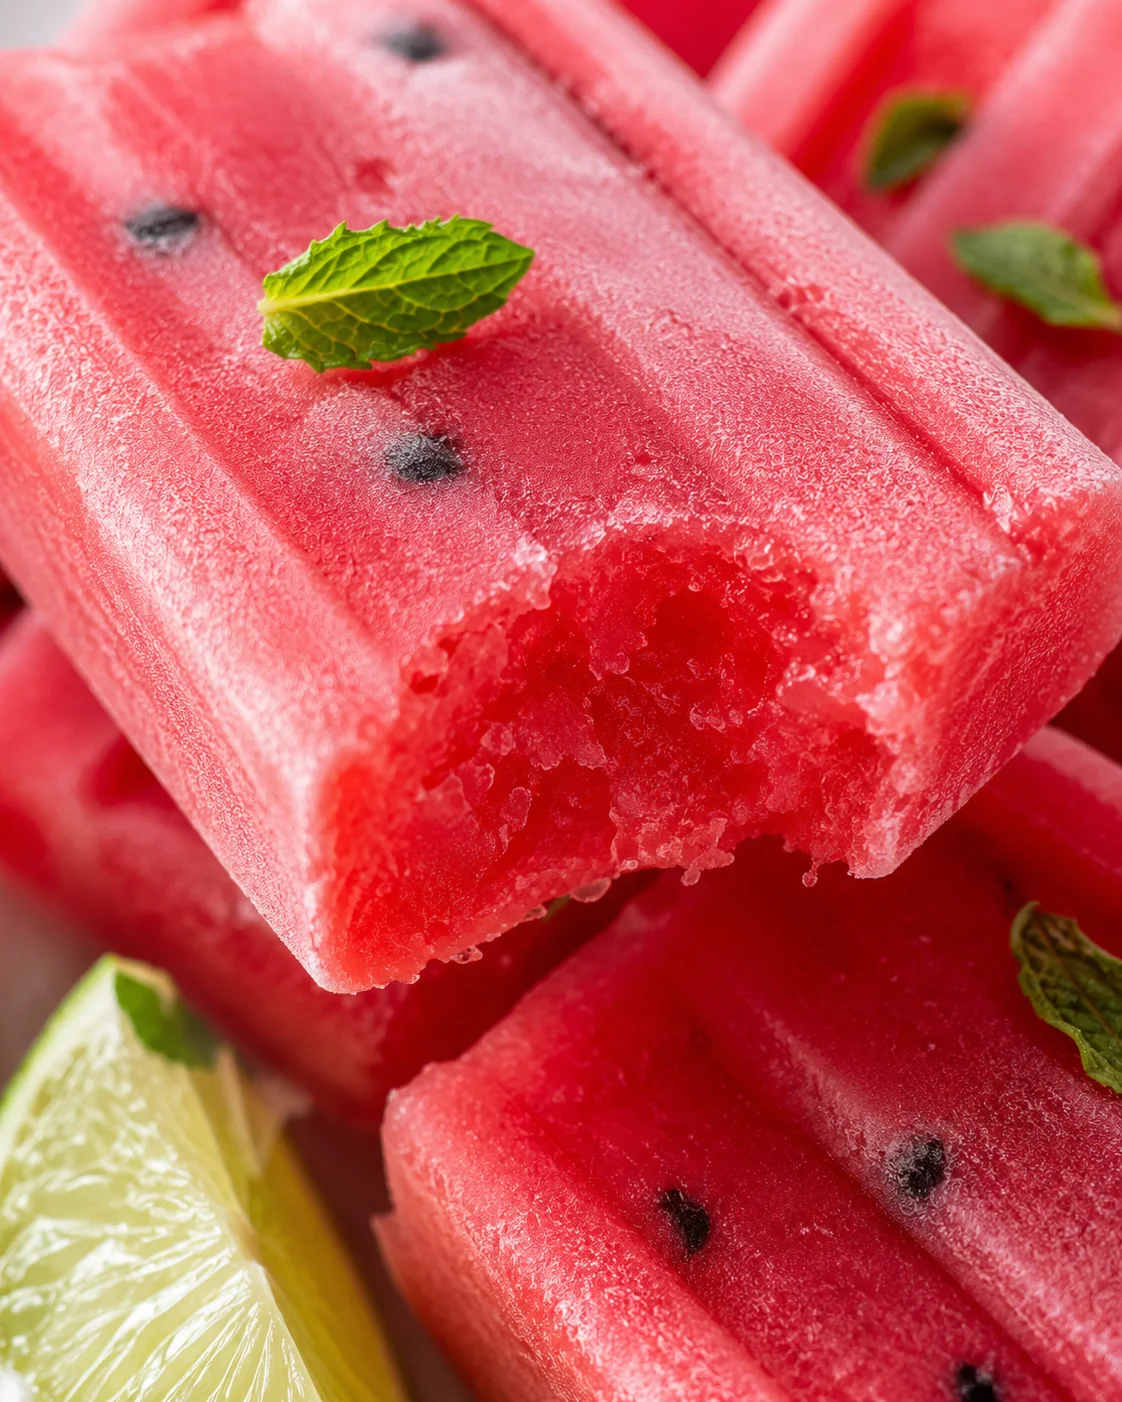
Refreshing homemade watermelon popsicles infused with lime and optional honey, perfect for cooling off on hot summer days.
- Prep Time: 10 minutes
- Cook Time: 4 hours (freezing time)
- Total Time: 4 hours 10 minutes
- Yield: About 6-8 popsicles depending on mold size 1x
- Category: Dessert
Ingredients
- 4 cups seedless watermelon, cubed (about 1 medium watermelon)
- 1 tablespoon freshly squeezed lime juice
- 1 tablespoon honey or agave syrup (optional, adjust to your liking)
- A pinch of salt
- Optional: Fresh mint leaves for garnish and added freshness
Instructions
- Cut the watermelon into cubes to yield about 4 cups and remove any seeds.
- Place the watermelon cubes in a blender.
- Blend on high for 30–45 seconds until smooth and lump-free, avoiding over-blending to minimize foam.
- Add 1 tablespoon fresh lime juice, 1 tablespoon honey or agave (optional), and a pinch of salt to the blender.
- Blend for 10–15 seconds to combine, taste, and adjust sweetness if needed.
- Pour the mixture into popsicle molds, filling them about three-quarters full; pour any extra into small cups or ice cube trays.
- Insert popsicle sticks into the molds (let the mixture rest a few minutes if it’s too thin to support the sticks).
- Freeze the molds for at least 4 hours or until completely solid.
- Run warm water on the outside of the molds for about 30 seconds to loosen the popsicles, then gently pull on the sticks to remove.
Notes
Use silicone molds for easier popsicle removal., Add a splash of coconut milk or plain yogurt for a creamier texture without masking fresh fruit flavor., Create marbled popsicles by layering freezes with different fruit mixes, freezing each layer for 30 minutes., Garnish with fresh mint leaves before serving to add color and fresh aroma., Watermelon selection tip: choose firm, brightly colored fruit to avoid mushy popsicles., Popsicles can be stored in the freezer for up to two months if covered tightly to prevent freezer burn.
Nutrition
- Serving Size: 1 popsicle
- Calories: Approximately 40-50 calories per popsicle (varies with added ingredients)
- Fat: Negligible fat content
- Carbohydrates: Approximately 12 grams per serving
- Protein: Less than 1 gram per serving