Crispy Oven Fried Squash Recipe Easy Perfect Healthy Snack
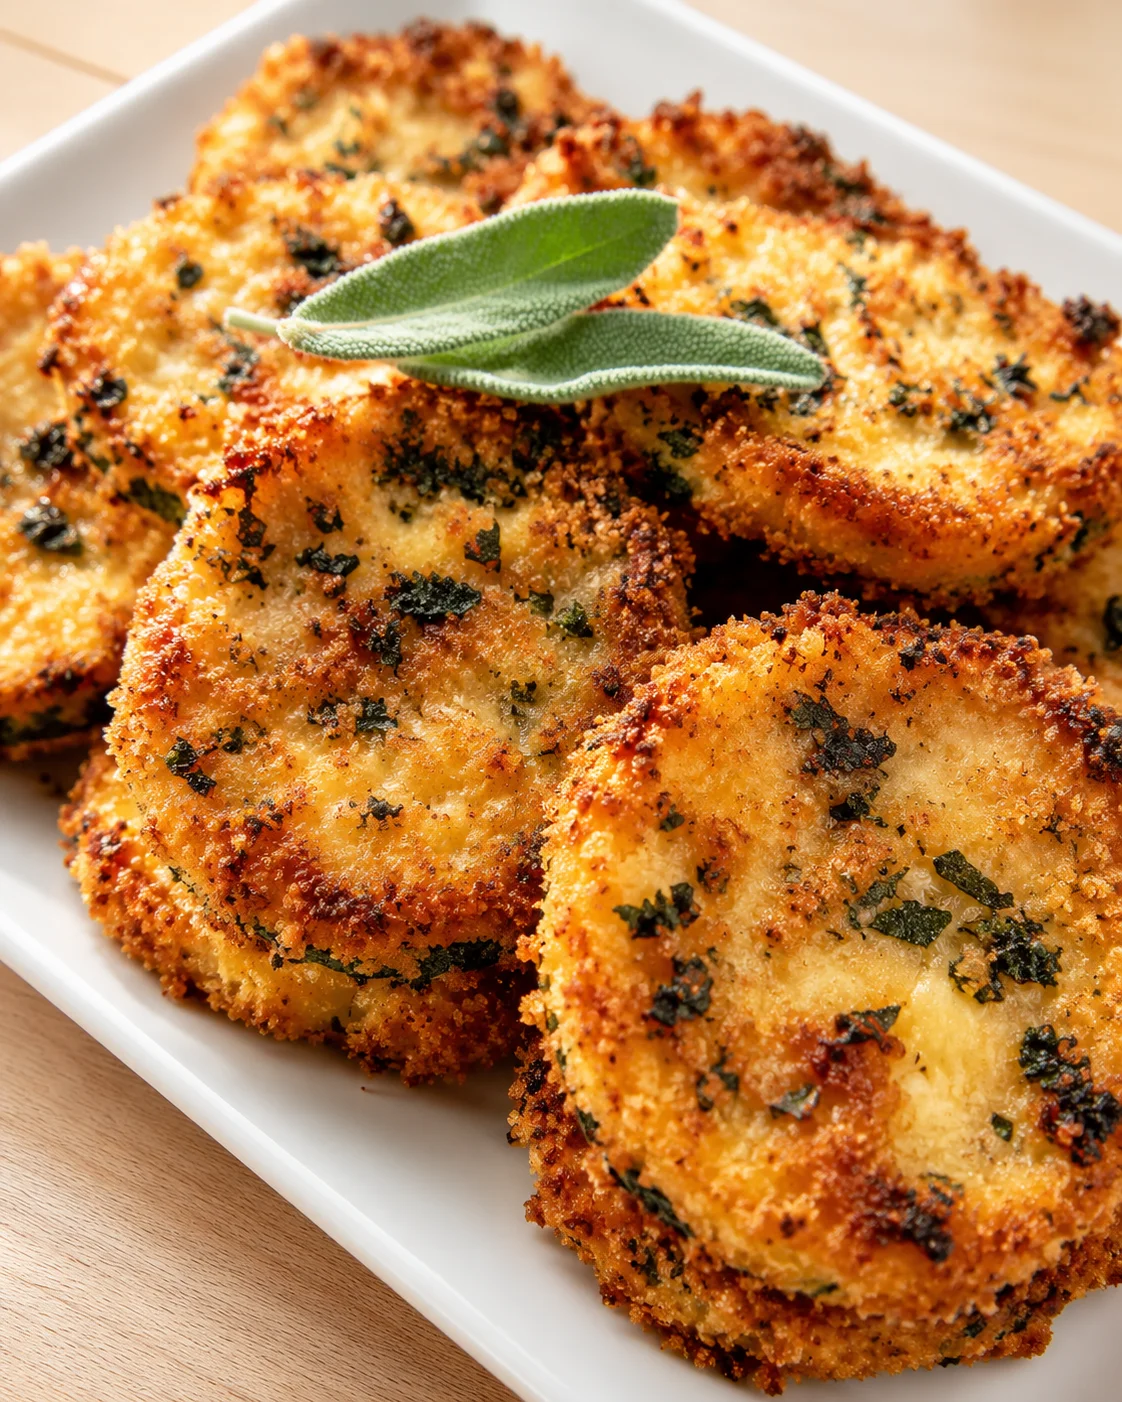
The first time I made baked fried squash in the oven, it was a lifesaver on a hectic weeknight. I’d picked up a huge bag of summer squash from the farmer’s market, and honestly, I wasn’t quite sure how I was going to use it all. I really wanted to skip the usual steamed or sautéed routine. Then it hit me — why not oven-fry the squash to get that crispy, golden crust without the mess and heaviness of deep frying? It turned out even better than I hoped — crunchy, flavorful, and just the right kind of snack that felt indulgent but still fit my health goals.
Since then, this baked fried squash recipe has become a favorite of mine whenever I want something quick, crunchy, and satisfying. It’s such a smart way to enjoy fresh squash without using too much oil or creating a mess. Plus, it’s super kid-approved — my nephew actually went back for seconds, and that felt like a total win!
What really gets me is how this recipe turns a simple vegetable into something that tastes like a crispy pub snack but is totally guilt-free. Whether you’re feeding a family, need a simple appetizer for guests, or just want a crunchy bite, this baked fried squash is exactly what you want. It’s easy, it’s healthy, and honestly, a little addictive once you get that perfect crisp on every slice.
Over time, I’ve played with this recipe, tested different coatings, and found the perfect mix of flavors and crunch. As someone who’s tried many oven-fried veggies, I confidently say this one stands out — not greasy, never soggy, and bursting with flavor. It’s just right for anyone craving a healthier spin on classic fried snacks without losing the texture or taste.
If you’ve ever stared at a pile of summer squash wondering how to make it exciting, this baked fried squash recipe is here to save the day. In just a few simple steps, you’ll turn plain zucchini or yellow squash into golden, crispy slices that feel indulgent but use only a little oil compared to traditional frying. This method focuses on oven-frying with a panko-and-parmesan coating that gives you that must-have crunch without the hassle of deep frying.
You can expect about 30 minutes of hands-on time from start to finish, with pantry staples and a straightforward, forgiving technique. I’ll guide you through slicing and breading, share the best oven temperature to get that crisp crust (425°F / 220°C), and offer some handy tricks to keep the coating intact and crispy. Plus, there’s an easy step-by-step, pro tips for maximum crunchiness, and substitutions if you need gluten-free or dairy-free options.
Whether you want a quick weeknight side dish, a crunchy party appetizer, or a snack your kids will actually love, this recipe is flexible and reliable. Keep reading for the full ingredient list, clear instructions, flavor twists, storage and reheating advice, plus answers to common questions so you can master this tasty baked fried squash every time.
Fast, Flavorful, and Family-Friendly
- Quick & Easy: Ready in about 30 minutes from start to finish — perfect when you want something tasty without the fuss.
- Simple Ingredients: Everyday pantry items plus fresh squash, no hard-to-find extras or specialty shopping required.
- Perfect for Snacking & Side Dishes: Great alongside casual dinners, game day snacks, or just as a crunchy bite anytime.
- Family-Friendly: Kids love the crunchy texture and bold flavor, making it an easy way to sneak veggies onto plates — and if you need another kid-approved veggie snack, try this zucchini breadsticks recipe for kids.
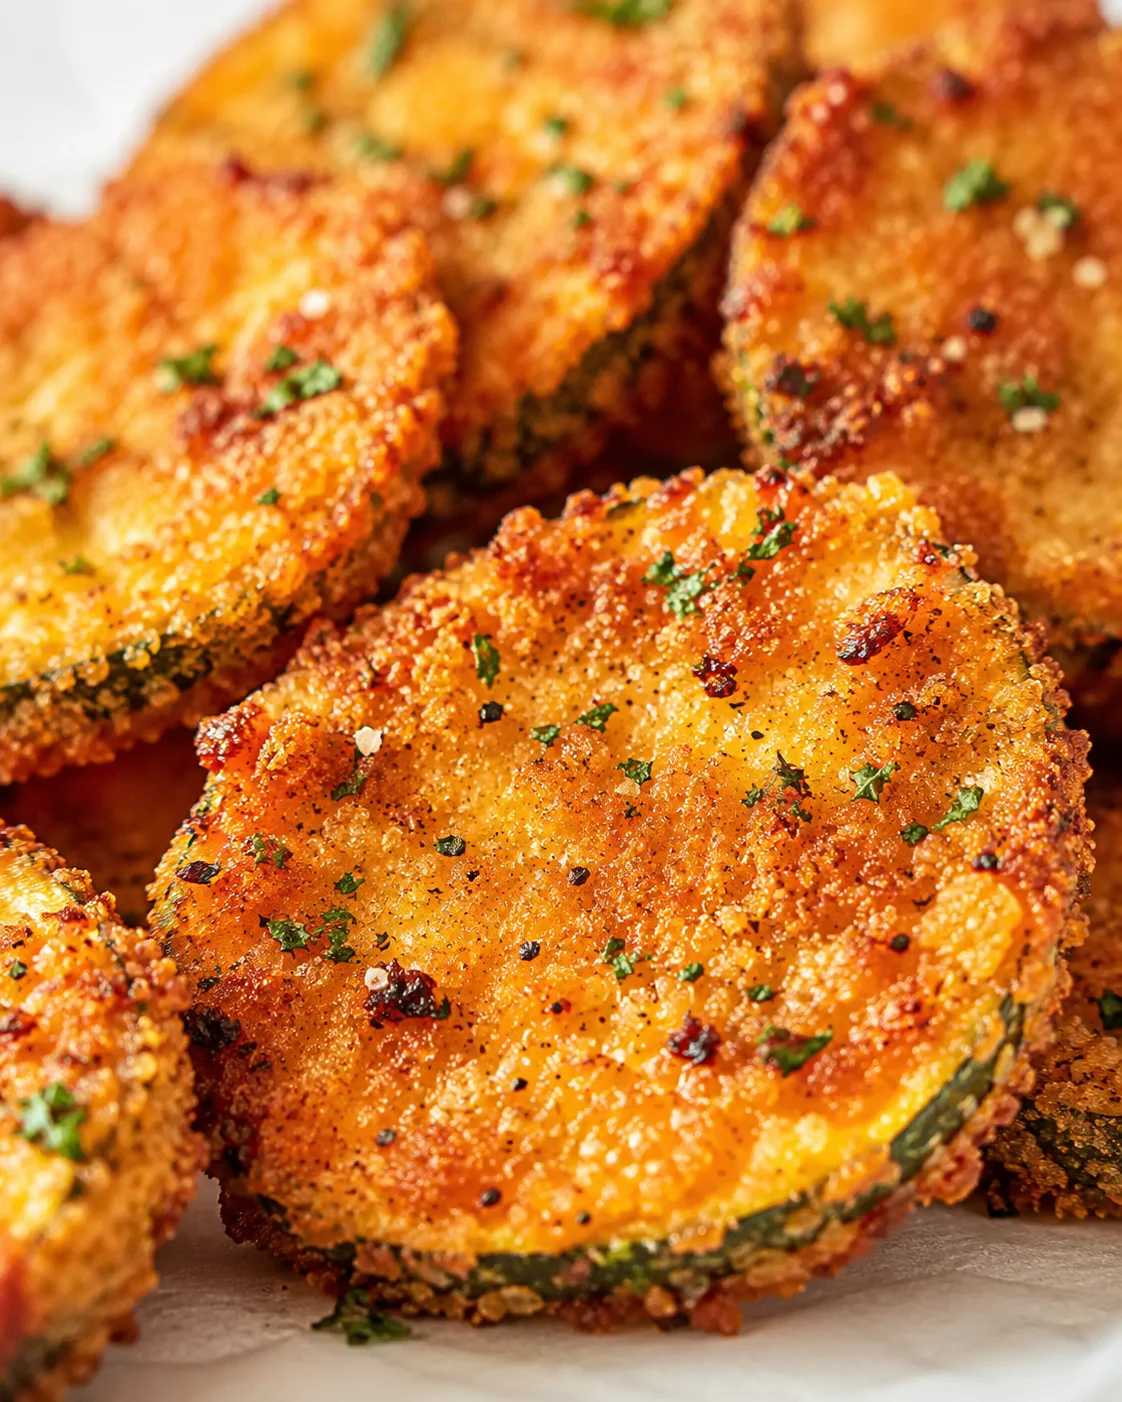
- Unbelievably Crispy: The oven-fry method and light coating deliver golden brown, perfectly crisp squash — never soggy or greasy.
- Healthier Alternative: Skip deep frying and use just enough oil to get crispy, keeping things lighter and healthier.
This recipe shines because of the coating — a combo of panko breadcrumbs and a bit of parmesan cheese that brings a nutty flavor and serious crunch. Seasoning the squash well before baking also helps pull out its natural sweetness and balances the crispy crust just right. Honestly, it tastes indulgent but feels good to eat.
I’ve made this for family dinners and casual gatherings many times, and it disappears fast every single time. It’s the kind of snack or side that makes you savor that first crunch with a smile—comfort food vibes in a lighter, fresher way. If you’re after a crunchy fried snack without the guilt, this baked fried squash is exactly what you need; if you prefer the classic approach, check out our crispy Southern fried yellow squash recipe.
Simple Ingredients, Big Flavor
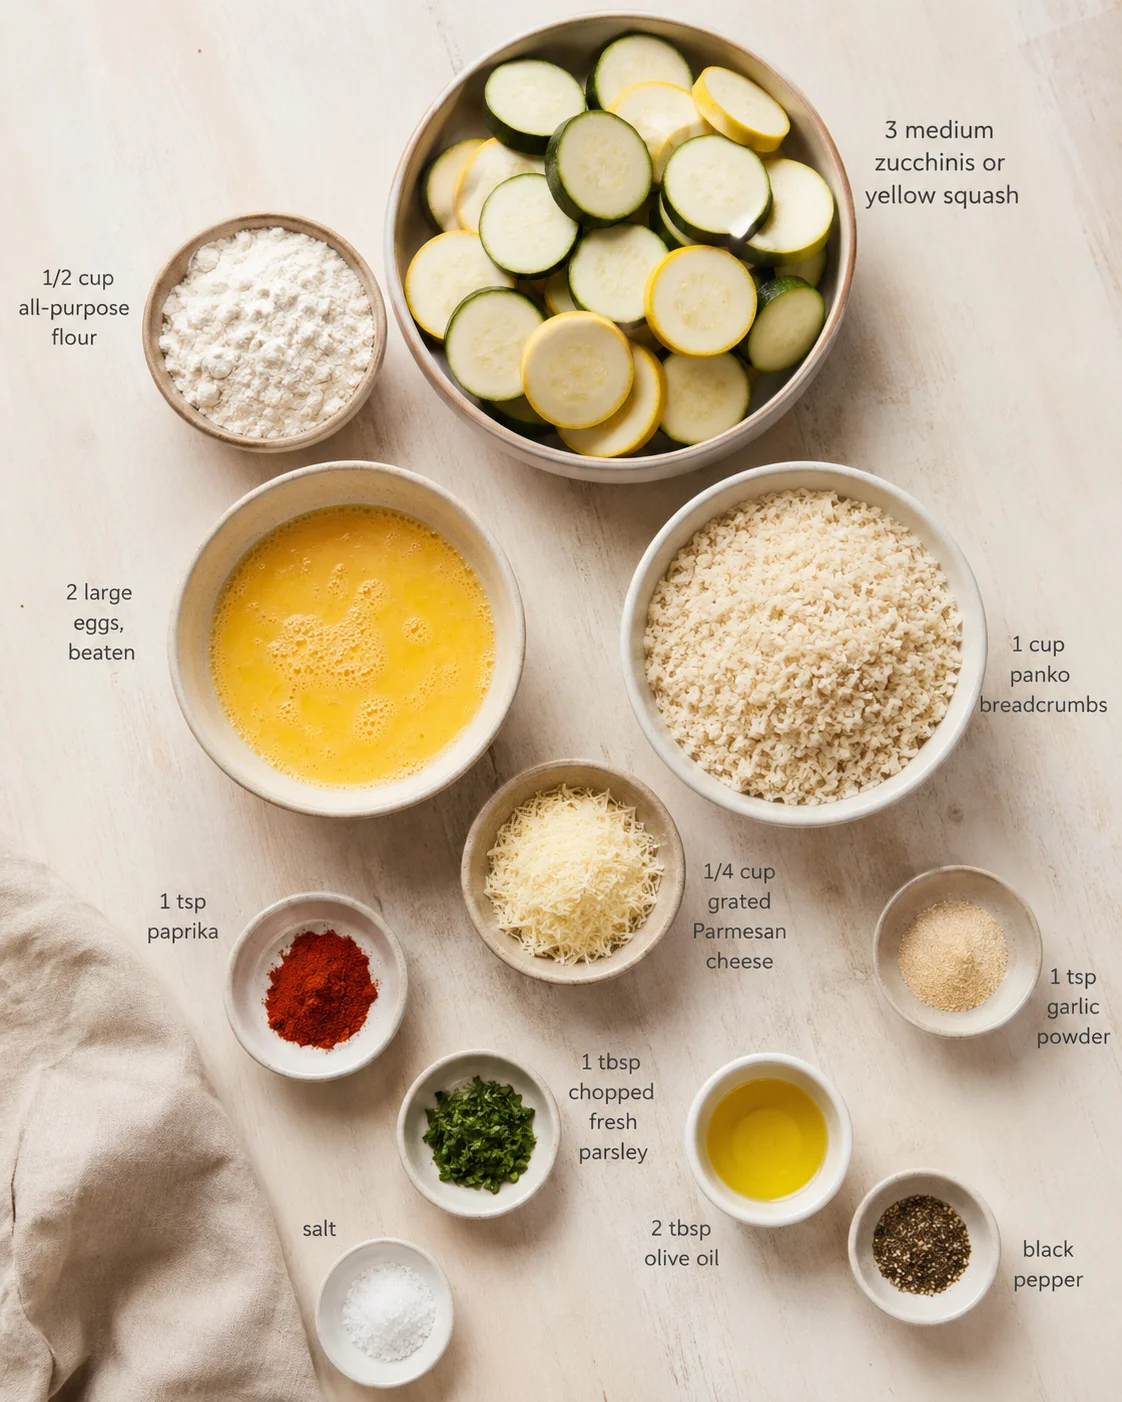
- 3 medium zucchinis or yellow squash, sliced into ¼-inch thick rounds (pick fresh, firm squash for best results)
- ½ cup (60 g) all-purpose flour
- 2 large eggs, beaten (room temperature eggs coat more evenly)
- 1 cup (about 100 g) panko breadcrumbs
- ¼ cup grated Parmesan cheese
- 1 teaspoon garlic powder
- 1 teaspoon paprika
- Salt and freshly ground black pepper, to taste
- 2 tablespoons olive oil or avocado oil (for brushing)
- 1 tablespoon fresh parsley, chopped (optional)
Baking the Squash to Crispy Perfection
- Preheat oven to 425°F (220°C) and line a baking sheet with parchment paper or a silicone mat.
- Wash squash, pat very dry with paper towels, and slice into 1/4-inch (6 mm) rounds, keeping slices even.
- Place flour in one shallow bowl, beat eggs in a second bowl, and mix panko, grated Parmesan, garlic powder, paprika, salt, and pepper in a third bowl.
- Lightly dust each squash slice with flour, shaking off excess.
- Dip floured slices into the beaten eggs, letting excess drip off.
- Press each slice into the breadcrumb mixture, coating both sides thoroughly.
- Arrange coated slices in a single layer on the prepared baking sheet or on a wire rack over the sheet without overlapping.
-
Brush or lightly drizzle the slices with 1–2 tablespoons oil to help crisp the crust.
- Bake at 425°F (220°C) for 20–25 minutes, flipping gently halfway through (about 12 minutes), until deep golden brown and crispy.
- Remove from the oven and let cool briefly to set the coating; optionally sprinkle with chopped parsley.
Tips for Extra Crispy Results
Getting that perfect crispy baked fried squash takes a little practice, but these tips will have you nailing it every time.
- Make sure to dry your squash slices really well. Moisture is the enemy of crispiness. Pat them dry with paper towels after slicing to get rid of extra water before breading.
- Don’t skip the flour step. This thin layer helps the egg and breadcrumb coating cling better so crumbs don’t slide off during baking.
- Use panko breadcrumbs for the ultimate crunch. Regular breadcrumbs work fine, but panko creates a lighter, airier coating that’s crisp without feeling heavy.
- Brush oil lightly instead of soaking. Too much oil can make the squash greasy. Just a light brush or drizzle is enough to crisp it up in the oven.
- Flip the slices halfway through baking. This ensures even browning and keeps the bottoms from getting soggy.
- Keep your oven temperature steady. Too low drys out the squash without crisping; too high risks burning before the inside cooks through. 425°F (220°C) hits the sweet spot.
- Try using a wire rack on your baking sheet. This helps hot air circulate around the slices, giving you a more even crisp on all sides.
One time I forgot to flip the squash, and the bottoms turned out soggy — rookie mistake! Also, adding parmesan into the breadcrumb mix not only amps up flavor but also helps that crust brown beautifully—the same idea that makes crispy garlic Parmesan roasted frozen broccoli so irresistible. The key to avoiding watery squash after baking is drying them well and using high oven heat.
Here’s a multitasking tip: While the squash bakes, you can whip up a quick dipping sauce or get the table set. It’s a great way to make use of your oven time efficiently. Craving another crunchy oven-baked snack? Try crispy kale chips for the same shattery texture.
Mix-Ins and Flavor Tweaks
Feel free to make this baked fried squash your own by trying out one of these tasty ideas:
- Spicy Kick: Add cayenne pepper or chili powder to the breadcrumb mixture for some heat. These go great with a cool ranch dip on the side.
- Gluten-Free Version: Use almond flour or a gluten-free flour blend with gluten-free panko breadcrumbs instead of the traditional versions. Works perfectly for gluten sensitivity.
- Herb-Infused: Mix fresh or dried herbs like thyme, oregano, or rosemary into the breadcrumb mix for an herby twist. Fresh basil works especially well in summer.
- Cheesy Variation: Swap the parmesan for sharp cheddar or asiago cheese to change up the flavor profile.
- Air Fryer Option: You can cook these in an air fryer at 400°F (200°C) for 10-12 minutes, flipping halfway. It’s an awesome shortcut with crispy results. For another crunchy veggie snack, see Crispy Air Fryer Broccoli Bites.
Don’t hesitate to play with the seasoning to suit your taste or whatever you have on hand. I once added smoked paprika and a splash of cumin for a southwestern vibe, and paired it with fresh tomato salsa — a delicious combo! If that flavor combo hits the spot, you’ll also love these Zucchini Corn Fritters.
Storing and Reheating Leftovers
Baked fried squash tastes best warm from the oven when it’s at peak crispiness. Serve with your favorite dips like garlic aioli, spicy mayo, or a tangy yogurt sauce. It pairs beautifully with grilled chicken or a fresh green salad for a light meal.
If you’re serving it as an appetizer or snack, arrange the slices on a platter and garnish with chopped parsley or extra parmesan. For a bigger spread, add Crispy Parmesan Zucchini Potato Muffins to the platter. They also make a fantastic side dish for casual dinners or backyard barbecues alongside Bacon Cheddar Ranch Pasta Salad.
To store leftovers, keep the squash in an airtight container in the fridge for up to 2 days. Reheat in a preheated oven at 375°F (190°C) for about 5-8 minutes to bring back some crispness. Avoid the microwave if you want to keep the crunchy texture, as it usually makes the coating soggy.
Flavor actually deepens a bit after chilling, so if you don’t mind slight softening, leftovers still taste great the next day. For longer storage, freeze the baked slices in a single layer on a tray, then transfer them to a freezer-safe bag. Reheat from frozen in the oven for best results.

Troubleshooting and FAQs
Here are some answers to questions I get a lot about baking crispy oven fried squash.
- Can I use other types of squash? Summer squash like zucchini and yellow squash work best for quick baking and crispness. Denser winter types like butternut or acorn squash can be used if sliced thin and roasted longer, but the texture and cooking time change. For a different ultra-crispy zucchini preparation, try the Authentic Italian Zucchini Scarpaccia Recipe.
- How do I keep the squash from getting soggy? Make sure to pat slices dry before breading, don’t overcrowd the baking sheet, bake at a high temperature (425°F / 220°C), and flip slices halfway through to crisp both sides.
- Is this recipe suitable for gluten-free or dairy-free diets? Absolutely. Use gluten-free flour and panko for a gluten-free version. For dairy-free, leave out the parmesan or swap with nutritional yeast.
- Can I prepare the squash ahead? Yes! Slice and bread the squash a few hours ahead and keep covered in the fridge. Bake just before serving for the best crunch.
- Can I make these in an air fryer instead of the oven? Yes, air fry at 400°F (200°C) for 10-12 minutes, flipping halfway through. Check for golden brown and crispy results since cooking times vary.
- What type of oil should I use and how much? Use a neutral oil with a high smoke point like avocado or light olive oil. About 1-2 tablespoons brushed or drizzled on is enough — too much oil makes them greasy.
- How do I reheat leftovers to keep them crispy? Warm them in a 375°F (190°C) oven for 5-8 minutes until crisp again. Avoid microwaving to keep the coating crunchy.
- Can I freeze the baked squash? Yes, freeze the slices on a tray in a single layer, then transfer to a freezer bag. Reheat from frozen in the oven for best crispness.
- What thickness should I slice the squash? Aim for about ¼-inch (6 mm). Thinner slices may burn, and thicker ones might not crisp properly before the coating browns.
- What dips go best with this recipe? Garlic aioli, ranch, spicy mayo (like sriracha mayo), and lemony yogurt dips are all great choices that complement the panko-parmesan coating beautifully. These dips also pair well with Easy and Healthy Zucchini Tots.
A healthier, oven-baked version of fried squash with a crispy panko and Parmesan coating, perfect as a snack or side dish.
- Prep Time: 10 minutes
- Cook Time: 20-25 minutes
- Total Time: 30-35 minutes
- Yield: 4-6 servings 1x
- Category: Side Dish
- Cuisine: American
Ingredients
- 3 medium zucchinis or yellow squash, sliced into 1/4-inch (6 mm) thick rounds
- 1/2 cup (60 g) all-purpose flour
- 2 large eggs, beaten (room temperature)
- 1 cup (about 100 g) panko breadcrumbs
- 1/4 cup grated Parmesan cheese
- 1 teaspoon garlic powder
- 1 teaspoon paprika
- Salt and freshly ground black pepper, to taste
- 2 tablespoons olive oil or avocado oil (for brushing)
- 1 tablespoon fresh parsley, chopped (optional)
Instructions
- Preheat oven to 425°F (220°C) and line a baking sheet with parchment paper or a silicone mat.
- Wash squash, pat very dry with paper towels, and slice into 1/4-inch (6 mm) rounds, keeping slices even.
- Place flour in one shallow bowl, beat eggs in a second bowl, and mix panko, grated Parmesan, garlic powder, paprika, salt, and pepper in a third bowl.
- Lightly dust each squash slice with flour, shaking off excess.
- Dip floured slices into the beaten eggs, letting excess drip off.
- Press each slice into the breadcrumb mixture, coating both sides thoroughly.
- Arrange coated slices in a single layer on the prepared baking sheet or on a wire rack over the sheet without overlapping.
- Brush or lightly drizzle the slices with 1–2 tablespoons oil to help crisp the crust.
- Bake at 425°F (220°C) for 20–25 minutes, flipping gently halfway through (about 12 minutes), until deep golden brown and crispy.
- Remove from the oven and let cool briefly to set the coating; optionally sprinkle with chopped parsley.
Notes
Dry squash slices well before breading to ensure crispiness., Use panko breadcrumbs for a lighter, airier crust., Brush oil lightly instead of soaking to avoid greasiness., Flipping slices halfway baking ensures even browning and crispiness., Oven temperature of 425°F (220°C) is key for crisp crust without burning., A wire rack on the baking sheet helps crisp all sides evenly., For gluten-free versions, substitute flour and panko for gluten-free alternatives., For dairy-free versions, omit Parmesan or substitute with nutritional yeast., Can be cooked in an air fryer at 400°F (200°C) for 10-12 minutes, flipping halfway through., Store leftovers in an airtight container in the fridge up to 2 days; reheat in oven at 375°F (190°C) for 5-8 minutes for best crispness., Freezing is possible; freeze slices in a single layer, then transfer to freezer bag, reheat from frozen in oven.
Nutrition
- Serving Size: About 1/2 cup (4-5 slices)
- Calories: Approximately 120 kcal per serving
- Fat: 5 g per serving
- Carbohydrates: 15 g per serving
- Protein: 5 g per serving
More in Recipes


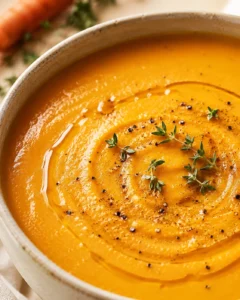
Carrot and Lentil Soup
Spiced Carrot and Apple Soup