Zucchini Relish Recipe for a Tasty Burger Topping

Zucchini Relish Recipe for a Tasty Burger Topping
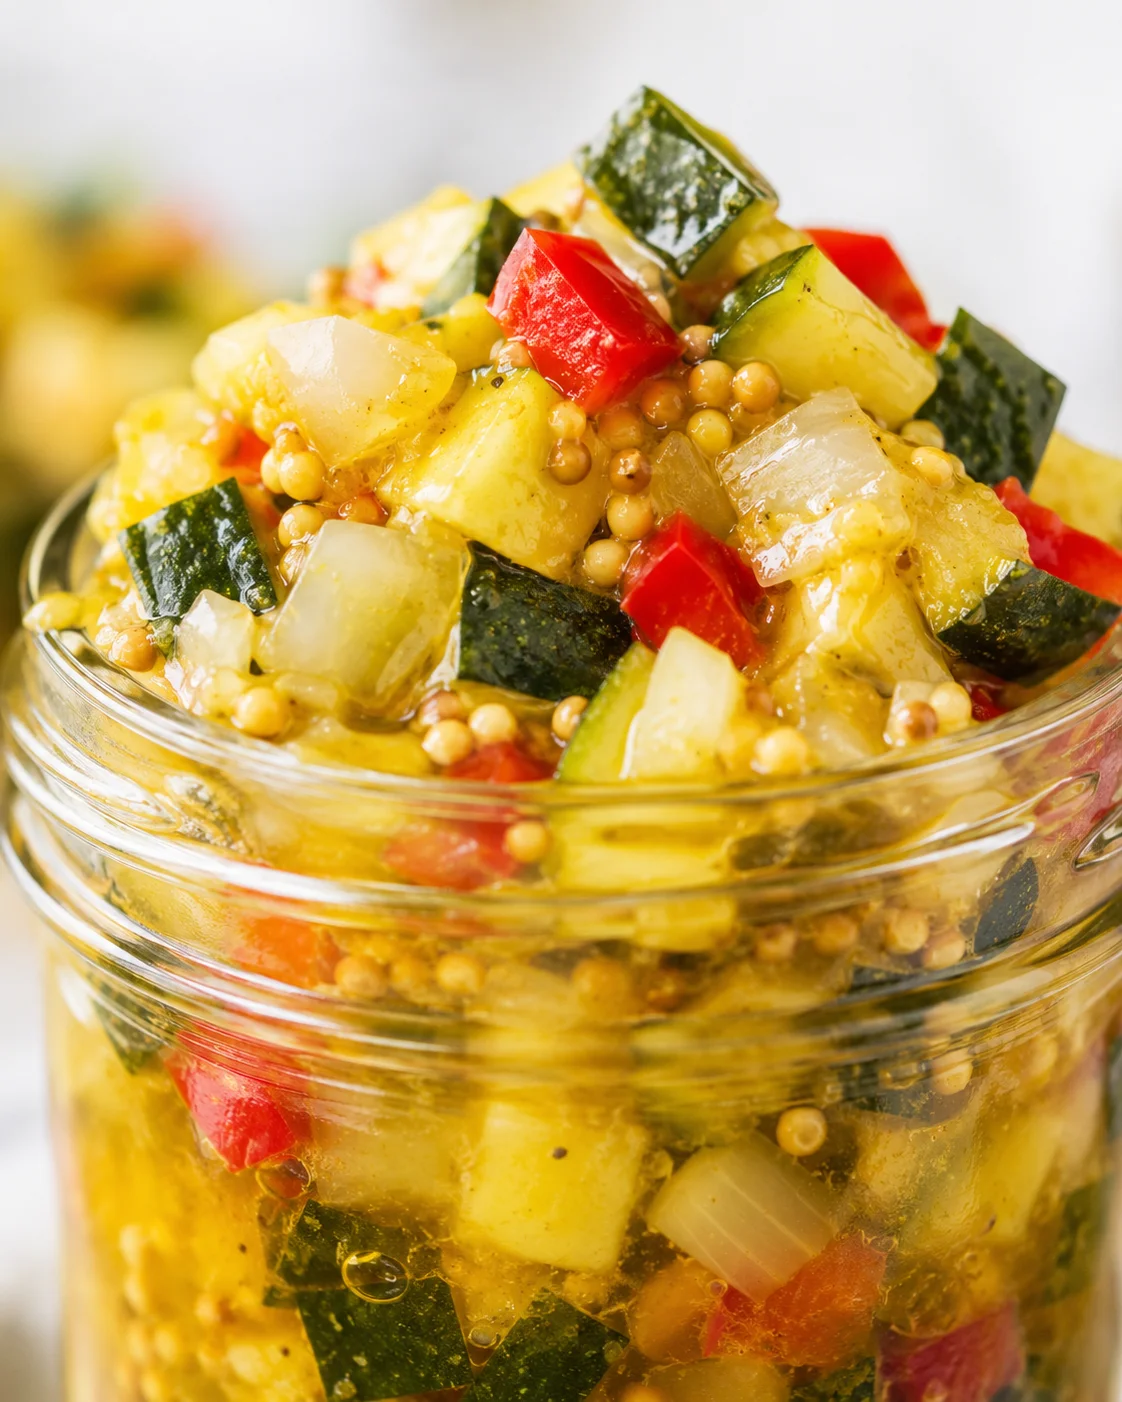
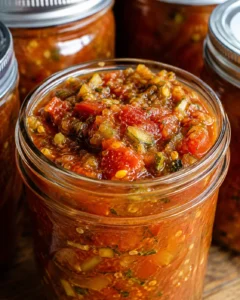
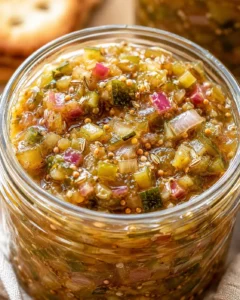
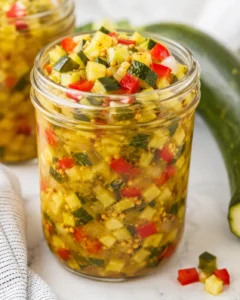
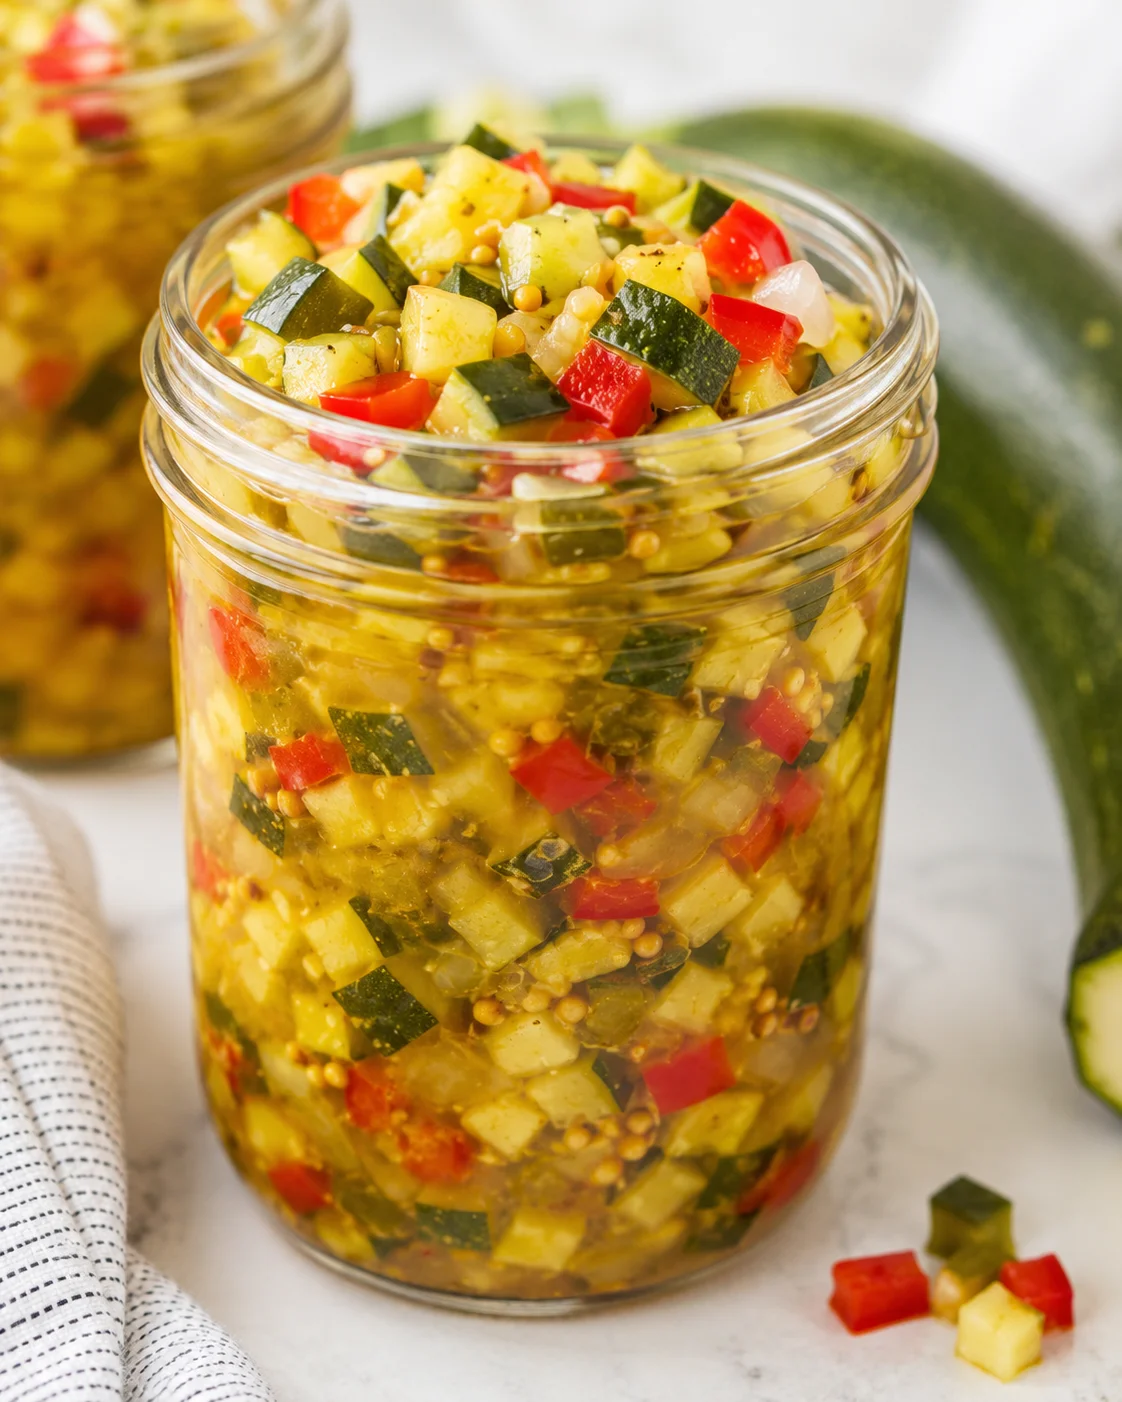
This zucchini relish recipe is one we come back to time and again. It’s perfect atop burgers and hot dogs, but it also adds a delicious punch when folded into potato salad, tuna salad, or egg salad.
When zucchini season hits, it can feel like your garden just won’t quit! Zucchini, also known as summer squash, keeps coming, and figuring out what to do with it all can be a real challenge.
After you’ve made your usual sautéed zucchini or zucchini bread, try preserving some of this bounty with this easy zucchini relish recipe. Canning it lets you tuck it away for cold winter days when fresh veggies are a distant memory.
This is hands-down one of our favorite zucchini dishes. (And if you like zucchini, be sure to check out my chocolate zucchini bread, too!)
Remember that classic Del Monte hamburger relish from way back? This homemade zucchini relish tastes just like that—bright, sweet, and a little tangy—but is made with simple, wholesome ingredients straight from your garden or pantry.
I love it on burgers, but it shines when stirred into egg salad, deviled eggs, potato salad, or even tucked into meatloaf to punch up the flavor.
Hot Water Bath Canning this Zucchini Relish
Water bath canning makes this zucchini relish shelf stable so you can keep it in your pantry all year without worries.
A canning funnel is a total game changer when ladling hot relish into jars — less mess, more precise.
Be sure to ladle your relish into the jars while it’s still hot. Use the funnel to leave the right headspace. Then fish out any air bubbles with a bubble remover or a plastic knife.
Wipe the rims clean to avoid sealing problems. Place your lids on and screw the bands on just finger tight.
Use jar lifters to carefully lower your jars into boiling water in the canner. The water should cover the jars by about two inches. If needed, keep some extra boiling water on hand to top off the canner so the water stays hot.
Hot tip: Boiling extra water on the side means you won’t lose heat when topping up your canner. It keeps your processing temperature steady.
Process the jars for 15 minutes if you’re under 6,000 feet altitude, or 20 minutes if you’re higher.
Once done, move the jars to a towel-padded surface and let them cool completely without disturbing them. Listen for that satisfying little tink! that lets you know the jars sealed properly.
Storing Jars of Zucchini Relish
After jars cool, check each lid. It should be firmly concave and not flex when pressed. If any lid pops or flexes, those jars aren’t sealed and need to be stored in the fridge and used first.
Take the bands off cooled jars and wipe them clean. Storing jars band-free helps prevent rust and makes it easier to spot any seal issues later.
Those sealed jars can hang out in a cool, dark pantry for up to a year. Talk about homemade convenience!
🍅 Safety First!
Canning is a fantastic way to keep your garden’s bounty alive all year, but it’s important to keep safety top of mind. All recipes here follow trusted, tested methods from a certified Master Food Preserver.
- Understand when to water bath can and when pressure canning is required. Low acid foods need pressure canning to be safe.
- Don’t tweak vinegar, sugar, or seasoning ratios without caution—they affect acidity and safety.
- Always use proper jars and single-use lids. Reusing lids can risk seal failure except for certain reusable lids designed for that purpose.
- For canning gear info, check out the linked resources.
- Need more questions answered? The National Center for Home Food Preservation is the gold standard for safe canning guidelines.
Want to gift some of your homemade relish? Download these free printable canning labels—they add a cute touch and remind everyone to return the jar!
★ Made this zucchini relish? Don’t forget to leave a star rating below—I’d love to hear how it turned out for you! ★
When you’re swimming in zucchini during the summer, it’s easy to feel overwhelmed — before you stuff it all into muffins, why not turn some into a bright, nostalgic relish? This easy zucchini relish recipe captures the sweet-tangy vibe of classic hamburger relish (think Del Monte) using simple, wholesome ingredients you likely already have on hand.
In this guide, I’ll walk you through a small-batch zucchini relish recipe that works wonders as a topping on burgers and hot dogs, but also adds a pop of flavor when stirred into potato salad, egg salad, tuna salad, or even meatloaf. The method is straightforward: a quick overnight salt soak to draw out moisture, a gentle simmer with vinegar, sugar, and warm spices, and if you want, a simple water-bath canning step so jars store safely all year long.
Expect a relish that’s mildly sweet, gently tangy, with a whisper of heat from jalapeño. This recipe yields about 3 to 4 pint jars and has been tested for safe water-bath canning when you follow the directions. Keep reading for step-by-step instructions, canning tips, and ideas for serving and gifting your homemade zucchini relish.
Why You’ll Love It
This zucchini relish recipe is a wonderful way to turn garden overload into a lively condiment with big flavor. It captures the nostalgic sweet and tangy kick of the classic commercial hamburger relish, but is made with real, wholesome ingredients from your pantry or garden. Use it to deck out burgers and hot dogs, stir into potato or egg salad, mix into tuna or chicken salad, or add a spoonful to meatloaf for a tangy twist. Plus, since it’s water-bath canning friendly, you can preserve the summer’s zucchini harvest to enjoy throughout the year—and share pretty jars with family and friends.
Ingredients and Equipment Needed
- 4 cups chopped zucchini
- 2 cups finely chopped onion
- 1 red bell pepper, seeded and diced
- 1 jalapeño pepper, chopped
- 1 ½ teaspoons sea salt
- 1 ½ cups sugar
- 1 ½ cups apple cider vinegar or distilled white vinegar
- 1 ½ teaspoons ground turmeric
- 2 teaspoons mustard seeds
- ½ teaspoon ground black pepper
- Pinch of nutmeg
Day-by-Day Directions
- If zucchini is large and seedy, scoop out the spongy center.
- Roughly chop zucchini, onion, red bell pepper, and jalapeño, or pulse in a food processor to about 1/8–1/4-inch pieces.
- Toss the chopped vegetables with 1 1/2 teaspoons sea salt in a large bowl, stir well, cover, and refrigerate overnight.
- Next day, transfer the salted vegetables to a colander, rinse thoroughly with cold water, and let drain.
- Place the drained vegetables into a large stockpot.
- Add 1 1/2 cups sugar, 1 1/2 cups vinegar (apple cider or distilled white), 1 1/2 teaspoons turmeric, 2 teaspoons mustard seeds, 1/2 teaspoon black pepper, and a pinch of nutmeg to the pot.
-
Bring the mixture to a boil, then simmer over medium-high heat for about 10 minutes until the relish thickens slightly; remove from heat.
- While the relish cooks, wash and inspect 3–4 pint canning jars, and clean lids and screw bands.
- Place empty jars in the water bath canner or a deep pot, cover with 1–2 inches of water, and bring the water to a simmer.
- Carefully remove hot jars from the canner and drain the water back into the pot just before filling.
- Ladle the hot relish into jars using a canning funnel, leaving 1/2 inch headspace.
- Remove any air bubbles with a bubble remover tool or plastic spatula and wipe jar rims clean.
- Place lids on jars and screw bands on finger-tight.
- Use jar lifters to lower jars into boiling water in the canner, ensuring the water covers jars by about 2 inches.
- Return the water to a rolling boil and process pint jars for 15 minutes at 0–6,000 ft altitude (20 minutes if higher).
- Carefully remove jars from the canner and place on a towel-lined surface to cool undisturbed overnight.
- Check each lid for a proper seal (center should be concave and not flex); refrigerate any unsealed jars to use first.
- Remove screw bands from sealed jars and clean jars before labeling if desired.
Tips for Texture & Safety
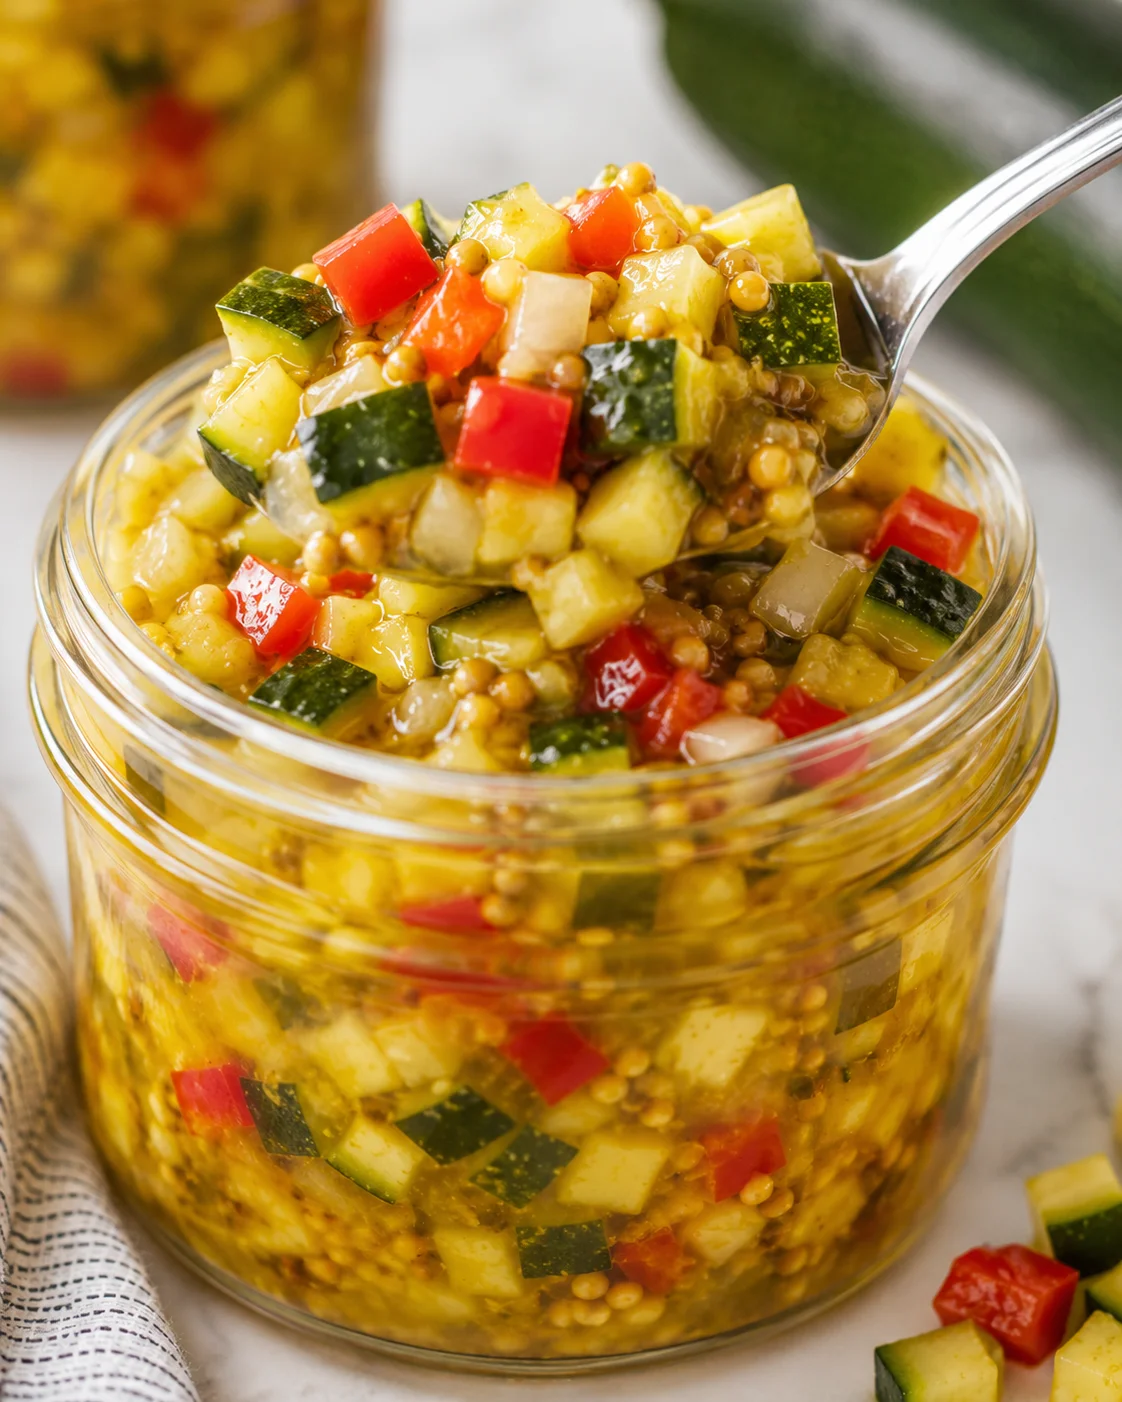
- Dice size matters: Aim for about 1/8-inch pieces to nail the classic relish texture. Using quick pulses in a food processor helps you get even pieces without mush.
- Don’t skip salting: Overnight salting pulls out water so your relish isn’t watery and concentrates flavor. Be sure to rinse well afterward to remove excess salt.
- Headspace: Leave ½ inch of gap at the top of jars for safe expansion during canning and to ensure seals.
- Stick to the recipe: Don’t alter vinegar or sugar amounts if you plan to water-bath can. Acid levels matter for safety.
- Canning tip: Keep extra boiling water ready to add to the canner to maintain consistent temperature when adding jars.
- Use fresh lids: Always use new, single-use canning lids. Don’t boil lids separately or reuse disposable ones—they may not seal properly.
- Seal test: After jars cool, push the center of the lid. If it doesn’t flex, the seal is good. If it pops, refrigerate that jar and use it first.
Flavor Swaps and Add-Ins
- Vinegar choices: Both distilled white vinegar and apple cider vinegar work great; flavors will vary a bit but either is delicious.
- For heat: Adjust spicy peppers to your taste—swap hotter chiles or remove seeds for milder heat. Just avoid green bell peppers for this one.
- Refrigerator-friendly relish: If you prefer less sugar or vinegar, skip canning and store cooked relish in sterilized jars in the fridge for a few weeks.
- Add-ins: Tiny amounts of celery seed or shredded carrot add color and flavor. Just be conservative with changes if you’ll can, to keep the right acidity and texture.
How to Store and Preserve
Keep sealed, canned jars stored in a cool, dark cupboard for up to one year. Once jars cool, remove metal screw bands to prevent rust and make checking seals easier over time. After opening, refrigerate your relish and enjoy within about three weeks.
If any jar doesn’t seal during processing, refrigerate it right away and plan to use that relish soon (within 2-3 weeks). You can also freeze relish in freezer-safe containers for up to six months—just know the texture will soften a bit.
For serving, jarred relish can be eaten cold or at room temp straight from the jar, or warmed gently on the stove if you prefer a warm topping. Just don’t re-can leftover relish once jars are opened—always keep refrigerated.
Answers to Common Concerns
- Is this zucchini relish recipe safe for water bath canning? Absolutely. It’s tested at a pH around 3.0, which is safe for water bath canning as long as you follow the recipe’s ingredient amounts and processing times exactly.
- Can I reduce sugar or use a low-calorie sweetener? Changing sugar amounts or swapping sweeteners can affect the flavor and the safety of the relish. If you adjust sweetness, don’t water bath can—keep the relish refrigerated and use within a few weeks.
- What if jars don’t seal? Any jars that don’t seal should go in the refrigerator and be used first since they aren’t shelf stable.
- Can I swap other peppers? Yes, you can swap in hotter peppers for more spice or reduce heat by removing seeds from the jalapeño. Avoid green bell peppers, but yellow or orange might work (haven’t been tested).
- How long will opened relish last? Store opened jars in the fridge and use within about three weeks for best taste and quality.
- Is the overnight salting really necessary? Yes! The salt draws out excess moisture from zucchini and peppers to keep the relish thick and flavorful rather than watery. It’s a crucial step for texture.