Honey Garlic Sesame Chicken

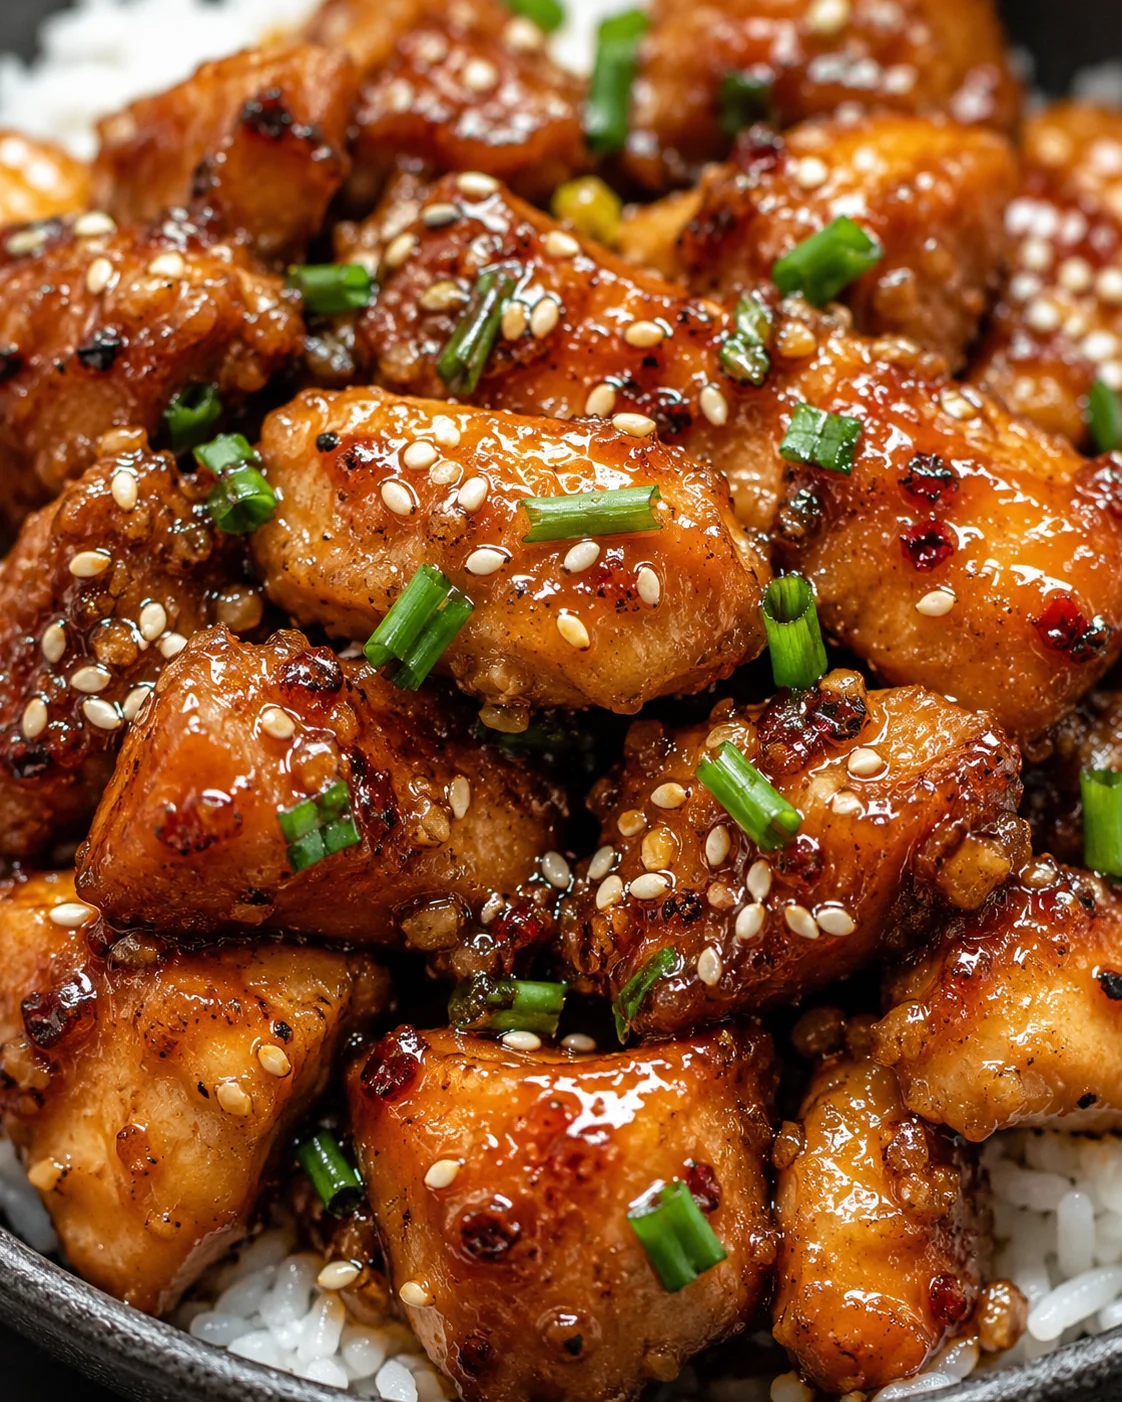
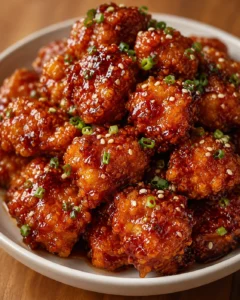
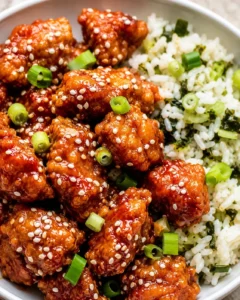
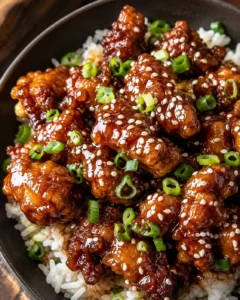
Tender, sticky boneless chicken thighs smothered in a mouthwatering garlic, soy, and honey sauce. This honey garlic chicken is a fantastic quick dish that’s ready in just 20 minutes. Serve it over rice for a simple Friday night fakeaway we all love.
This classic mix of honey, soy sauce, and garlic creates a beautifully sticky, sweet glaze that clings to every golden, tender bite of chicken.
I always make this when I want a cozy dinner that feels special but takes hardly any effort—just perfect served up with fluffy boiled rice.
Bright, glossy, and simple to pull together, this honey garlic chicken brings you juicy, tender boneless chicken thighs tossed in a luscious garlic-soy-honey sauce. It comes together in about 20 minutes using pantry staples like honey, soy sauce, garlic, chicken stock, and rice vinegar. The chicken gets a light cornflour coating for just a touch of crispiness on the outside, and it finishes with fresh parsley and a pinch of chili flakes for a little kick. Just spoon it over boiled rice for an effortless Friday-night fakeaway that feels like a treat.
I’ve laid everything out for you below so you can cook it with confidence—ingredients that serve 4, a clear step-by-step method with handy tips and photos, plus advice for gluten-free and vegetarian variations. I’ll also cover how to store and reheat leftovers, and answer all the common questions you might have.
- A quick snapshot of what to expect on the plate and the time it takes (Prep: 5 mins, Cook: 15 mins, Total: about 20 mins).
- Simple ingredient list and an easy pan-cooking method anyone can follow.
- Pro tips to get that sticky, shiny sauce and tender chicken every time.
- Variations, make-ahead tips, and storage advice so you can adapt it your way.
What Makes It Special
This honey garlic chicken is all about quick comfort food packed with flavor. It calls for ingredients you probably already have in your cupboard—honey, soy, garlic, chicken stock, and rice vinegar—and it whips up in just 20 minutes. Perfect for busy weeknights or when you want a simple but satisfying Friday-night fakeaway.
The secret here is boneless, skinless chicken thighs. They stay juicy and tender, and when coated lightly in cornflour and cooked on high heat, the outside crisps up beautifully. The sauce reduces down to this shiny, sticky coating that hugs every piece of chicken so well. Maximum flavor with minimal effort.
- Only a handful of ingredients and barely any prep.
- Ready on your table in just around 20 minutes—great for quick, tasty dinners.
- A deliciously sticky, sweet and savory sauce that’s perfect over plain boiled rice.
- Easy to adapt for gluten-free diets and simple to double if you want leftovers or to feed more people.
Ingredients and Pantry Staples
- 8 boneless, skinless chicken thighs
- 2 tbsp cornflour (cornstarch)
- ½ tsp salt
- ½ tsp black pepper
- 2 tbsp vegetable oil
- 1 tbsp unsalted butter
- 4 cloves garlic, minced
- 110 g (1/3 cup) honey
- 80 ml (1/3 cup) chicken stock
- 1 tbsp rice vinegar
- 1 tbsp light soy sauce
- 1 tbsp fresh parsley, finely chopped
- ½ tsp chili flakes (optional and adjustable)
- steamed boiled rice
How To Make It
- Pat the chicken thighs dry with paper towels.
- Place chicken thighs in a bowl and toss with cornflour, salt, and pepper until evenly coated.
- Heat vegetable oil in a large frying pan over high heat until hot but not smoking.
- Add chicken to the pan without overcrowding; cook in batches if needed.
- Cook chicken without moving until one side is golden brown, about 4–5 minutes, then flip and cook for another 2 minutes.
- Add butter to the pan and let it melt, then add minced garlic and stir; reduce heat to medium to prevent burning.
- Mix honey, chicken stock, rice vinegar, and light soy sauce in a small bowl.
- Pour the sauce into the pan, bring to a boil over high heat, then reduce heat and simmer 4–5 minutes until the sauce thickens and the chicken is cooked through (no pink inside).
-
If the sauce is too thin, remove the chicken, simmer the sauce until thicker, then return the chicken to coat.
- Stir in a knob of butter to finish the sauce for a silky glaze (optional).
- Sprinkle chopped parsley and chili flakes over the chicken.
Cooking Tips For Success
- Don’t overcrowd your pan when browning the chicken. Give each piece some space so it crisps up nicely. Work in batches if needed.
- Keep the heat high for that beautiful golden sear, then reduce to medium once you add the garlic and sauce so the garlic doesn’t burn. You’ll use the same sear-then-sauce approach in this Creamy Mushroom Chicken one-pan dinner.
- Pat the chicken dry before coating it in cornflour. This helps the coating stick and gives a better crisp.
- Use cornflour instead of plain flour for a lighter, crunchier crust that’s classic for honey garlic chicken.
- Allow the sauce plenty of time to simmer and thicken until it’s shiny and sticky—this is where the flavor really comes alive. For a great vegetarian example of this sticky honey-garlic glaze, check out Crispy Honey Garlic Tofu.
- If your sauce feels too thin at the end, take the chicken out, simmer the sauce a little longer on its own, then return the chicken to coat it in the thicker glaze.
- Finish by stirring in a knob of butter to give the sauce a silky, rich touch.
- If unsure if the chicken is cooked, use a meat thermometer—it should register 74°C (165°F) inside.
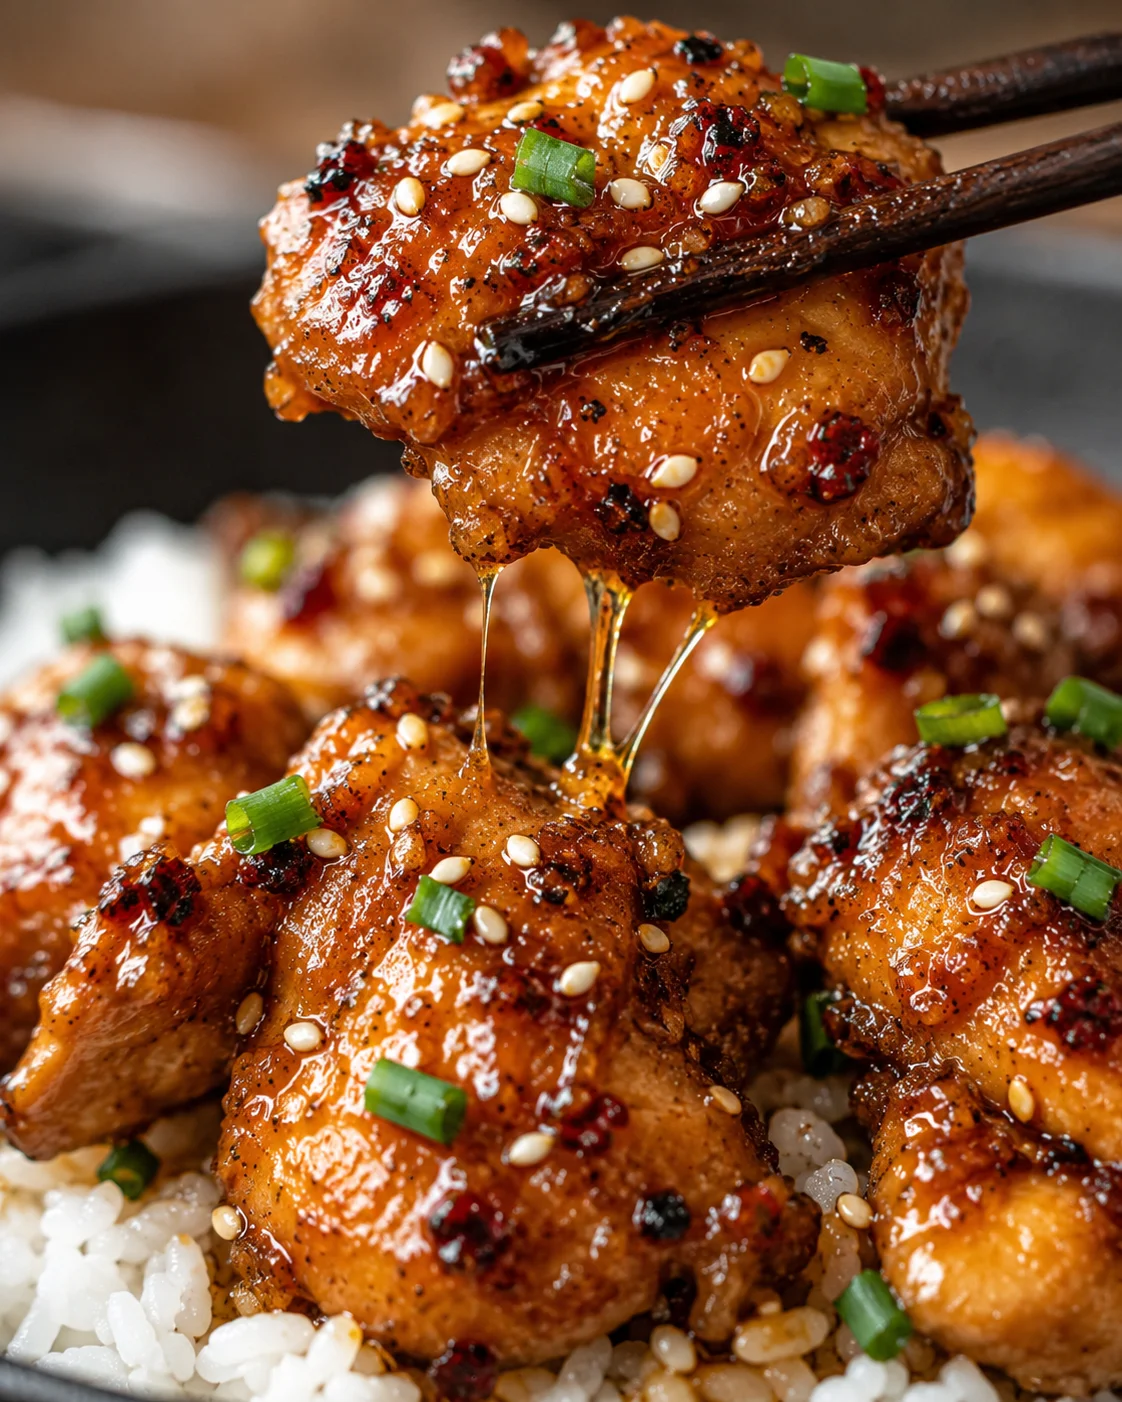
Flavor Swaps And Add-Ins
- Chicken breast: Slice into thick strips or lightly flatten so it cooks quickly and evenly. Keep an eye on the cooking time to prevent drying out. Prefer a lean, budget-friendly swap? Try our 25-minute honey garlic ground turkey for the same sweet-savory profile.
- Spicy version: Add 1 teaspoon of chili paste to the sauce or increase the chili flakes at the end for some heat.
- Ginger-garlic combo: Toss in 1 teaspoon of freshly grated ginger with the garlic to add warmth and depth.
- Sesame twist: Stir in 1 teaspoon toasted sesame oil at the end and sprinkle toasted sesame seeds over the finished dish for extra crunch.
- Hoisin flavor boost: Swap 1-2 tablespoons of honey with hoisin sauce for a richer, umami-packed glaze.
- Vegetarian option: Use firm tofu cut into cubes, pressed to remove moisture, tossed in cornflour, and pan-fried until golden. Cook in the sauce but reduce simmer time so the tofu absorbs the flavors without falling apart.
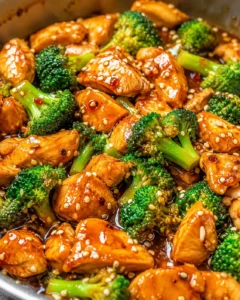
- Veggie add-ins: Stir in quick-cooking vegetables like broccoli florets, snap peas, or sliced peppers toward the end of cooking and simmer until just tender.
Storage And Reheating
Refrigerator: Once cooked, cool the chicken quickly, store it in an airtight container, and keep it in the fridge for up to 3–4 days. If you can, store the rice and sauce separately to keep textures fresh.
Freezing: This honey garlic chicken freezes well. Let it cool completely, portion it into airtight containers or freezer bags, and freeze for up to 2–3 months. Texture might change slightly and become a bit less tender than fresh but tastes still delicious.
Reheating:
- Oven (best for keeping texture): If frozen, defrost overnight in the fridge. Place chicken on a baking tray, cover loosely with foil, and reheat at 180°C (350°F) for 12–15 minutes until hot all the way through.
- Stovetop (quick method): Reheat gently in a skillet over medium heat with a splash of chicken stock or water to loosen the sauce, stirring until warmed through.
- Microwave: Heat in short bursts, stirring between, and cover to keep moisture in. Bear in mind the coating might lose some crispiness this way.
Make-ahead: You can make this dish a day ahead. Just cook, cool, and refrigerate the chicken and sauce separately if possible. Reheat using the oven or stovetop methods and serve freshly boiled rice for a quick, stress-free meal—or pair it with lemon garlic roasted broccoli for an easy side that roasts while the chicken warms.
Answers To Common Questions
Q: Can I use chicken breast instead of thighs? A: Yes! Just slice breasts into strips or flatten them so they cook evenly. Breast cooks faster than thighs, so watch the cooking times carefully to avoid dryness; if you prefer a baked breast dinner, our Chicken Zucchini Bake shows timing and juiciness tips.
Q: Is this recipe gluten free? A: It can certainly be gluten free — just swap regular soy sauce for tamari and use gluten-free chicken stock. Check your rice vinegar label too, as some brands contain gluten.
Q: How do I stop the honey from burning? A: Honey burns easily if heated too fast. Mix it carefully into the sauce and bring it slowly to a boil, then reduce to a gentle simmer while stirring often until thickened—this low-and-slow method is similar to making a spicy hot honey drizzle, which prevents scorching.
Q: How can I make the sauce thicker? A: Simmer it longer to concentrate it until glossy and sticky. If needed, remove the chicken while you reduce the sauce, then return the pieces to coat well.
Q: Can I double the recipe? A: Absolutely! Just make sure you don’t overcrowd the pan when frying the chicken—cook in batches so each piece browns nicely instead of steaming.
Q: How do I know when the chicken is cooked? A: Cut into the thickest piece to check there’s no pink inside, or better yet use a thermometer — cooked chicken should reach 74°C (165°F) internally.
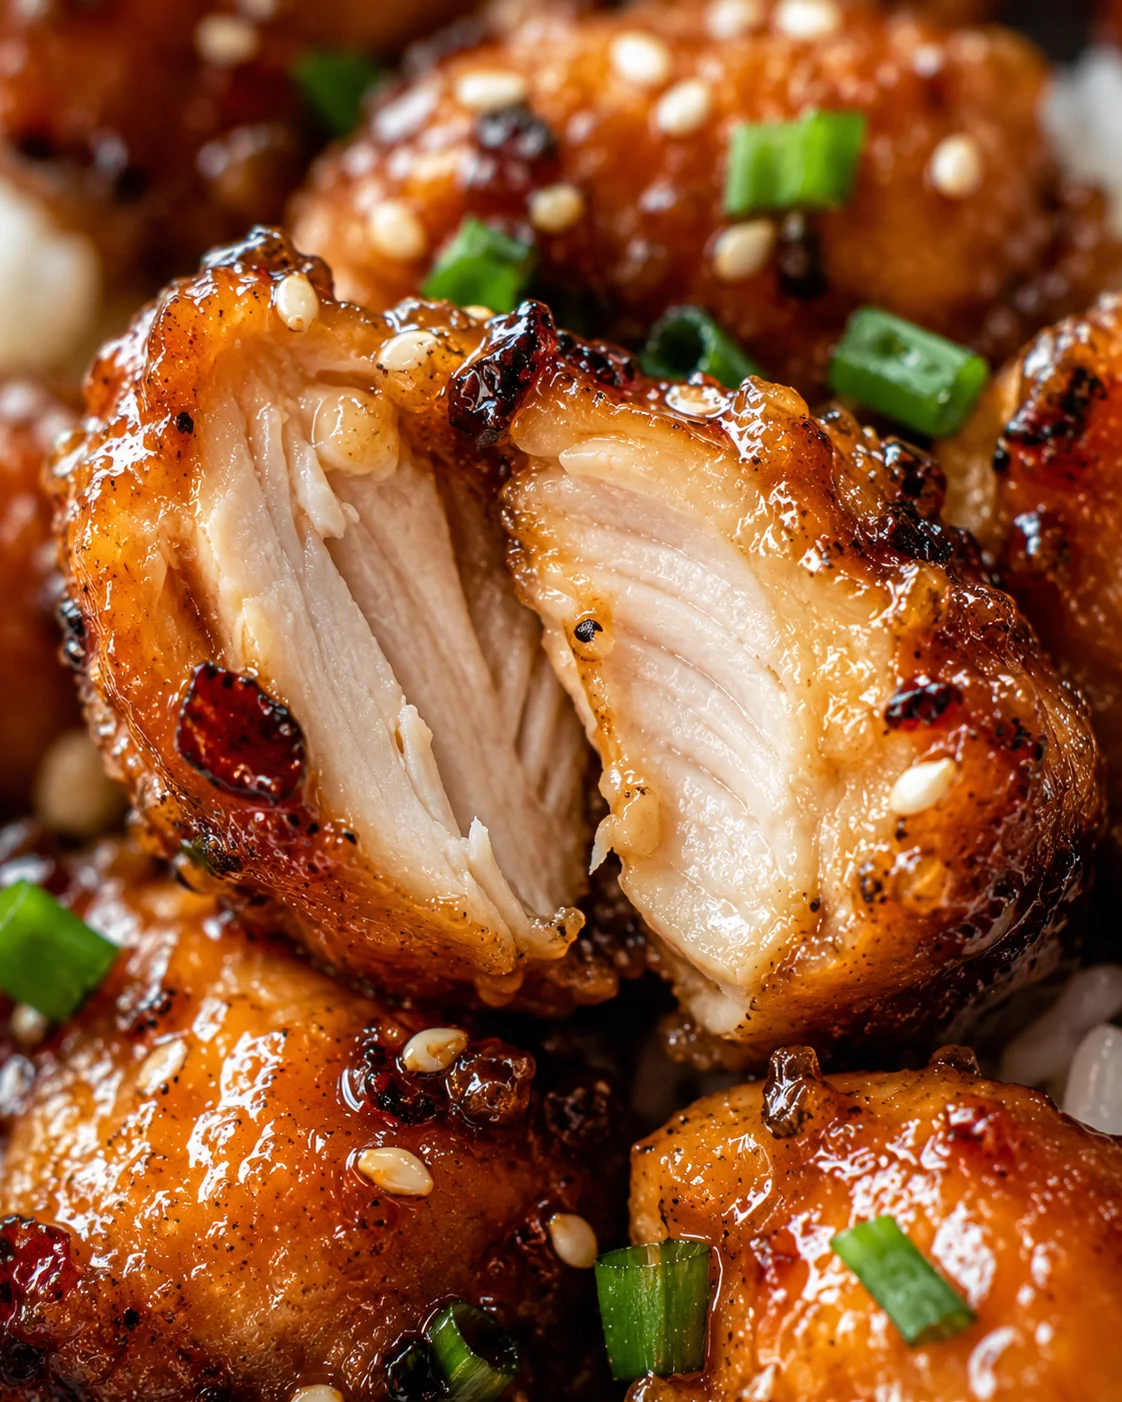
Tender, sticky boneless chicken thighs smothered in a mouthwatering garlic, soy, and honey sauce. Ready in about 20 minutes, perfect served over steamed rice for a quick, comforting dinner.
- Prep Time: 5 minutes
- Cook Time: 15 minutes
- Total Time: 20 minutes
- Yield: 4 servings 1x
- Category: Main Course
- Cuisine: Asian-inspired
Ingredients
- 8 boneless, skinless chicken thighs
- 2 tbsp cornflour (cornstarch)
- ½ tsp salt
- ½ tsp black pepper
- 2 tbsp vegetable oil
- 1 tbsp unsalted butter
- 4 cloves garlic, minced
- 110 g (1/3 cup) honey
- 80 ml (1/3 cup) chicken stock
- 1 tbsp rice vinegar
- 1 tbsp light soy sauce
- 1 tbsp fresh parsley, finely chopped
- ½ tsp chili flakes (optional)
- steamed boiled rice (to serve)
Instructions
- Pat the chicken thighs dry with paper towels.
- Place chicken thighs in a bowl and toss with cornflour, salt, and pepper until evenly coated.
- Heat vegetable oil in a large frying pan over high heat until hot but not smoking.
- Add chicken to the pan without overcrowding; cook in batches if needed.
- Cook chicken without moving until one side is golden brown, about 4–5 minutes, then flip and cook for another 2 minutes.
- Add butter to the pan and let it melt, then add minced garlic and stir; reduce heat to medium to prevent burning.
- Mix honey, chicken stock, rice vinegar, and light soy sauce in a small bowl.
- Pour the sauce into the pan, bring to a boil over high heat, then reduce heat and simmer 4–5 minutes until the sauce thickens and the chicken is cooked through (no pink inside).
- If the sauce is too thin, remove the chicken, simmer the sauce until thicker, then return the chicken to coat.
- Stir in a knob of butter to finish the sauce for a silky glaze (optional).
- Sprinkle chopped parsley and chili flakes over the chicken and serve with steamed boiled rice.
Notes
Don’t overcrowd the pan when browning chicken to ensure crispiness; cook in batches if needed., Keep heat high to get a golden sear, then reduce to medium when cooking garlic and simmering sauce to prevent burning., Pat chicken dry before coating in cornflour for better crispiness., Use cornflour instead of plain flour for a lighter, crunchier crust., Allow sauce to simmer until shiny and sticky for maximum flavor., If sauce is too thin at the end, remove chicken to thicken sauce alone then coat again., Use a meat thermometer to check chicken is cooked to 74°C (165°F)., Variations include using chicken breast, adding chili paste for spice, ginger-garlic combo, sesame oil and seeds, or hoisin sauce for a flavor boost., Vegetarian option: replace chicken with firm tofu coated with cornflour and pan-fried; reduce simmer time to avoid tofu falling apart., Add quick-cooking vegetables like broccoli, snap peas, or peppers near end of cooking for extras., Store cooked chicken and sauce separately in airtight containers for up to 3–4 days in fridge or freeze for 2–3 months., Reheat best in oven at 180°C (350°F) covered with foil, or gently on stovetop with splash of stock or water; microwaving is faster but can reduce crispiness.
Nutrition
- Serving Size: 1 serving
- Calories: Approximately 350-400 calories per serving (estimate)
- Fat: About 15g per serving
- Carbohydrates: About 20g per serving
- Protein: About 30g per serving